Configuring DigitalOcean Deployment
DigitalOcean Kubernetes (DOKS) is a DigitalOcean managed Kubernetes service that lets you deploy Kubernetes clusters without the complexities of handling the container infrastructures. This is the first Kubernetes deployment provider supported by the WaveMaker platform.
Following are the few benefits of Kubernetes deployments:
- Auto Scaling
- Auto Recovery
- Service Discovery
WaveMaker allows you to deploy your app to your DigitalOcean account for Live phase and Stage phase for WME users. For more information about app phases, see Release Management.
To deploy your app to the DigitalOcean account, you should configure the Live phase, or Stage phase for WME.
This document covers the Live Phase configuration for your DigitalOcean account and is a part of the Manage Deployed Apps
Stages in DigitalOcean Deployment
- Configuration of DigitalOcean cluster
- Deployment of application to DigitalOcean cluster
Stage-1: Configuration of DigitalOcean cluster
From Apps Portal, select the project.
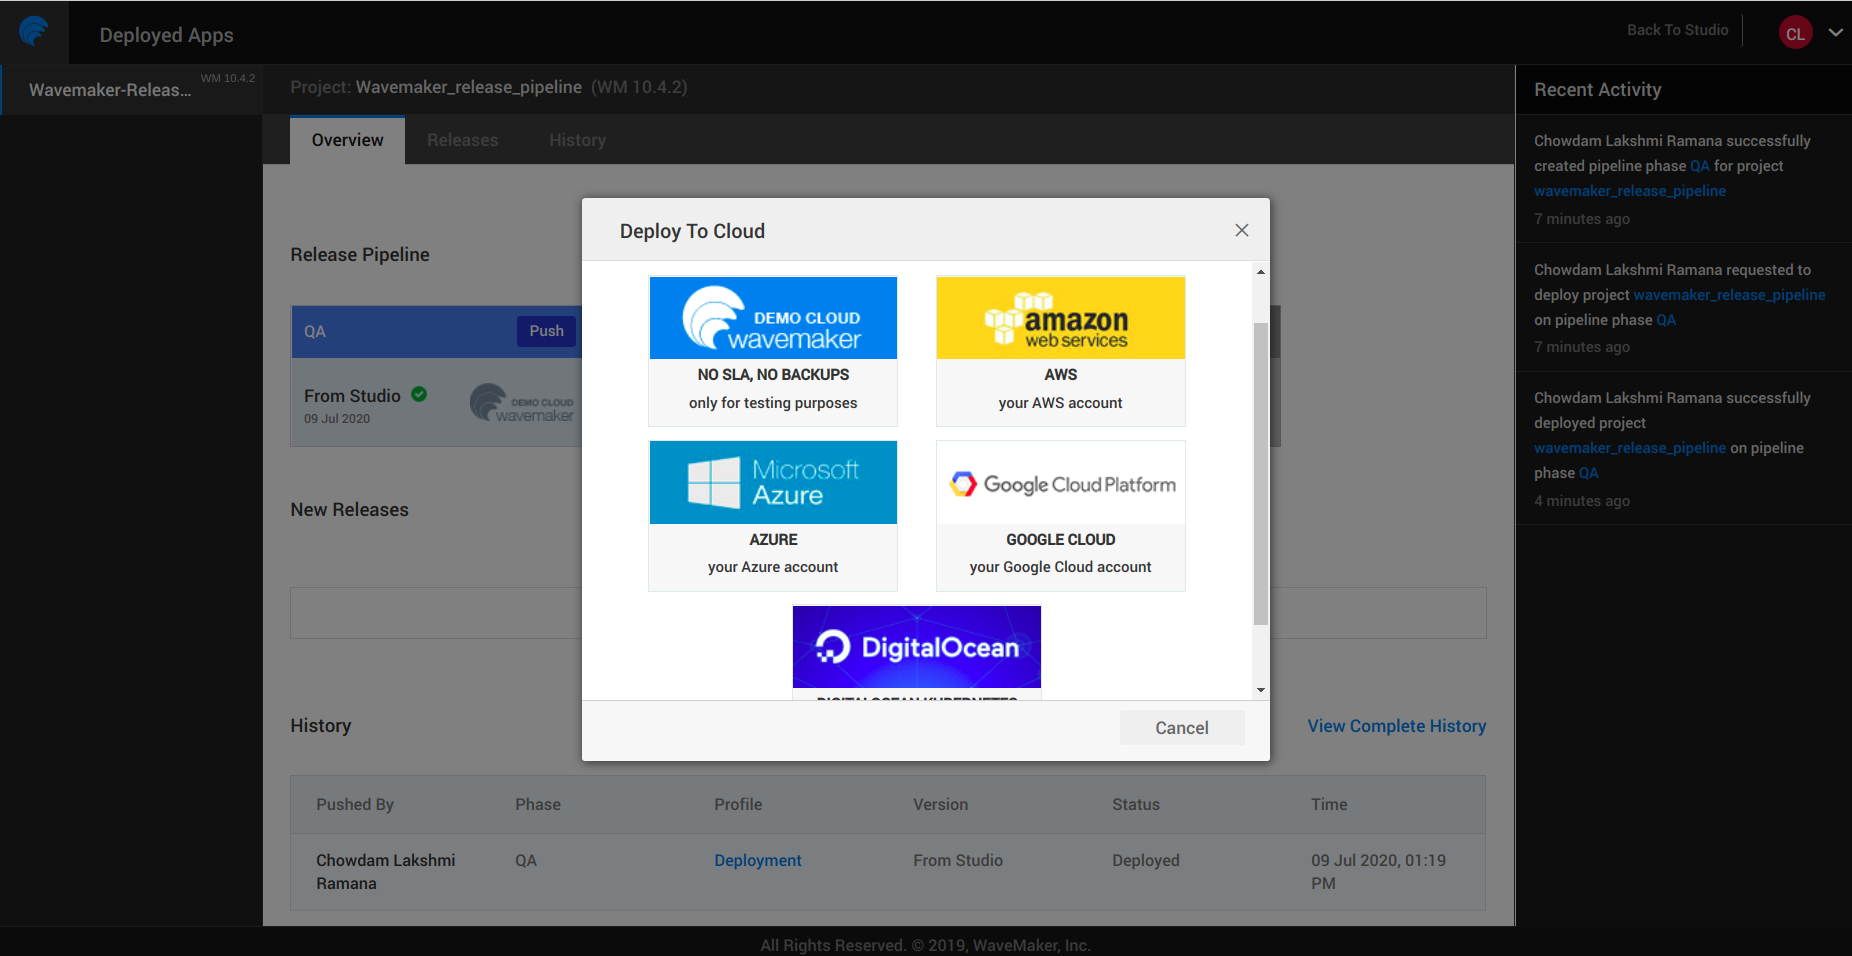
Click Configure on the Live Phase option.
While configuring the Live phase choose to host your app on the DigitalOcean cloud provider.

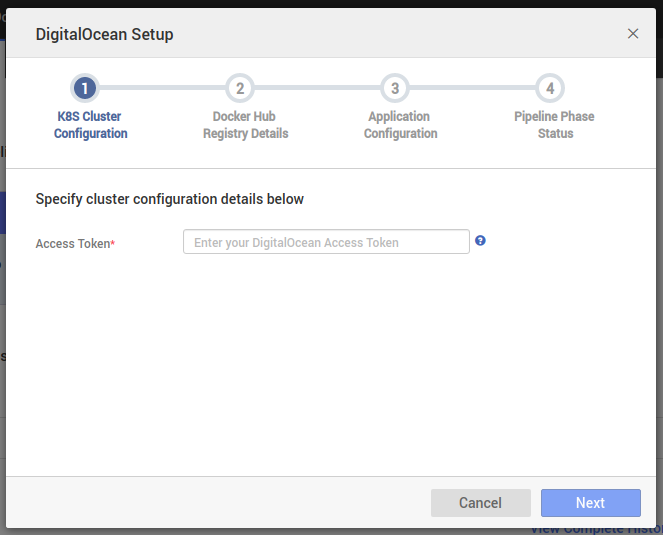
After choosing the DigitalOcean cloud provider, you observe a configuration dialog comprising of multiple steps. Let's talk in detail about each step below.
DigitalOcean account and cluster details
Enter your DigitalOcean access token to proceed with the configuration. For more information, see How to Create a Personal Access Token.
After providing your access token, you can see options to configure a new cluster or use an existing cluster.
Process 1: Creation of a cluster
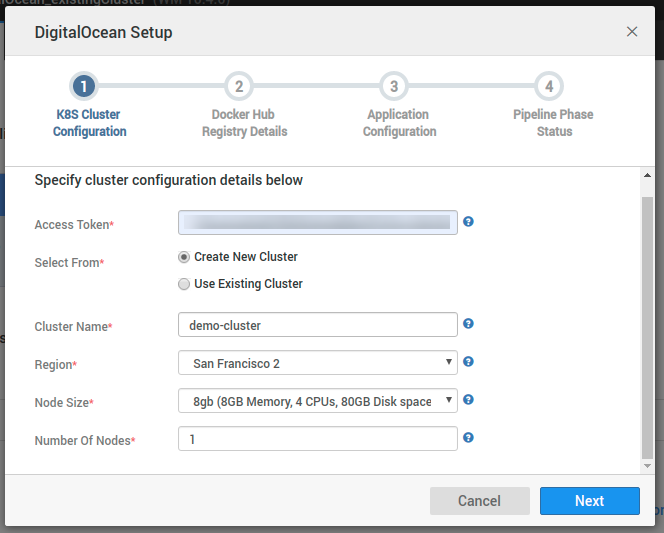
You should provide the following details to launch a cluster.
- Cluster Name
- The region for launching the cluster
- Cluster Capacity using:
- Cluster Node Size - This defines the type of memory, hard disk and CPU size that you would want to allocate to the worker node created.
- Cluster Node Count - This determines the number of worker nodes to be launched with the above-chosen node size in the cluster. The default value for this is set to
1.
Process 2: Use an existing cluster

You can choose from a pre-populated list of clusters present in your account. These fetch based on the access token that you provide.
Registry Details
Since the deployment flow involves image-based deployment, you should to have a registry account to push the application image to the registry and pull the same at the time of deployment of an application to the DigitalOcean cluster.
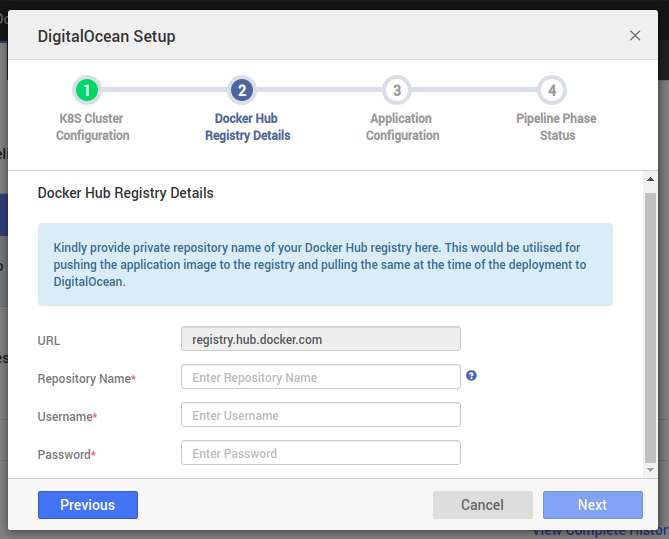
- Registry Url: Currently this is fixed to
registry.hub.docker.comas we are supporting only the docker hub registry for now. - Repository Name: To enable only private push and access of images, you should provide a private repository name. To create a private repo in Docker Hub account, see Private repositories.
- Username of Docker Hub account
- Password of Docker Hub account
Application Configuration
You need to provide Application-specific deployment configuration in this step.
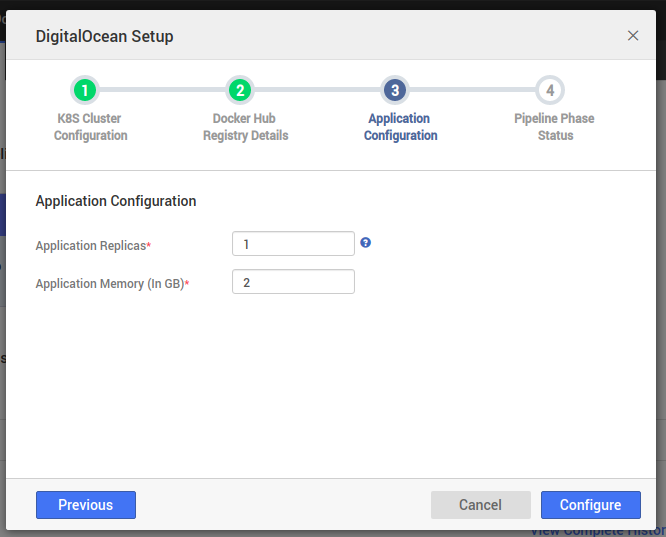
Application Replica: Scaling of an application is accomplished by changing the number of replicas in a Deployment. This value determines the number of pods that must be running within the worker nodes at any given point of time.
Application Memory: This is the amount of memory that needs to be allocated to deployed application. In case of a new cluster created, this value should never exceed the memory specified for the worker node size.
Once you enter the configuration details, click Configure to trigger the cluster configuration process.
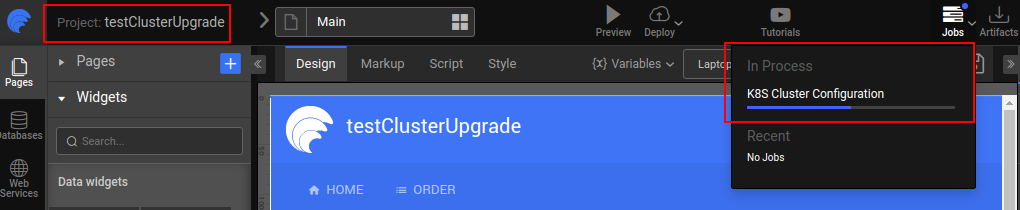
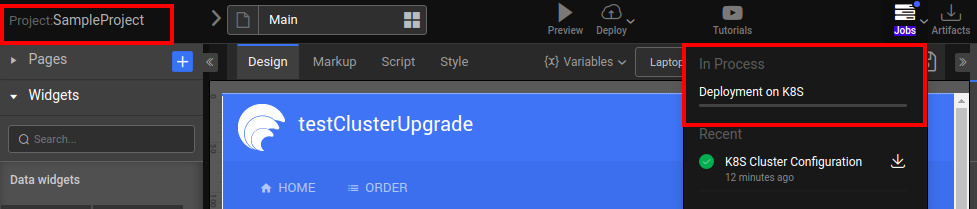
In case you have configured a new cluster, the phase creation is initiated and you can track the progress of the cluster creation process under the jobs section of the respective project in Studio.
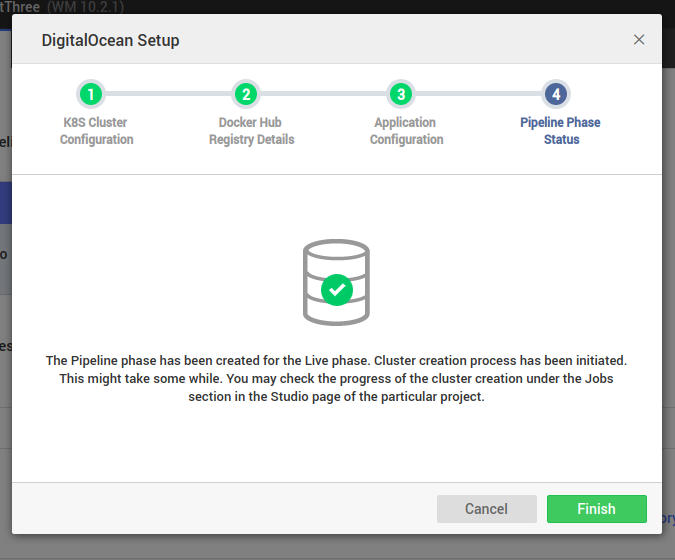
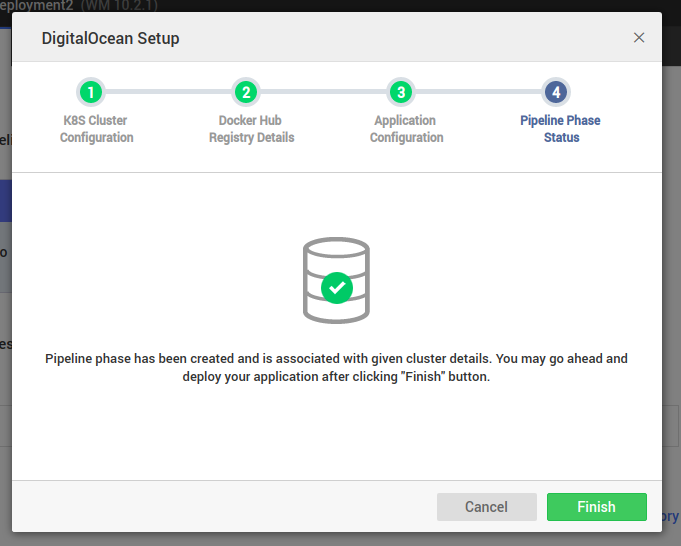
On clicking the Configure button, for existing cluster, the Live phase is associated with already chosen cluster details.
Stage-2: Deployment of application to DigitalOcean cluster
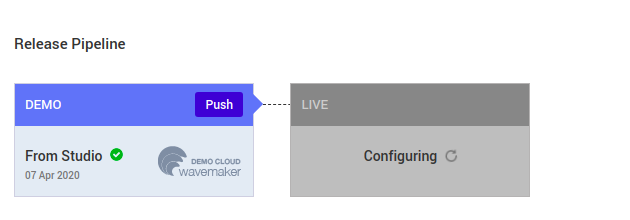
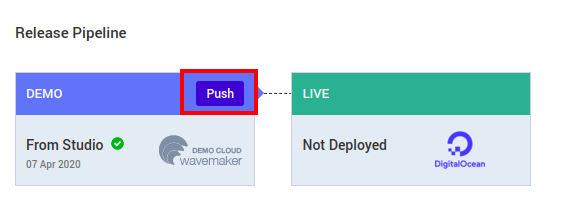
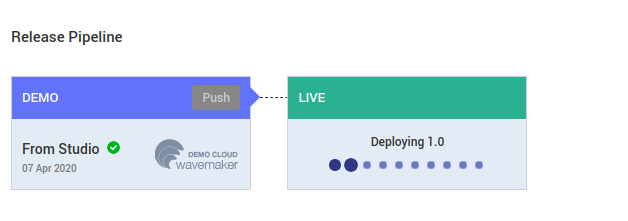
Once the live phase configuration is completed, you can trigger the deployment to DigitalOcean cluster by clicking Push option in the Demo phase.
For the deployment process, we depend on the HyScale tool.
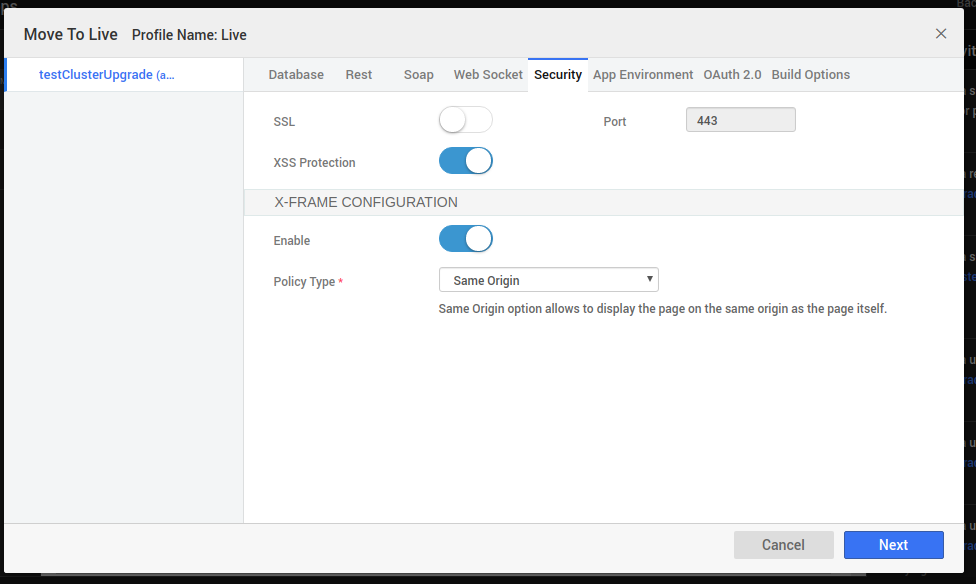
Once you click the Push button, you observe a config profile window. Configure the details as per your requirement and click Next and then Push.
The deployment progress can be tracked in the Jobs section of the respective project as shown below.
After successful deployment, you can see options to view the deployment details, or go to the deployed URL.
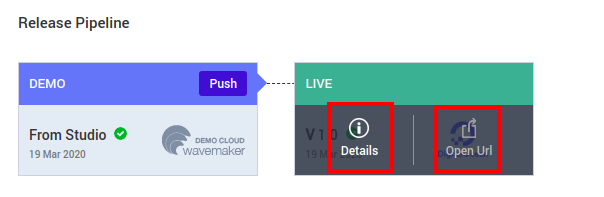
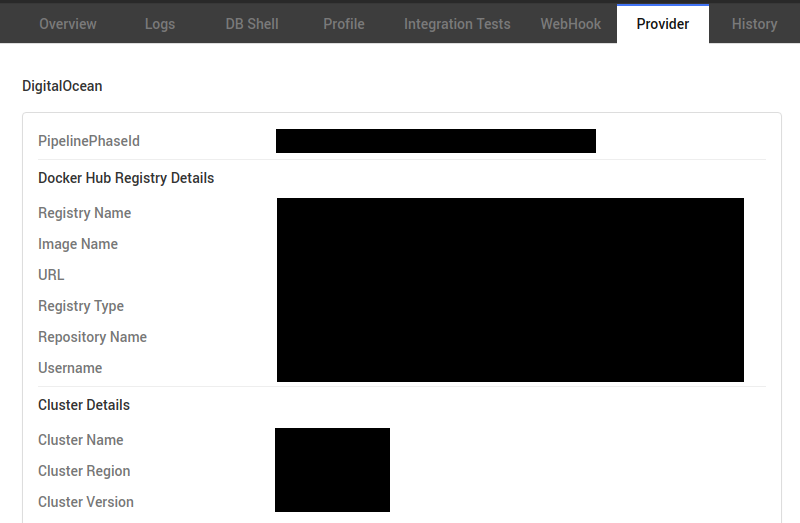
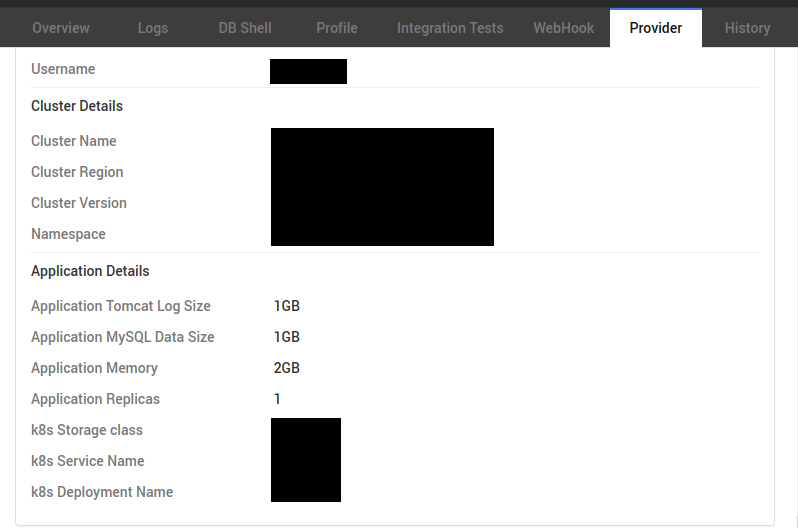
On clicking of the View Details tab, you can view the deployment and Live phase-specific information like ImageName, the namespace at which the application is deployed, the default storage class, cluster details, and more. You can use these details to perform registry, or cluster-specific operation, or debugging.