WaveMaker AutoCode - Design to Code Figma Plugin
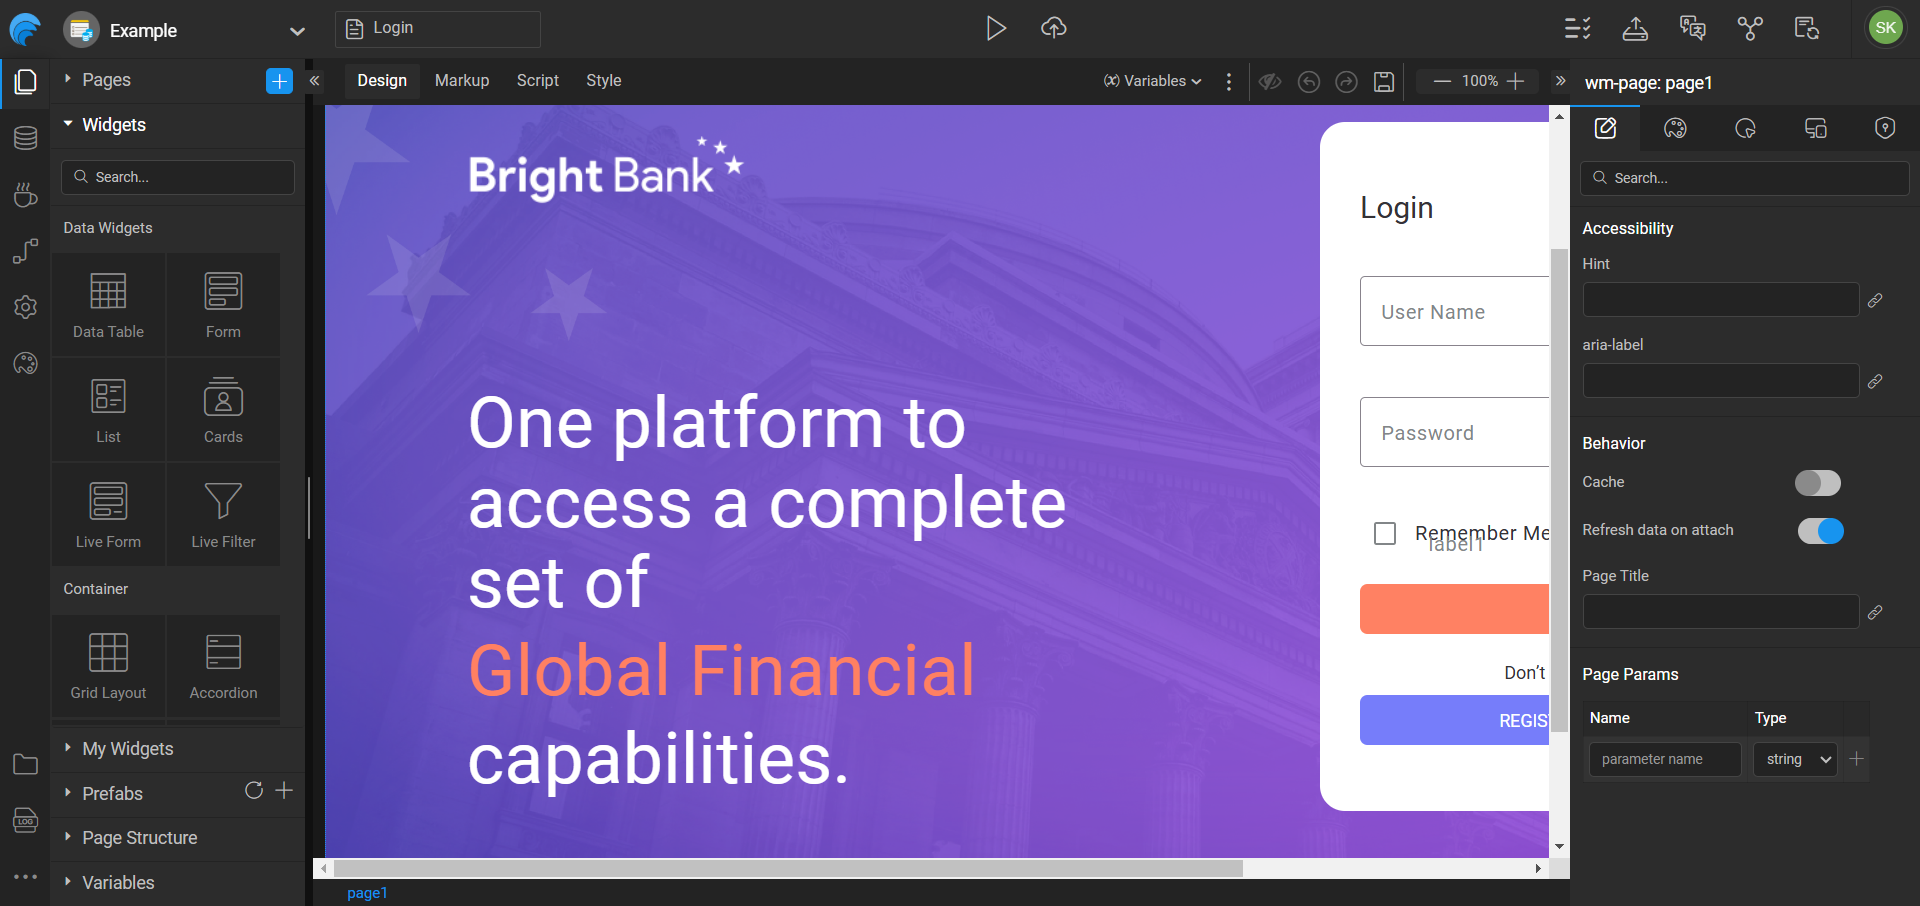
WaveMaker AutoCode, a Figma plugin, streamlines frontend development by generating WaveMaker-compatible code directly from Figma designs using Material 3.0 and WaveMaker UI Kits.
Developers can easily edit the generated code in WaveMaker Studio, importing designs for seamless integration and refinement. Within WaveMaker Studio, they can also bind backend APIs and implement business logic, effectively minimizing manual code translation and accelerating development cycles.
Highlights
- The generated code is built with WaveMaker’s enterprise-ready, battle-tested UI component library.
- Figma variables seamlessly map to CSS variables, capturing light and dark mode settings.
- On-click navigation and overlay prototypes from Figma turn into real, functional actions in the code.
Your Fast Track Guide
Here are the steps to turn your Figma design into code using the WaveMaker AutoCode plugin:
- Find the Plugin – Search for WaveMaker AutoCode in the Figma Community Marketplace or click here.
- Open Your Design – Use your existing Figma file or the sample file provided with the plugin.
- Launch the Plugin – Select the pages you want to convert into code.
- Run AutoCode – Click Run AutoCode Plugin to start processing the selected pages.
- Preview the Screens – Once processing is done, preview the generated screens.
- Edit in WaveMaker – Click Edit in WaveMaker to modify the code.
- Log In – Sign in to your WaveMaker account.
- Create a Project – Enter a project name in the creation dialog.
- Start Developing – A new project with the generated code opens in WaveMaker Studio, ready for further customization.
Before You Begin
- Prerequisite:: This is a Dev Mode plugin and requires a paid Figma account with Dev Mode access.
- Good to Know: Supports only Material 3.0 and the WaveMaker UI Kit. Works on both the Figma browser and desktop app.
- Download Plugin: The plugin is available in the Figma Community Marketplace. Open it in your design file or access it from the Plugins tab in Dev Mode.
Steps to Use the Plugin
1. Switch to Dev Mode
At the bottom of the Figma design canvas, toggle the last button in the toolbar to switch to Dev Mode.
2. Open the Plugin
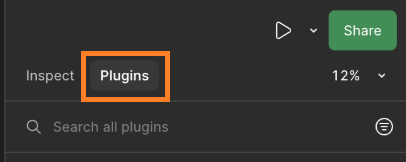
In the right panel, go to the Plugins tab
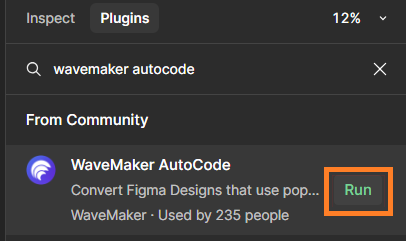
Search for WaveMaker Autocode Plugin and click Run.
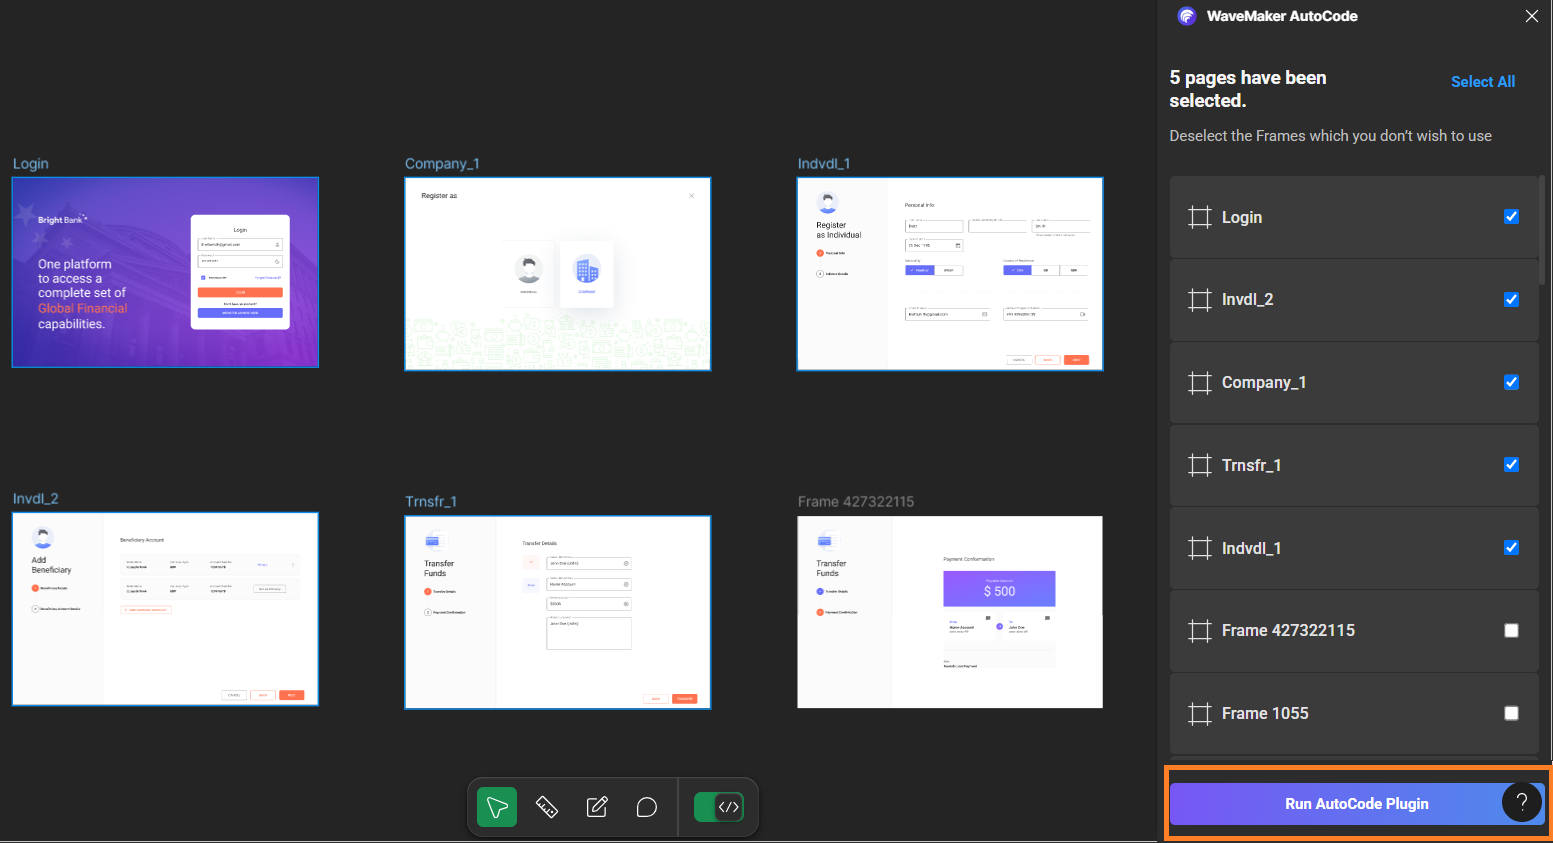
3. Generate Code
Select the pages you want to process and click Run Autocode Plugin. The plugin will process the selected pages.
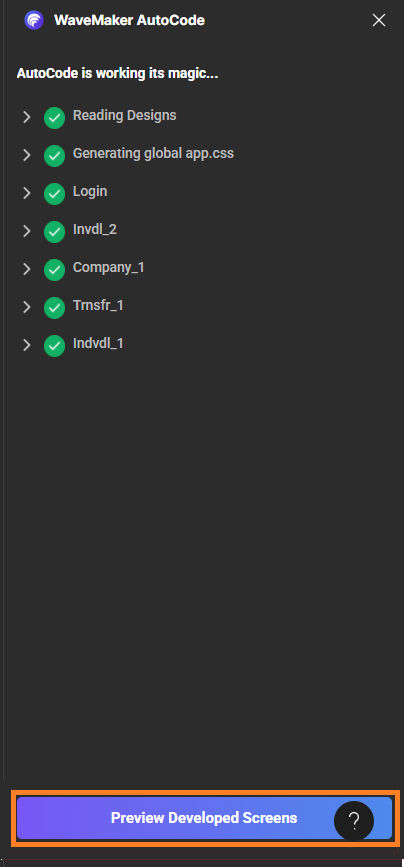
4. Preview Developed Screens
Once processing is complete, click Preview Developed Screens to view the output. This button will be enabled after processing a few pages. You can preview completed pages while the remaining ones continue processing.
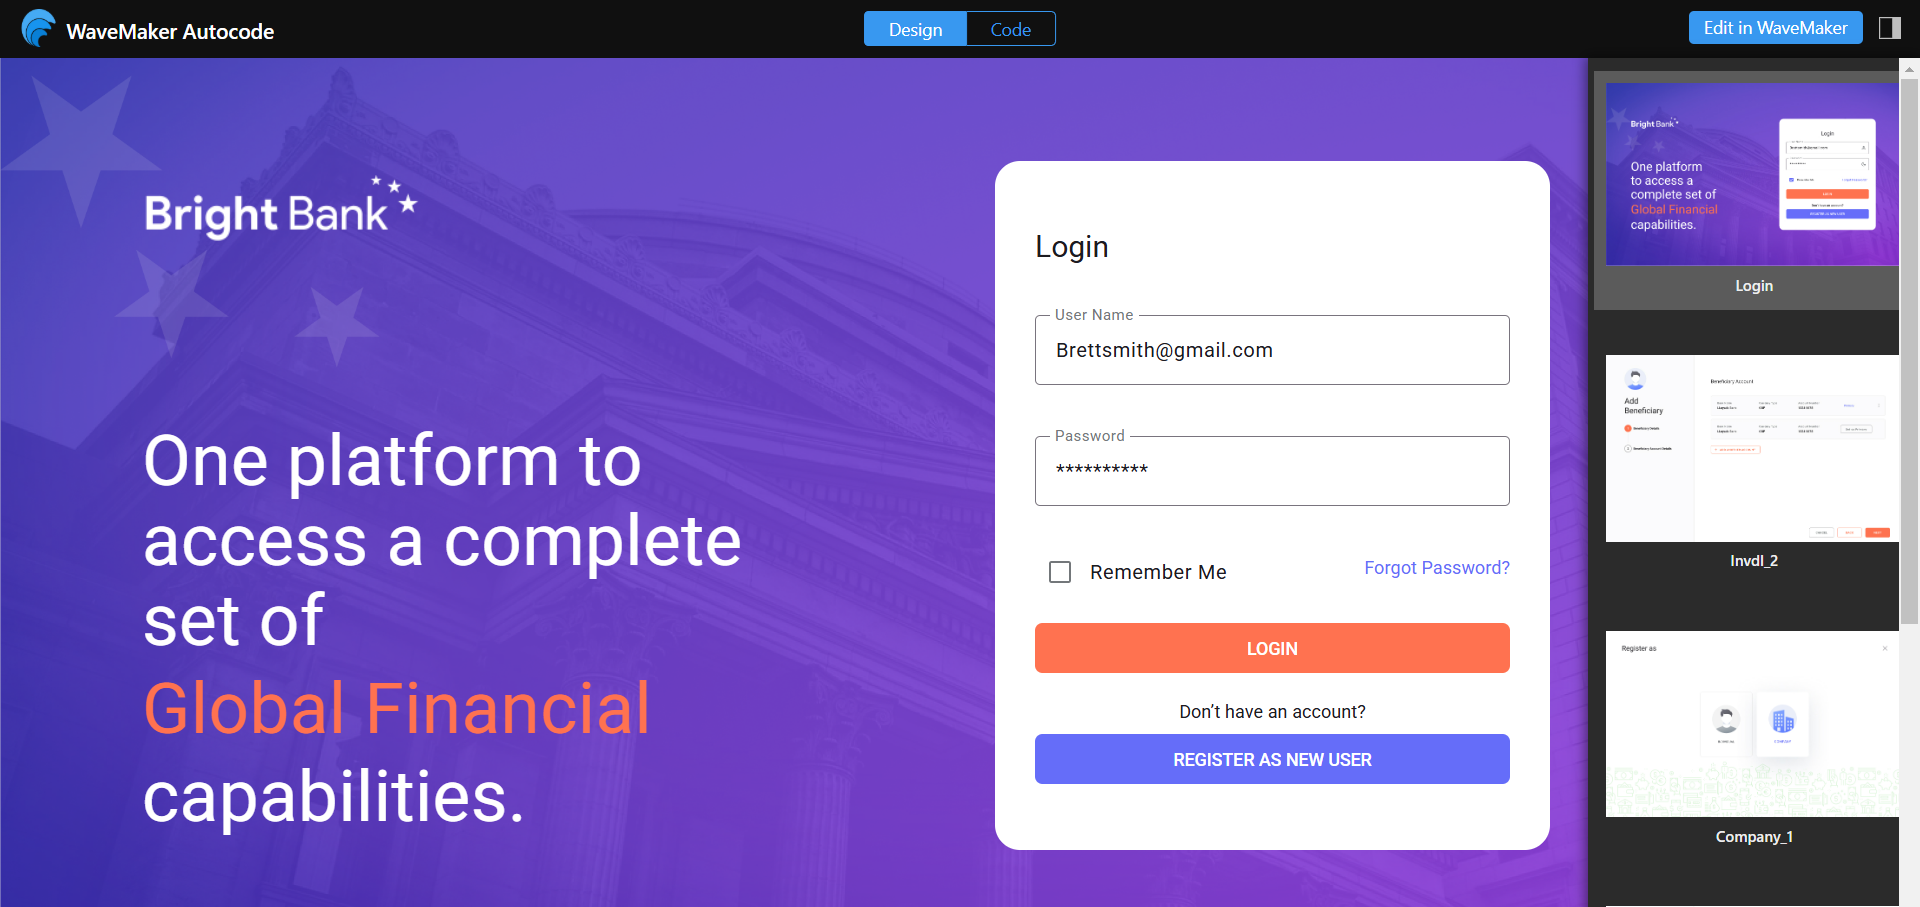
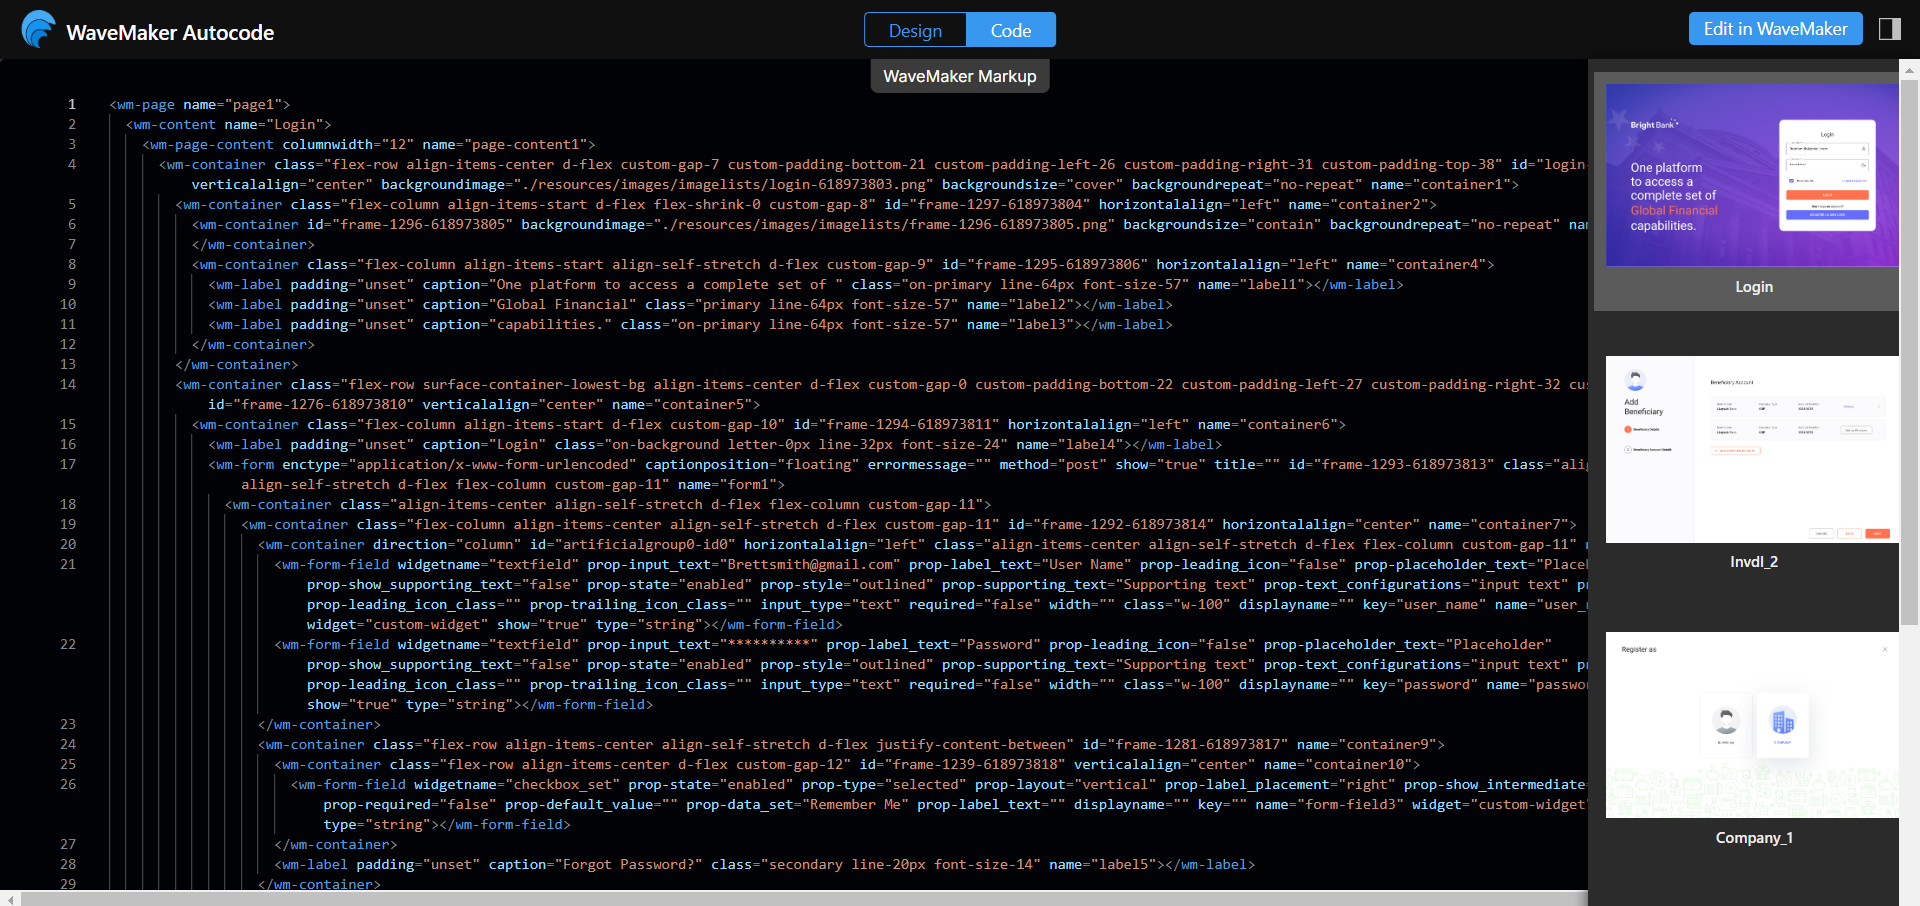
Clicking Preview Developed Screens will open your default browser, where you can view the output. The preview screen will display the generated design along with the corresponding code in the code tab.
Editing Generated Code in WaveMaker Studio
To edit the generated code, you must have a WaveMaker account. Follow these steps:
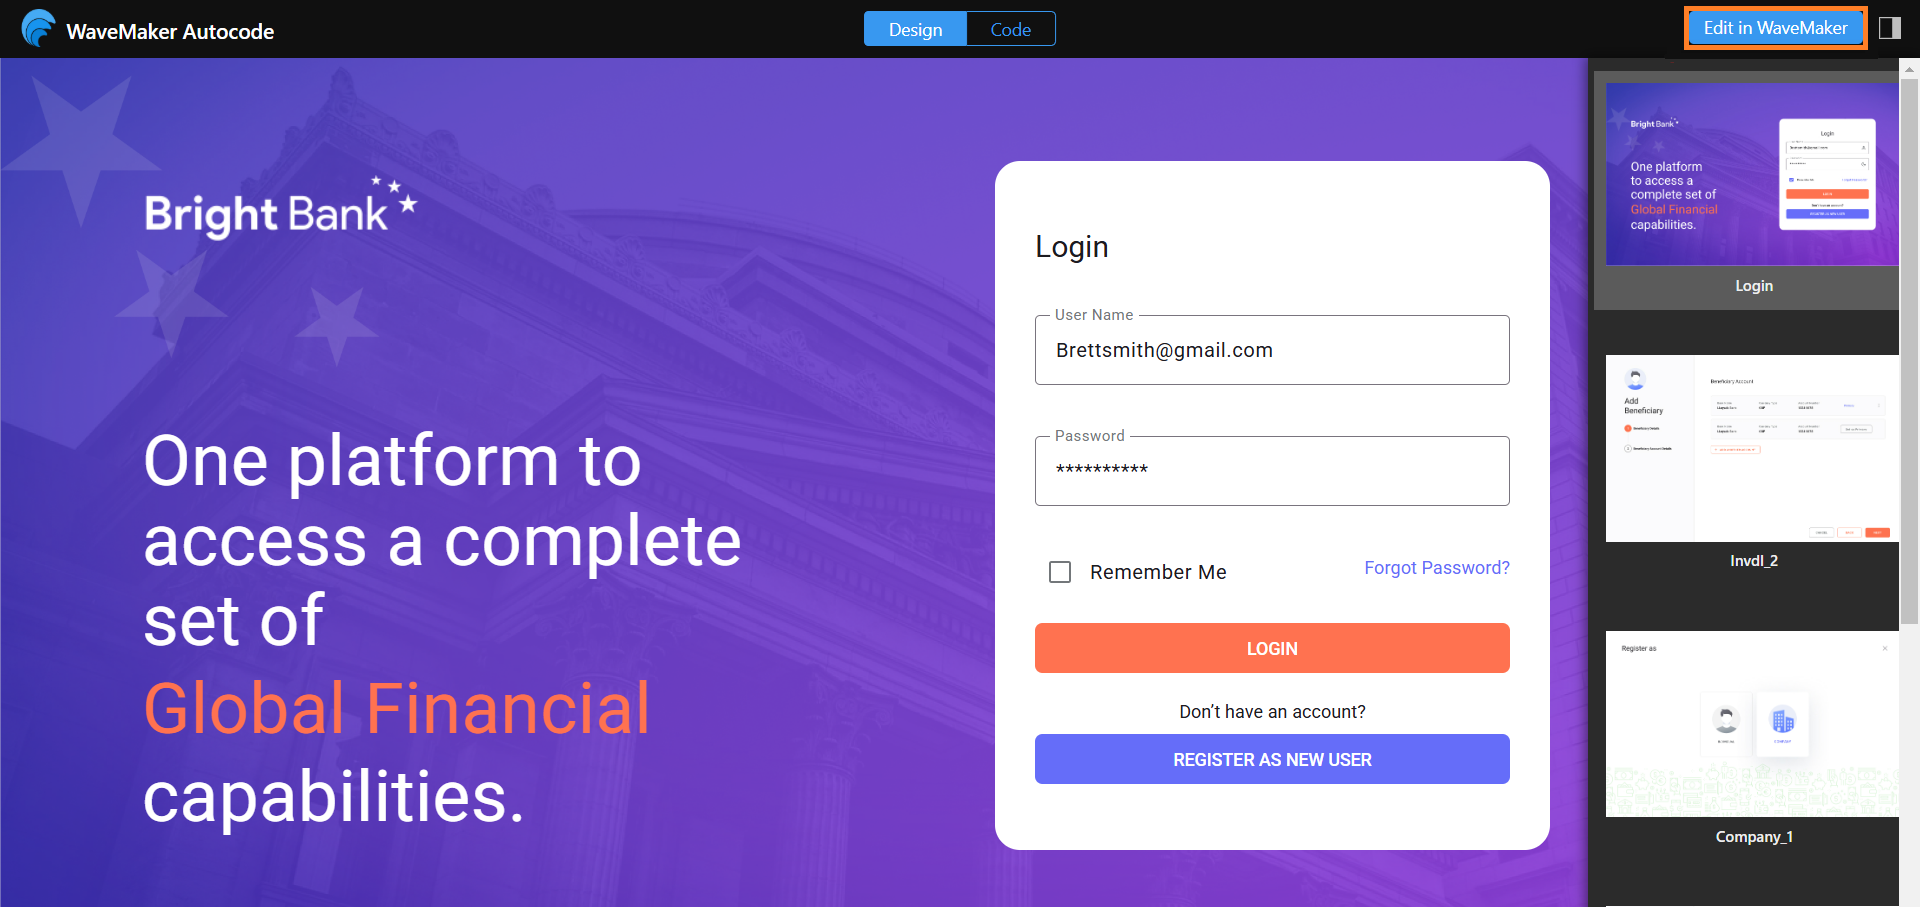
- On the AutoCode preview screen, click Edit in WaveMaker.
- If you are not logged in, you will be redirected to the WaveMaker studio login screen. After logging in, enter a project name in the project creation dialog and click Open Project.
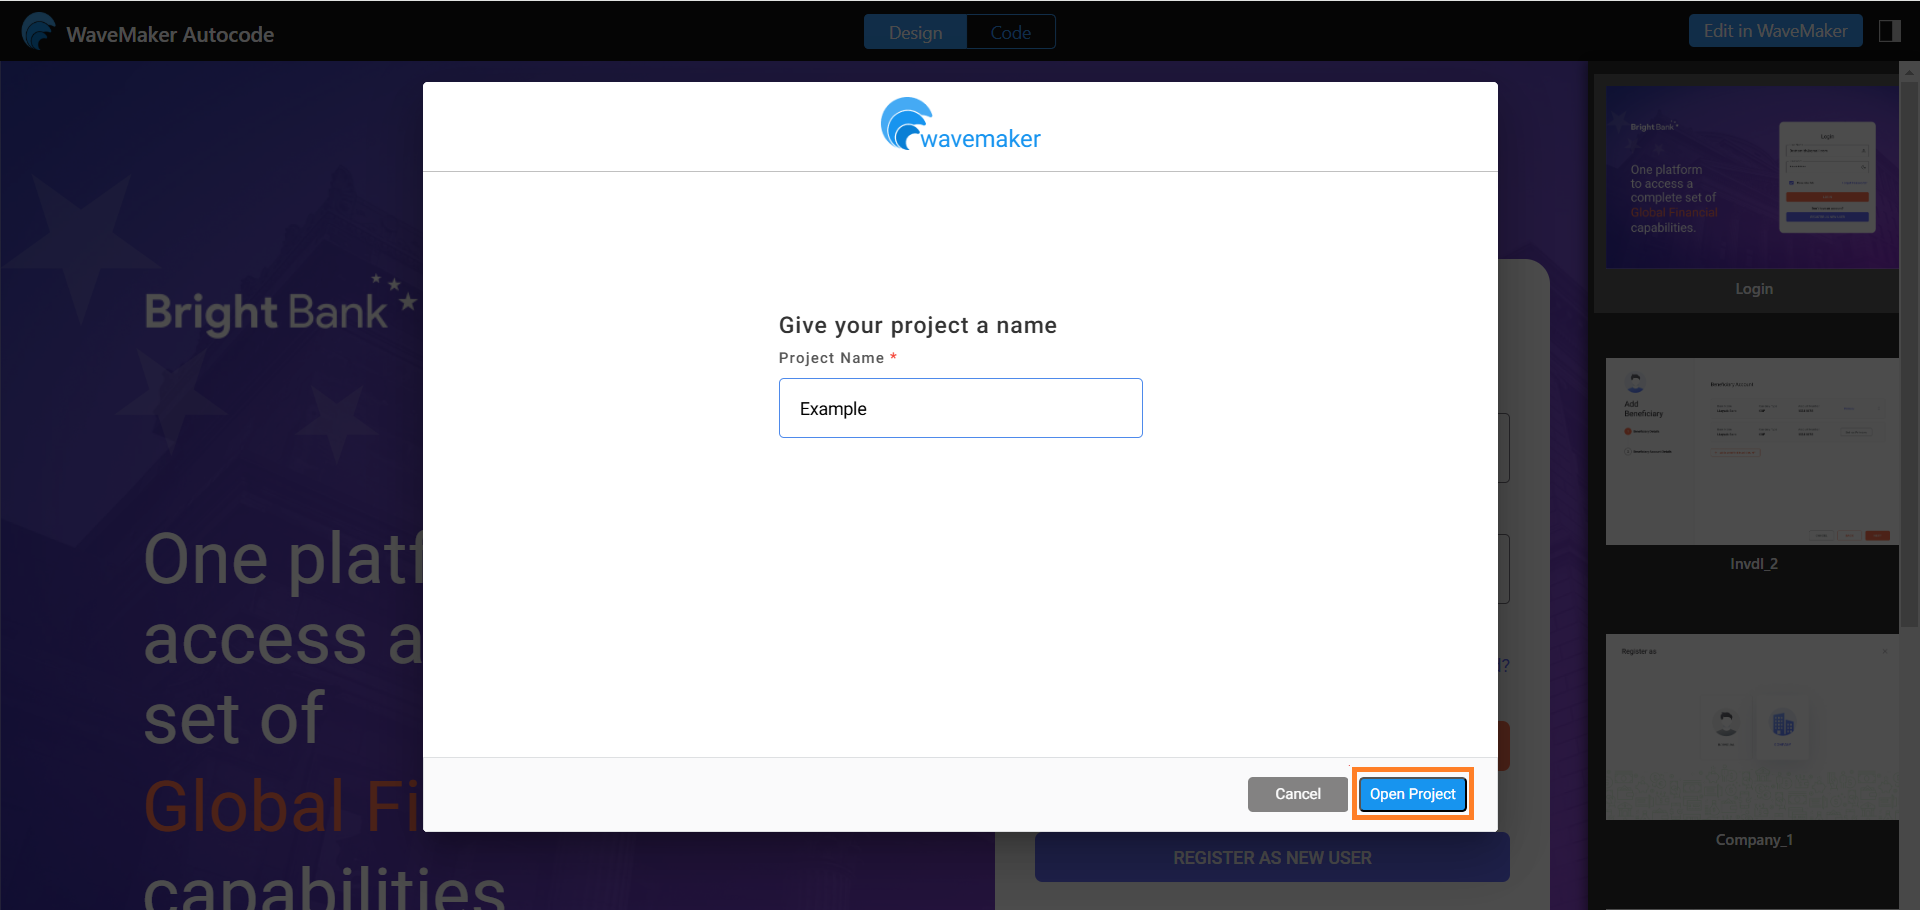
- This will create the project in WaveMaker Studio and redirect you to it, where you can edit the code.