Import API Services
WaveMaker automatically generates UI functionality for create, read, update, delete (CRUD) operations if you import REST API endpoints via Swagger/OpenAPI. Most of the backend frameworks like Spring Boot, .NET core already support an automatic generation of Swagger documentation for the REST APIs.
You can develop a WaveMaker app by importing REST APIs that have Swagger/OpenAPI support. Import REST services via Swagger to get access to the required information to consume and integrate with your app.
Supported Widgets
Web: DataTable, Form, Cards (read-only), List (read-only).
Mobile: List with Form.
Importing Swagger
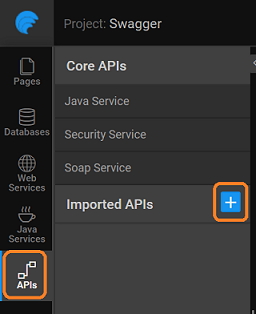
Go to APIs section, and select Imported APIs.
Import Swagger from a URL or a File.
- File: Supports
.json,.yaml - URL: The service URL that hosts the REST service.
For example, see Swagger Petstore Project.
https://petstore.swagger.io/v2/swagger.json

Entity and Endpoints
When you import an API, all endpoints group into Entities. An Entity contains multiple endpoints. For example, CRUD endpoints, including Create, Read, Update, and Delete methods group into a single entity.
| HTML Verb | CRUD | Swagger |
|---|---|---|
| POST | Create | CREATE |
| GET | Read | LIST |
| PUT | Update | UPDATE |
| DELETE | Delete | DELETE |
From the left navigation, view all the identified Entities. Click the Entity name to see its endpoints, which categorize as CRUD endpoints and Other endpoints. You can modify these if needed.
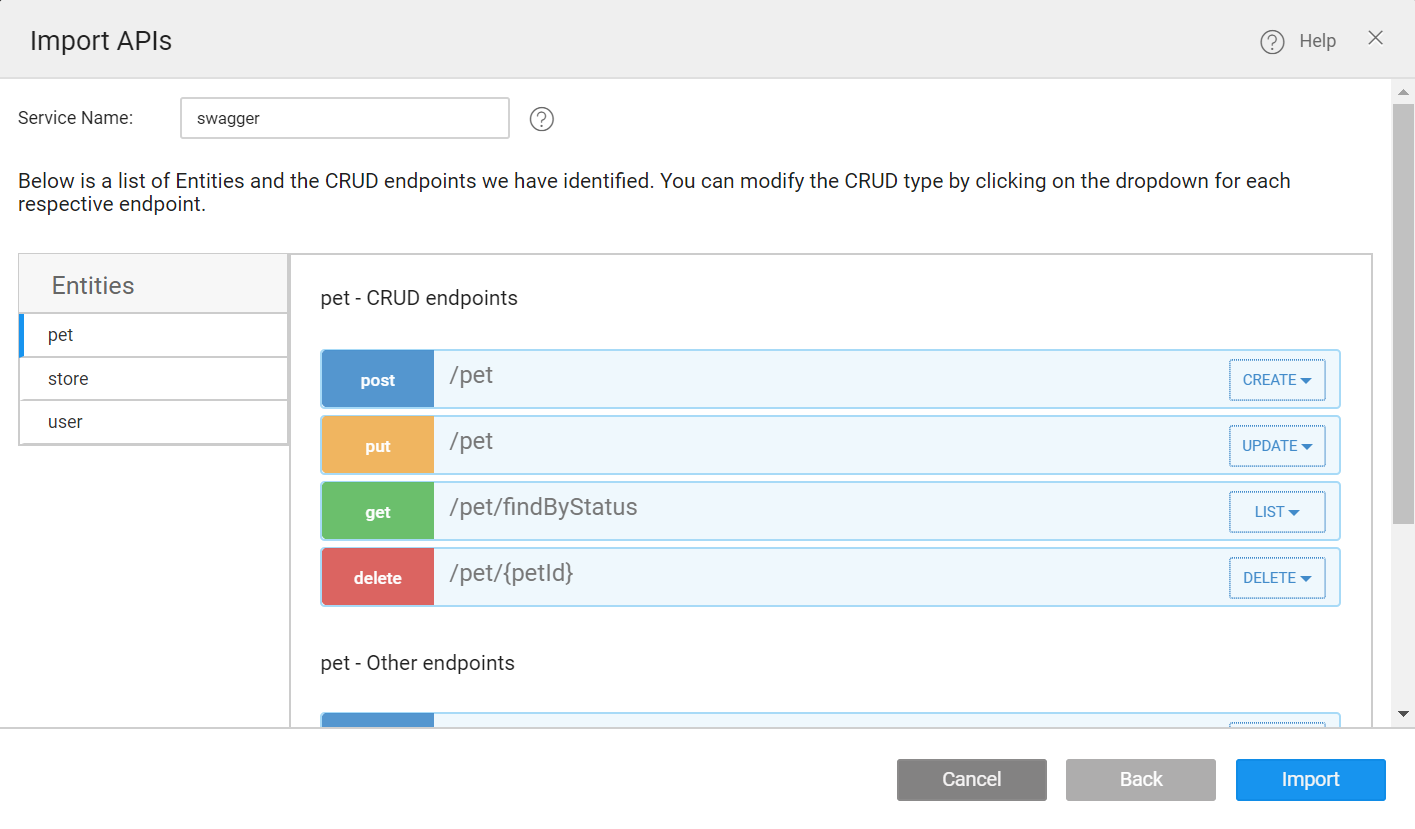
If you cannot find an entity for a path, look for the Others entry from the Entities list. You can use them as a Variable; however, it does not support CRUD operations.
After verifying the details in the Import APIs dialog, click Import to add the service.
Configuring Authentication
Next, in the following dialog configure, API authentication. Swagger supports OAuth 2.0. Click OAuth Provider to enter provider details.

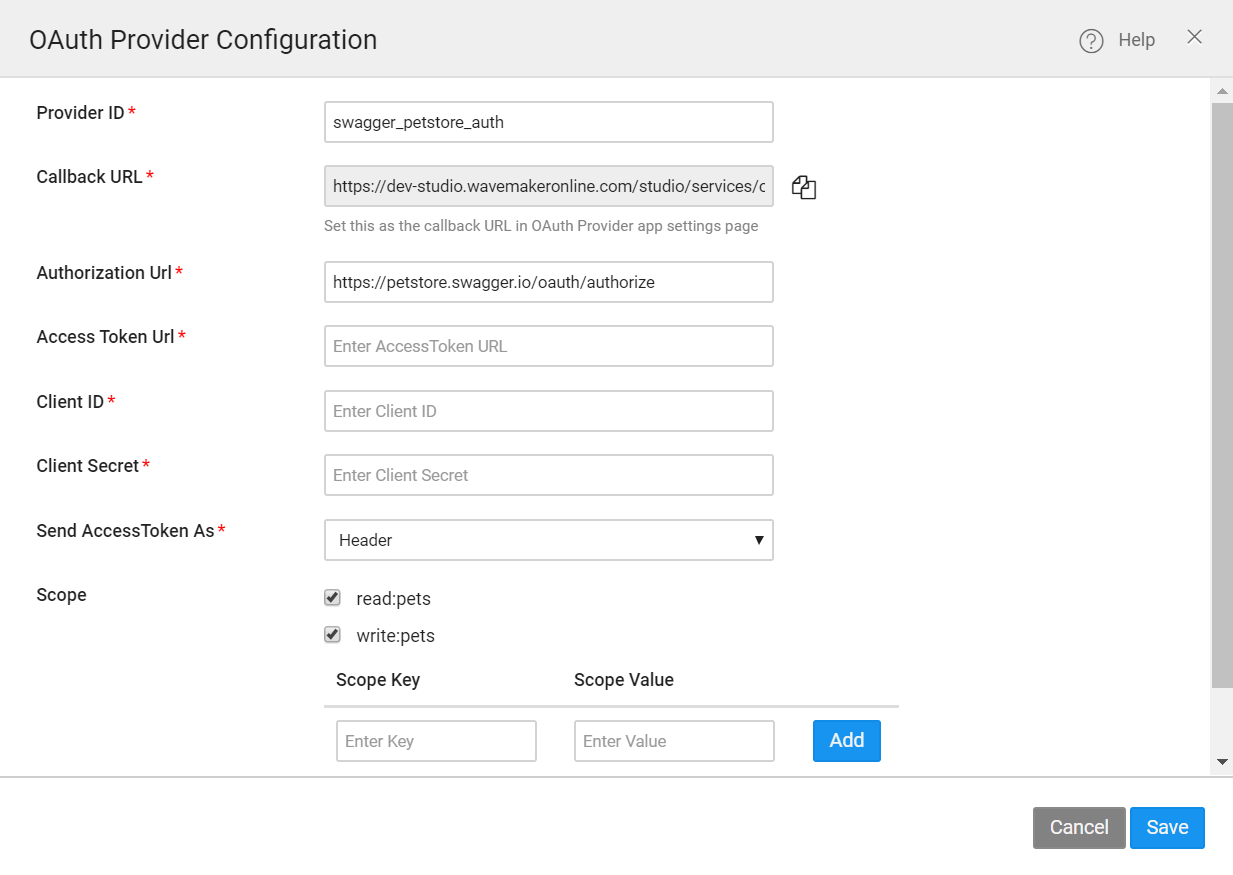
In OAuth Provider Configuration dialog, enter the values for Access Token URL, Client ID and Client Secret of the imported REST service. To know how to configure these properties, see OAuth Provider Configuration for REST Services.
For more information, see REST Services using OAuth 2.0, and see the list of Supported OAuth 2.0 Providers, here.
Consuming Imported REST Services
When you successfully import a REST service, you can drag-and-drop the supported widgets to configure for CRUD-ready operations. To learn how to create a CRUD variable, see Creating a CRUD Variable for REST Services.
Also, you can create a service variable, and integrate it with widgets to perform one operation at once using Other Endpoints. For more information, see Service Variable for Imported APIs.