Build your First Mobile App
Learn how to develop a simple hybrid mobile app in WaveMaker Studio. This app uses device-specific widgets like camera and contacts. In this app, click pictures, view it and save them to the phone gallery, and view your contacts.
Widgets used in this app
| Widgets | Description |
|---|---|
| Segmented Control | Segments are vertical tabs used for mobile devices. |
| Grid Layout | To align the contents of the app. |
| Camera | To access the mobile camera to take pictures. |
| Picture | To display the captured images. |
| List | To access and display the contacts from the mobile. |
Creating a Mobile App
- Click the Create button on the Project Listings page of WaveMaker, and select Mobile as a platform.

- Enter the name of the application, set an icon to represent your app, and provide a brief description for the app.
Designing Base
- Set the screen size to your favorite mobile device, or leave it to default settings.
- Drag and drop Segmented Control widget on the canvas.
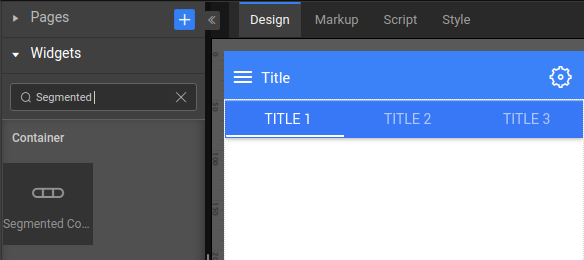
Name the Titles to Camera and Contact respectively, and delete the extra segments.

Adding Camera
On the Camera's segment, drag and drop the camera widget.
Select the Save To Gallery property for the camera widget. This enables the app to save pictures to the gallery on your mobile device.
Select the Camera segment and set Horizontal Align property to
Align center. This brings the camera to center alignment.
Displaying Captured Pictures
- Drag and drop the Grid Layout widget. Use only one column and remove the remaining columns. Set the column width to
12andalign center. This allows you to align the picture when displaying. - Drag and drop the Picture widget onto the Grid Layout column and set the height and width to 150px.
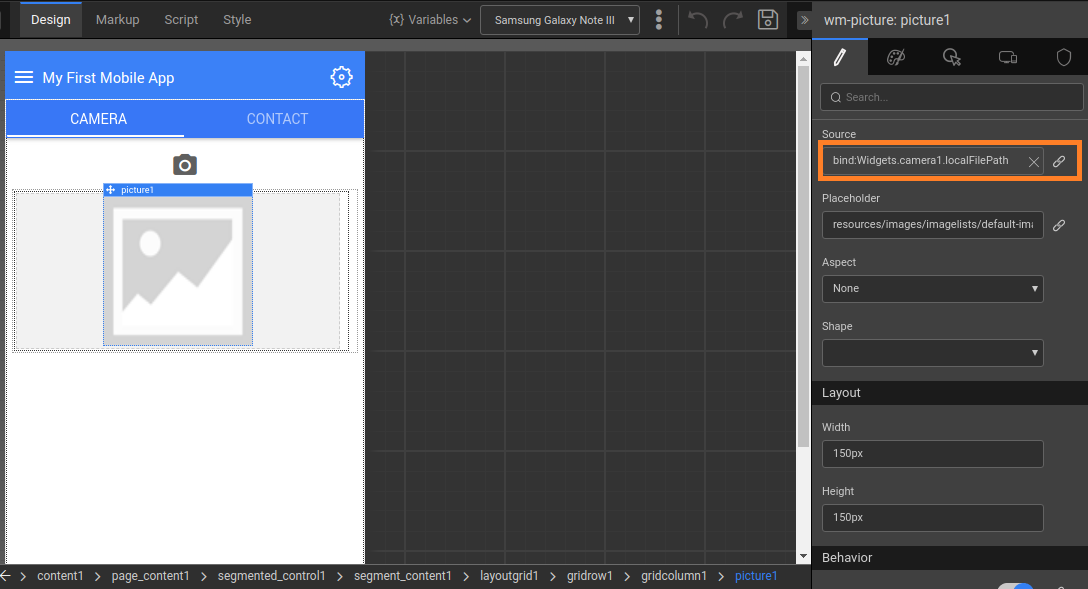
- Bind the picture source to Camera widget and select the
localFilePathproperty, and click Bind.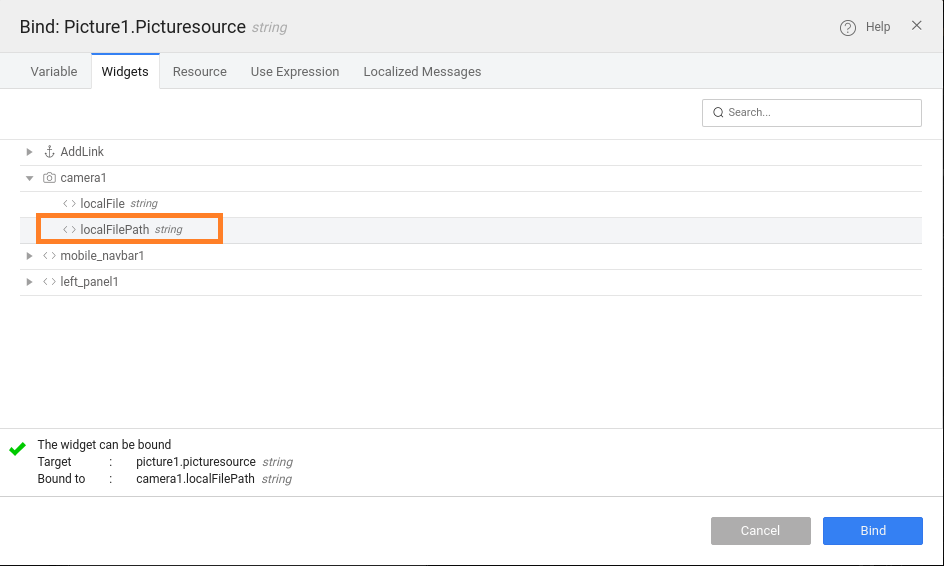
Designing Contacts
To design contacts page, create a device variable and bind that to the repeated sections of the list. Follow the steps described below.
- Go to the Contact segment by clicking the Contact tab.
Create a Variable for Data Source
Click Variables from the header. Click New Variable and, select the Device type.
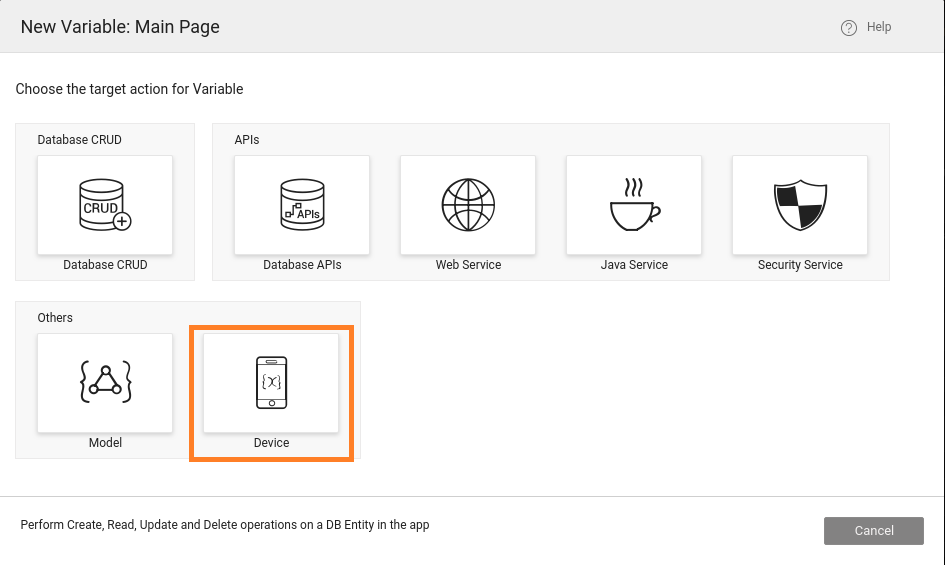
For the Service type, select contacts from the dropdown.
Provide a name for the variable; for example,
Device_Contacts, and click Done.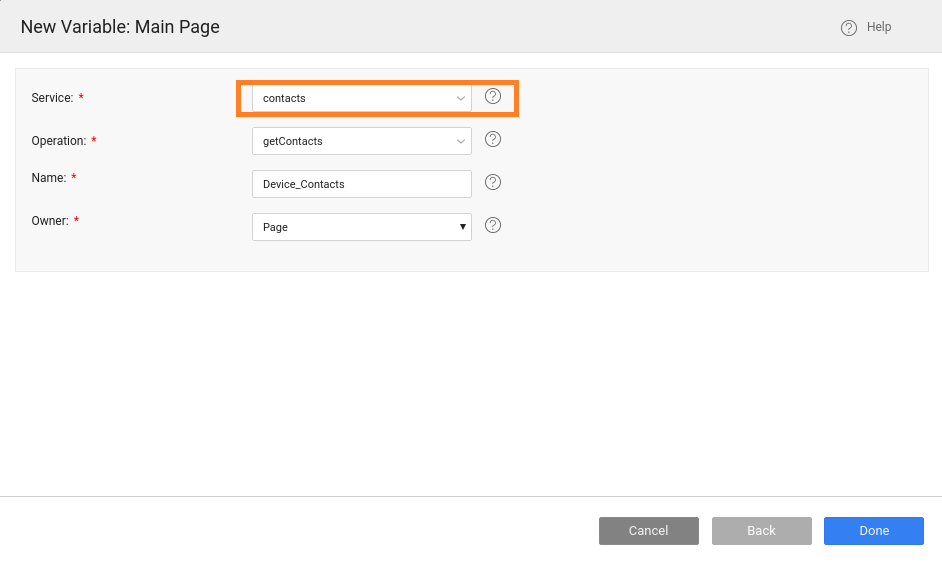
Next, check the boxes for Update data on input change and Request data on page load, and save and close. This ensures that the variable gets triggered when you run the app.
Adding List Widget
Drag and drop the List widget onto the Contact segment.
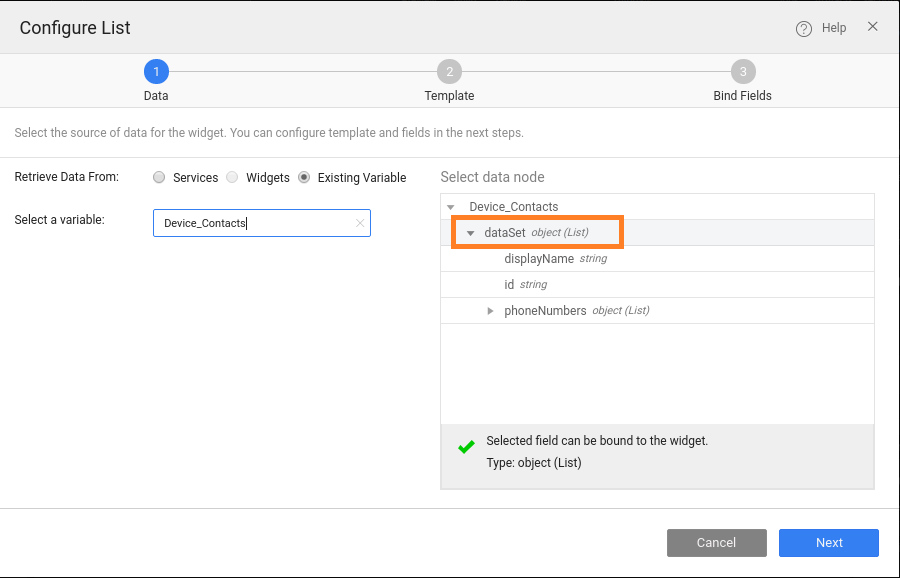
- For the Retrieve Data From option, select
Existing Variable. - For Select a variable, choose
Device_Contactsas data source. - For Select data node, click
dataSetto select, and click Next.
- For the Retrieve Data From option, select
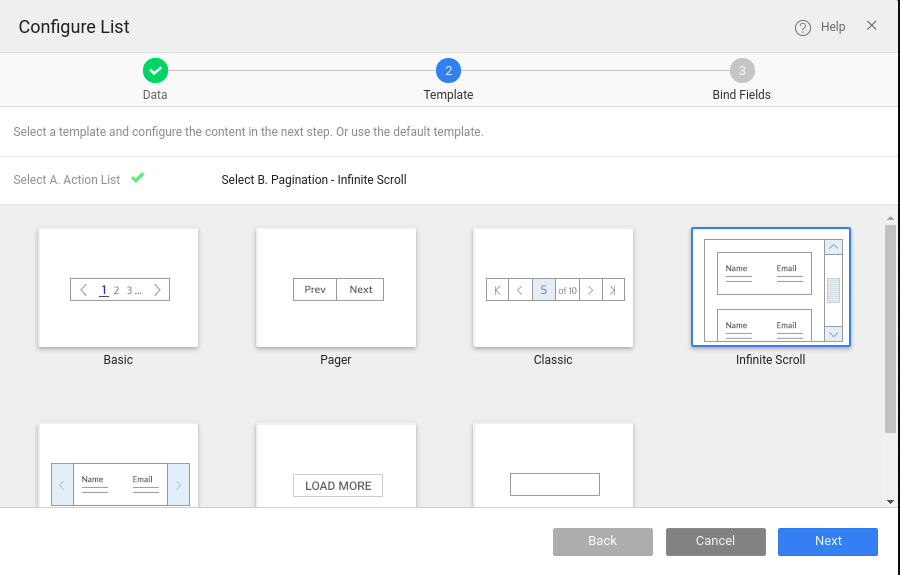
Select template as Actions List, and set pagination to Infinite Scroll. This ensures that all the contacts load in a single page.
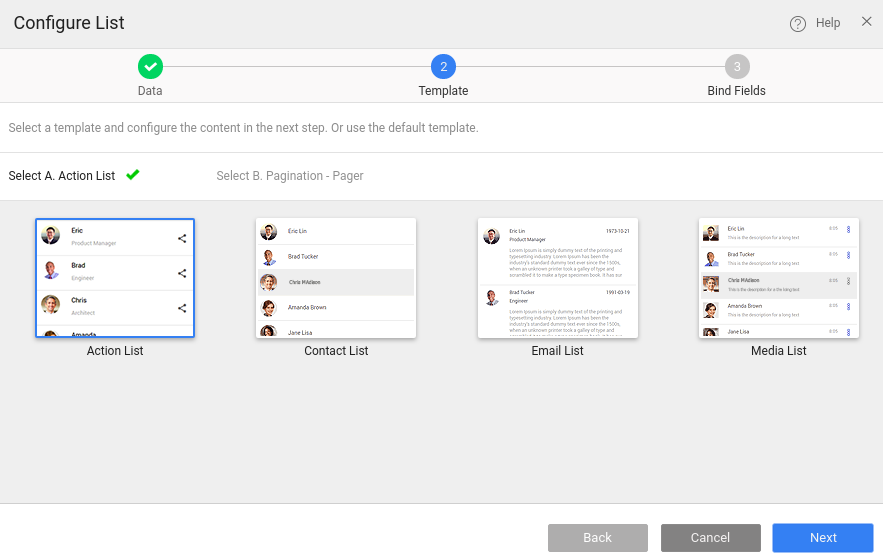
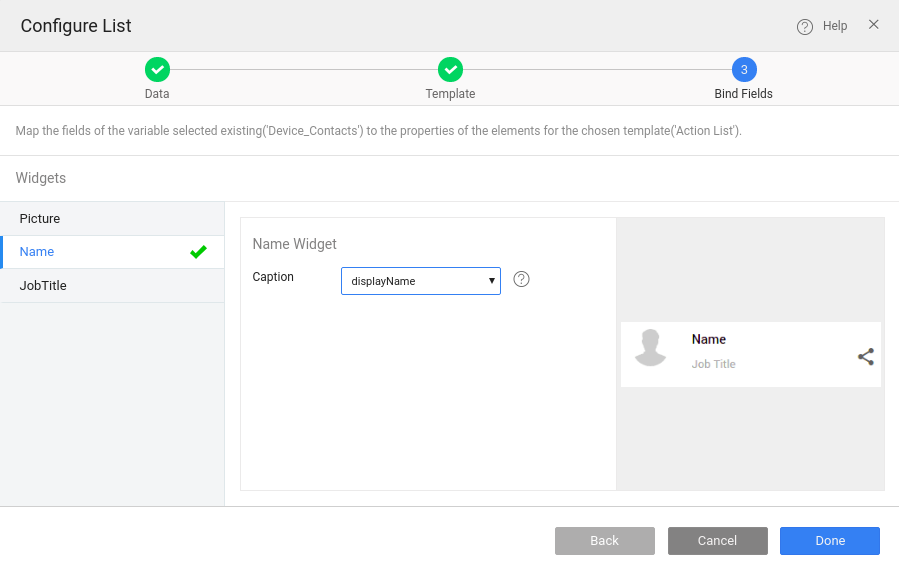
Set fields for the list. Select Name and set caption to displayName from the dropdown, and click Done.
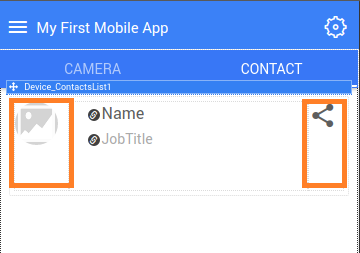
The list displays as following in the design mode. Remove all non-essential elements from the list, including picture widget and share icon.
Adding Repeated Sections of List
Drag and drop another List inside the List created in the previous step.
For the Retrieve Data From option, select
Existing Variable.For Select a variable, choose
Device_Contactsas data source.For Select data node, click
phoneNumbersto select, and click Next.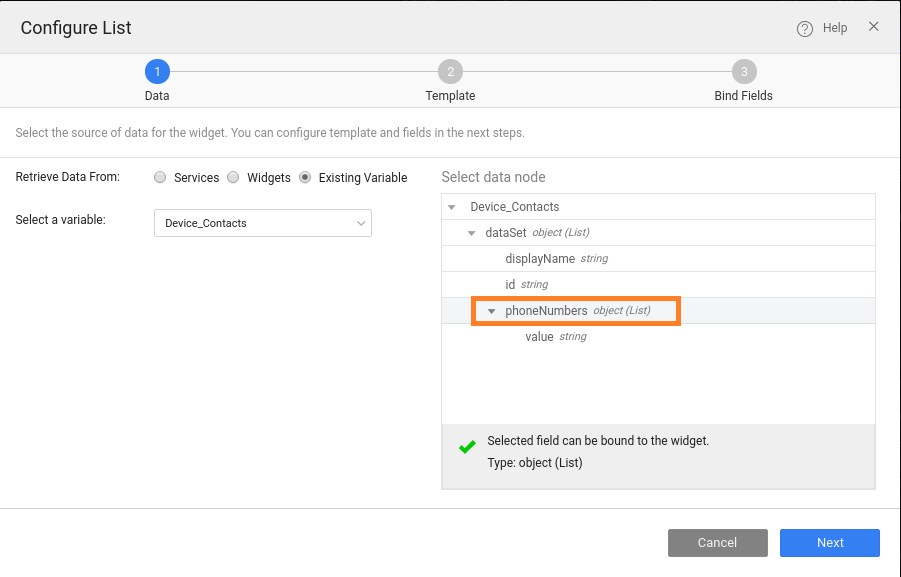
Select template as Actions List, and set pagination to Infinite Scroll. See, step-2 for adding list.
Set fields for the list. Select Name and set caption to value from the dropdown, and click Done. See, step-3 for adding list.
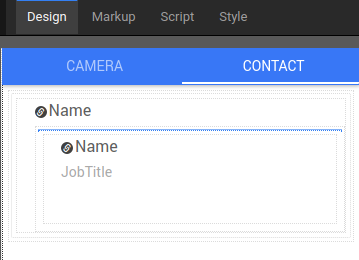
In design mode, the list-inside-another-list should look as shown below. Remove all non-essential elements from the list, including picture widget and share icon.
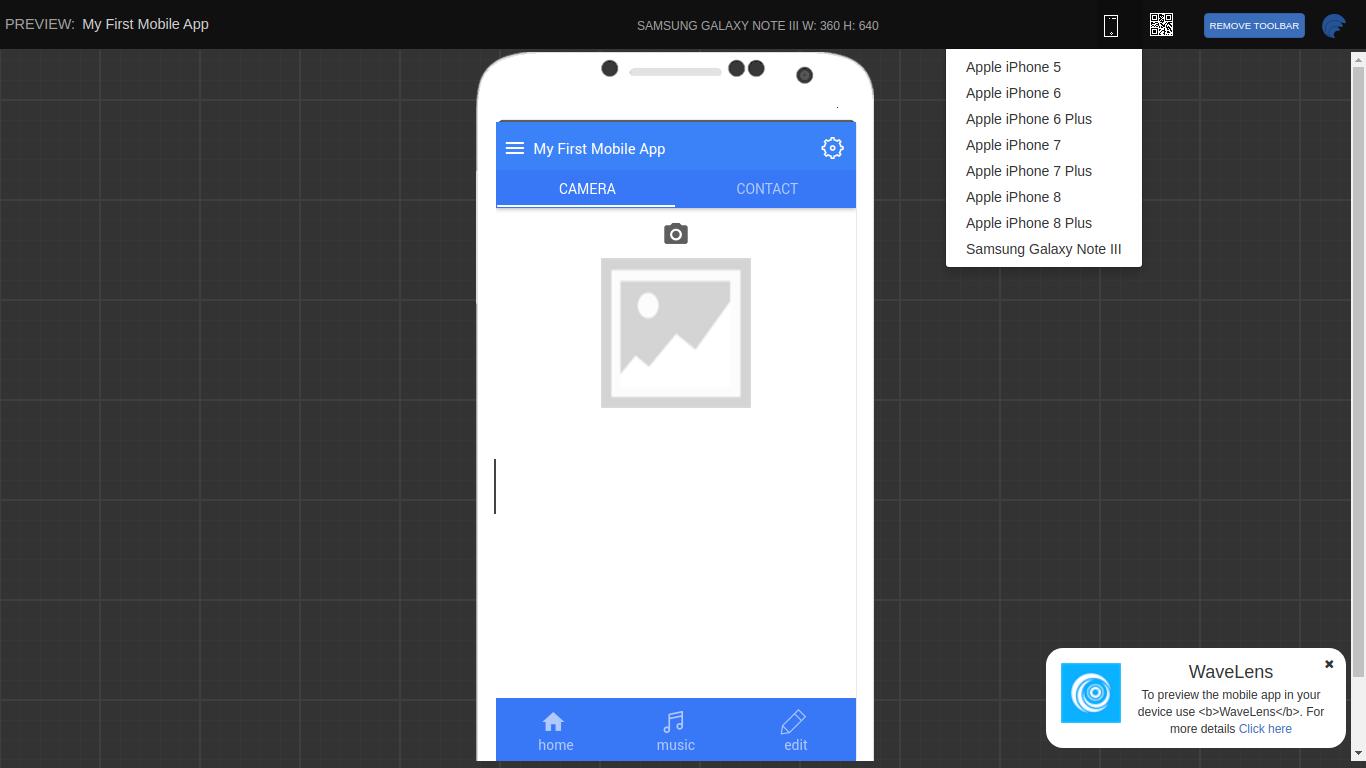
Preview App
- Run, to preview the app.
You cannot use the camera, or see any data in contacts. These are device-specific features that work in mobile-only.
Change the device type to view changes in different screen sizes.
When you are happy with the changes, proceed to build the app.
Build App
For installing the app on mobile device, you need an APK file for android phones, and an IPA file for iOS phones. WaveMaker supports Build for Android to generate APK files, and Send to PhoneGap to generate both IPA and APK files.
For this app, we use Build for Android to generates an APK file. However, for creating release APK and IPA to publish on Playstore, or App Store, use Send to PhoneGap or Manual Build.
Generate APK File for Mobile Installation
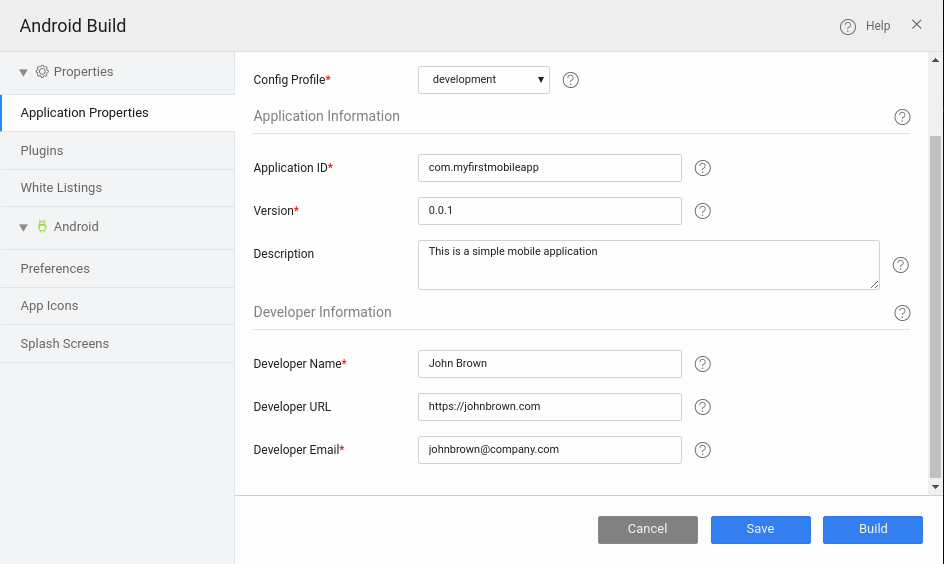
Click the build option from the header.

Enter the details in the Application Properties tab. Provide the application details, including app name, release version, developer details, and more.
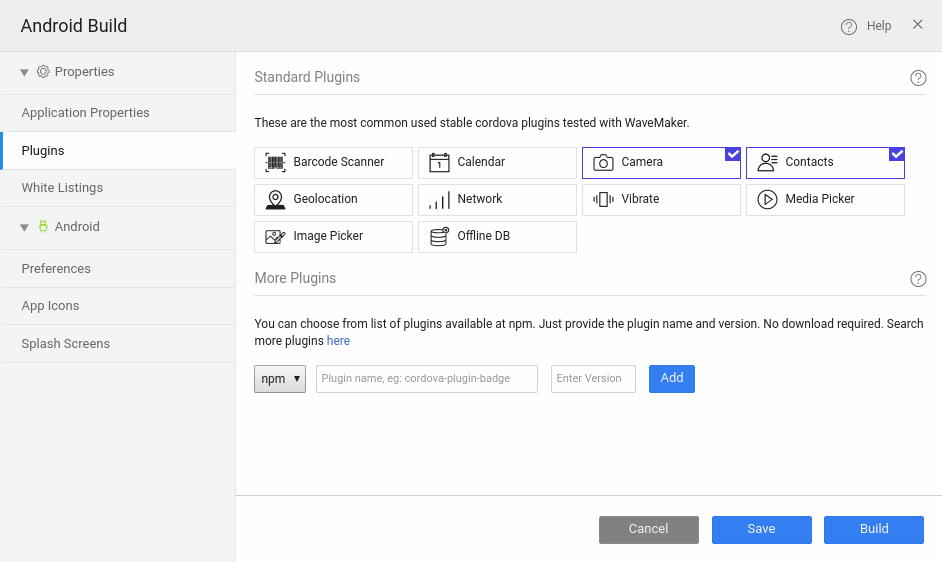
In the Plugins tab, ensure that the Camera and Contacts features for the mobile device are checked, and click Build.
You get a success message; although, the build is not complete.

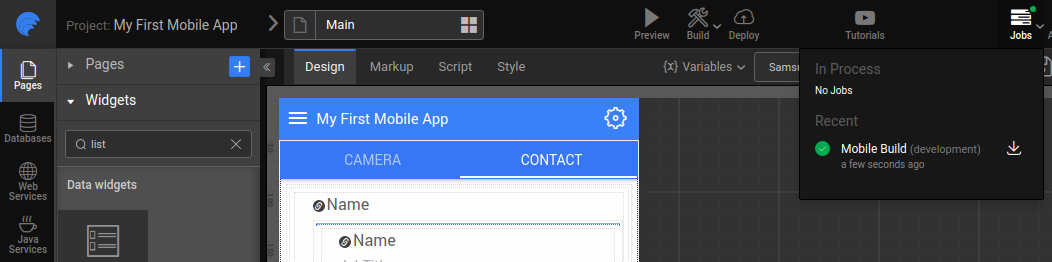
Track the build progress from the Jobs menu.
When the build completes, you can download the APK file from the jobs menu.
Alternately, check your emails for the Mobile App Build Successful message. Use the link provided in the email to download the APK file.
- Install the APK file in your Android mobile and run the app.
What's in the Mobile App
After installing the app in your mobile device, you can do the following.
- Go to the Camera tab, and click the camera icon to access mobile's camera feature.
- Take a picture. It displays the image on the picture widget.
- View the captured-pictures saved to the picture gallery on your phone.
- Go to the Contacts tab to see all your contacts list.
With this, you have created, built and installed a simple hybrid mobile app using device widgets and variables.