Extending the Application using IDEs
When you want to extend and maintain your code, you may want to work on a local machine text editor, make changes and import these changes back into your application. Or, you may want to work on an IDE of your choice and take advantage of its Java code editing, testing and debugging features. In WaveMaker all this can happen easily as a modular client-side code (AngularJS, CSS, and HTML) incorporating industry best practices. In this section, we list the steps for the same.
Alternatively, you can use the WorkSpace Sync Plugin to ease this process. See here for details.

Steps in working with IDEs
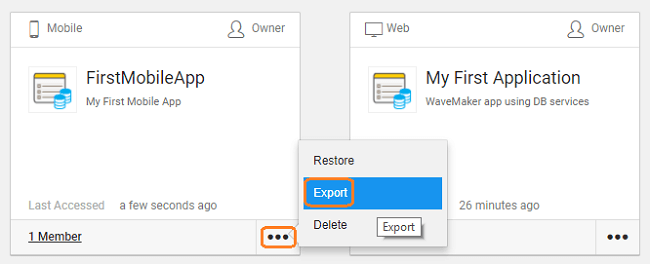
- Export your project as a ZIP file.
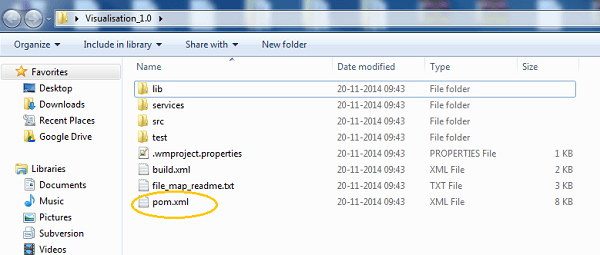
- After exporting the project Unzip the downloaded zip file to a folder.
- Extraction of the files shows you a pom.xml file indicating it is Maven complaint.
- Open the command shell in extracted file system and install the project using Maven Clean Install, by running the command: mvn clean install
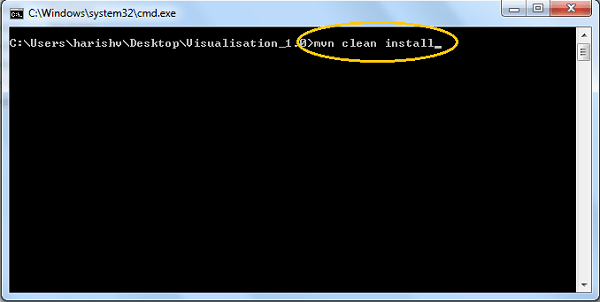
You need to have Maven and Java installed in the system. This downloads all external dependencies needed by the project and creates a WAR file.
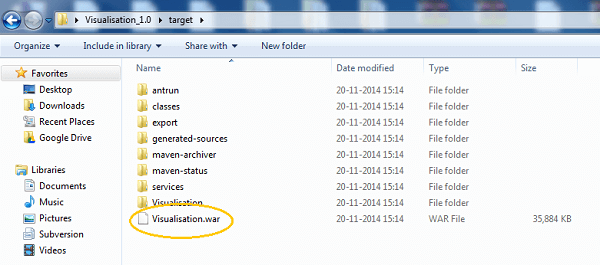
This war file can be deployed to any web server like Apache Tomcat.
Copy the above generated war file into the Tomcat folder “webapps“.
Now change directory to the Tomcat bin folder from terminal and type the below command (catalina.sh for Mac/Linux or catalina.bat for Windows) to Start Tomcat in debug mode:
./catalina.sh jpda start
We can see from tomcat logs:
Listening for transport dt_socket at address: 8000

Note: Using the option “jpda” starts Tomcat in debug mode with all options set to default values and By default JPDA_ADDRESS is defined as "localhost:8000" in catalina.sh
Change to a different port as need.
After the successful deploy, open the IDE which you need to import ex:
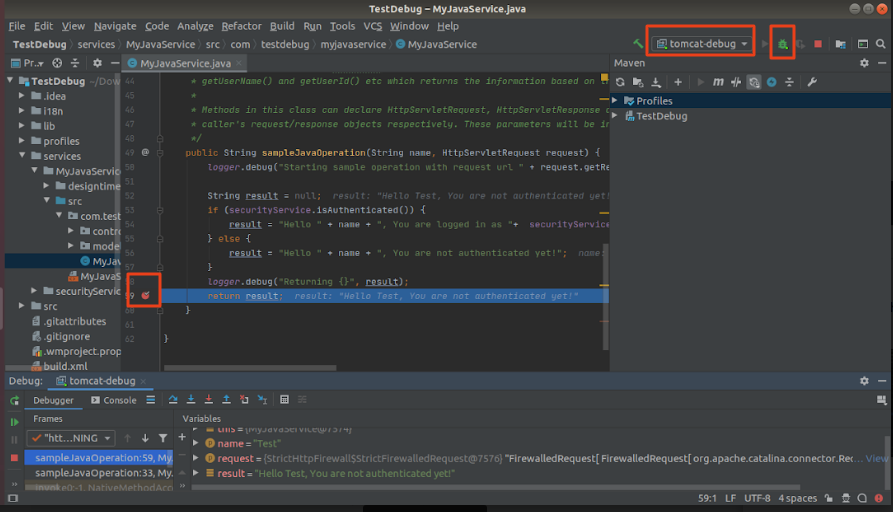
IntelliJand click on import project and set as Maven.In IntelliJ IDE,Set Run or Debug configurations as follows:
Click Run > Edit Configurations
Click + icon on the top-left toolbar
Click Remote
Enter a name you want in Name input box.
Enter 8000 in Port input box under Settings section.
Click Apply, then OK.
Run > Debug..., Click the configuration you just created
Refer to below doc for more information: https://cwiki.apache.org/confluence/display/TOMCAT/Developing#Developing-Q1
Now launch the deployed application in browser.
To debug any DB/Java service used in the app you need enable debug point in service and run it.

- Once you are done with all the changes, run Maven Clean Install which will generate a ZIP file in target/exports folder.
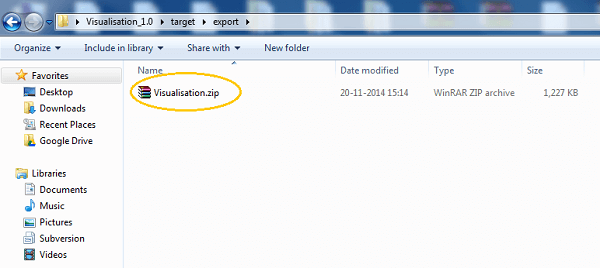
- This file can be re-imported into Studio using the Update Source option from the project Developer Utilities Menu. The changes will be incorporated into your Studio application.
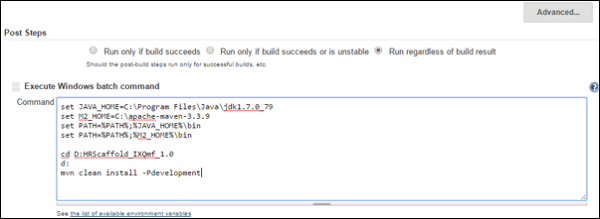
Integration with Jenkins
Ref for installing Jenkins https://wiki.jenkins-ci.org/display/JENKINS/Installing+Jenkins WaveMaker provides two profiles development, production by default. To execute profiles user needs to execute the command as: mvn clean install -Pdevelopment for development configuration and mvn clean install -Pproduction for production configuration. Install Jenkins and create a job and set windows batch command as maven command(mvn clean install -Pdevelopment)