OAuth Prefabs
note
OAuth Prefabs Support Ended
OAuth Prefabs is no more supported.
Introduction
OAuth 2.0 is an authorization framework, which is updated after the original OAuth protocol created in 2006. OAuth 2.0 focuses on client developer simplicity by providing secured delegated access for web and desktop applications.

The device flow is illustrated in the above image. The steps include:
- The client requests the authorization server to give the access. The request includes the client identifier in it.
- The authorization server provides a verification code, an end- user code, and the end-user verification URI.
- The client instructs the end-user to use its user-agent (elsewhere) and visit the provided end-user verification URI. The client provides the end-user with the end-user code that is necessary to enter, in order to gain access.
- The authorization server authenticates the end-user (via the user-agent) and prompts the end-user to grant the client's access request. If the end-user accepts the client's request, then the end-user enters the end-user code provided by the client. The authorization server validates this end-user code.
- While the end-user authorizes (or denies) the client's request (D), the client continuously polls the authorization server to verify if the end-user authorization step is successfully accomplished. The client's request includes the verification code and its client identifier.
- Assuming that the end-user has granted access, the authorization server validates the verification code provided by the client and eventually responds with the access token.
Most Web Services use OAuth for access, and configuring your app to use these Web Services can be an uphill task. WaveMaker Prefabs abstracts OAuth and offers API integration without the need for writing code. This section deals with such OAuth Prefabs.
WaveMaker provides few OAuth Prefabs for developer convenience. 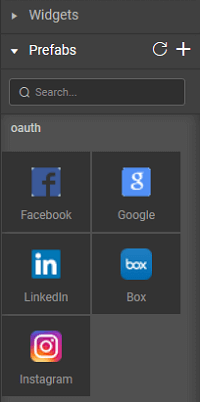
Steps in using OAuth Prefabs:
- Register your application at the third party website. You will need to create an account and access to the same needs to be granted while running the app using the OAuth Prefab. Note: The run and deploy URLs for Studio applications are different. One needs to register both at the third party website.
- Drag and drop the OAuth Prefab on to the application canvas
- You can set the Login Mode to be:
- auto will in the run mode after initialization of the Prefab the app would automatically be navigated to the OAuth Authorization page
- manual (default mode) will invoke the OAuth Authorization page on click of the login button
- Bind Server Properties AppId and Secret of the Prefab to the AppId and Secret Key generated in step 1 above. The RedirectPage should reflect the landing page of your application.
- Import the required API as a REST service to Studio and set the parameters as required.
- The API data will be exposed in the form of Service Variables. Use these for binding to any widgets in your application.