Introduction
OAuth 2.0 is an authorization framework, which is updated after the original OAuth protocol created in 2006. OAuth 2.0 is a standard protocol, which provides delegated secured access for web, mobile, and desktop applications. To know more about the working of WaveMaker OAuth Prefabs click here.
LinkedIn OAuth in WaveMaker
In order to use the LinkedIn OAuth prefab, please follow the below steps: Disclaimer: The screenshots from the LinkedIn website were current at the time of writing this document, the actual screens might differ.
- Log on to https://developer.linkedin.com/ and enter your credentials. LinkedIn Developers page is displayed.
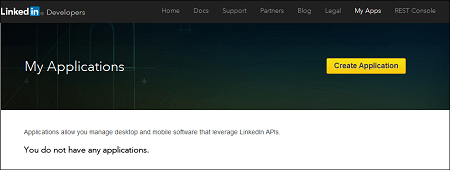
- Go to My Apps and click Create Application. Create a New Application page is displayed.

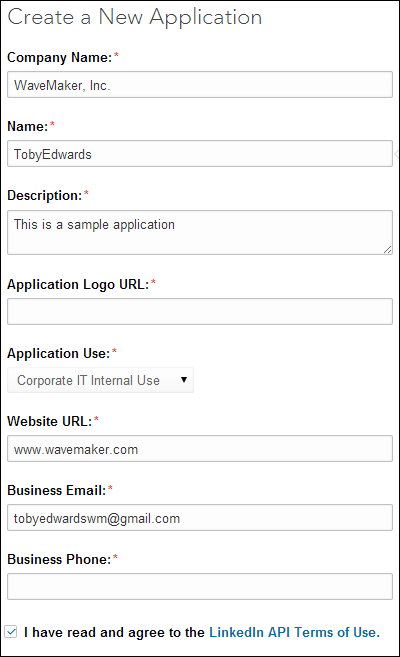
- Enter Company Name, Name, Description, Application Logo URL, Application Use, Website URL, Business Email and Business Phone in their respective fields. Check the LinkedIn API Terms of Use checkbox and click Submit. Authorize Redirect URLs page is displayed.

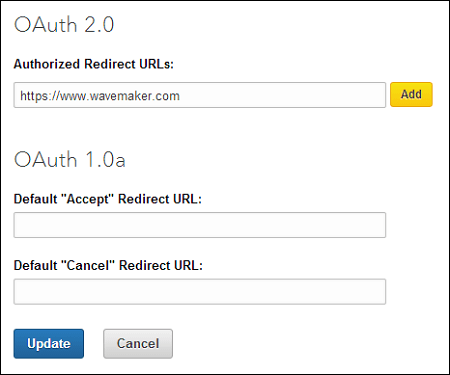
- Enter a valid sample Authorized Redirect URLs below OAuth 2.0 and click Add. Click Update. Your application is successfully created.
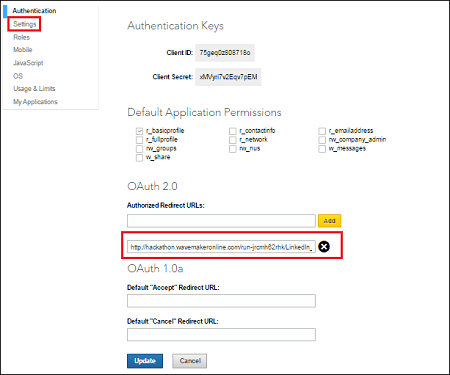
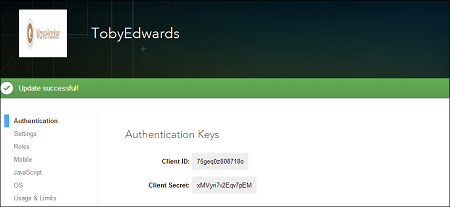 Note: Make a note of the Client ID and Client Secret


Usage Example
Open WaveMaker and create an application.
Check and confirm the settings and click Save on the Project Settings window.
Select a Template for Main page and click OK.
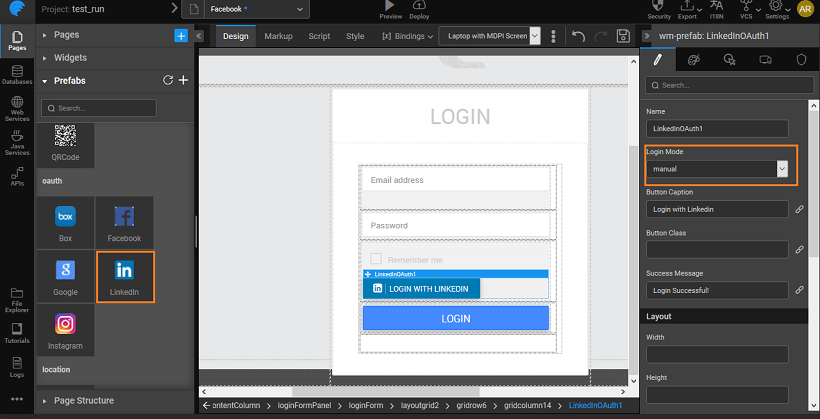
Drag and Drop the LinkedIn Prefab from the Prefabs Tab under OAuth.You can use the default login page created by WaveMaker.
You can set the Login Mode to be:
- auto will in the run mode after initialization of the Prefab the app would automatically be navigated to the OAuth Authorization page
- manual (default mode) will invoke the OAuth Authorization page on click of the login button
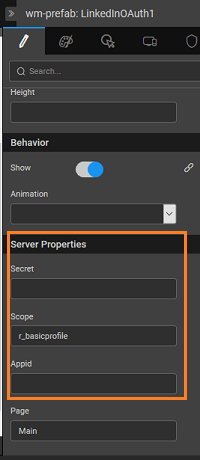
In the Properties Panel, below SERVER PROPERTIES, enter the Appid, Page, Scope and Secret in their respective fields.

Save and Run the application.
After you run the application, redirect URL is generated. You might have to click REMOVE TOOLBAR to get the URL. Copy the redirect uri till the _callback _part. For example, if your url looks like this:
https://www.linkedin.com/uas/oauth2/authorization?client_id=xxx&response_type=xxx&redirect_uri=https://www.wavemakeronline.com/run-xyz/projectname/prefabs/LinkedInOAuth/oAuthHandler/callback&state=xxx&scope=xxxuse only:https://www.wavemakeronline.com/run-xyz/projectname/prefabs/LinkedInOAuth/oAuthHandler/callbackGo to LinkedIn Developers – your project page and click on Settings on the left side. Add the generated redirect URL below OAuth 2.0 and Click Update.

Go back to WaveMaker application and again Run the app. You will see the WaveMaker Login page if you have set the Login Mode to manual. Click the Login using Linkedin button.

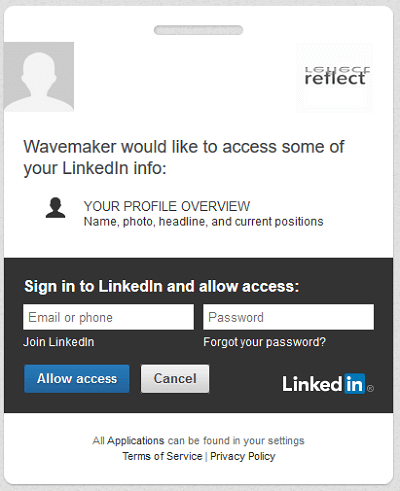
You will be redirected to the LinkedIn Allow Access screen, this will be the screen you will first see if you have set Login Mode to auto. Enter your credentials to Login and click Allow Access You can now see the application with Access Token and Callback URL.

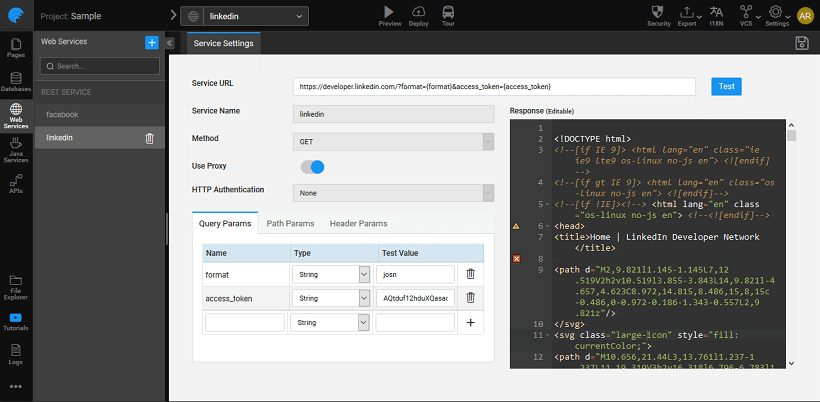
To use LinkedIn APIs, you need to import the appropriate web service. Go to https://apigee.com/console/linkedin, select the required API and get the Authorization key.
From WaveMaker app designer, import a web service with the proper credentials as obtained from the above step.