Introduction
OAuth 2.0 is an authorization framework, which is updated after the original OAuth protocol created in 2006. OAuth 2.0 is a standard protocol, which provides delegated secured access for web, mobile, and desktop applications. To know more about the working of WaveMaker OAuth Prefabs click here.
Facebook OAuth in WaveMaker
In order to use the Facebook OAuth prefab, please follow the below steps: Disclaimer: The screenshots from the FaceBook website were current at the time of writing this document, the actual screens might differ.
- Log on to https://developers.facebook.com/apps/ and enter your credentials. Facebook Developers page is displayed.
- Click Register Now. Register as a Facebook Developer window is displayed.
- Accept the Facebook Platform Policy and Facebook Privacy Policy click Next.
- Select the Country from the dropdown list and enter your Phone Number to get the confirmation code. You may choose to get your confirmation code as a text or via phone call.
- Enter the Confirmation Code and click Register. Successfully Registered as a Facebook developer window is displayed.
- Click Done. On registering, Add a New App page is displayed.
- Select Website as a platform to get started.
- Enter a Name to your app and click Create New Facebook App ID. Create a New App ID window is displayed.
- Select a category from Choose a Category drop-down list and click Create App ID. Tell us about your website window is displayed.
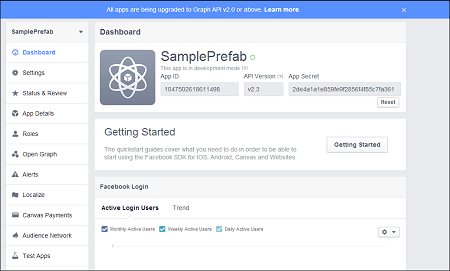
- Enter a sample valid URL in the Site URL field and click Next. Your App Dashboard page is displayed. Note: Make a note of the App ID and App Secret.

Usage Example
Open WaveMaker application where you want to use the Facebook OAuth Prefab.
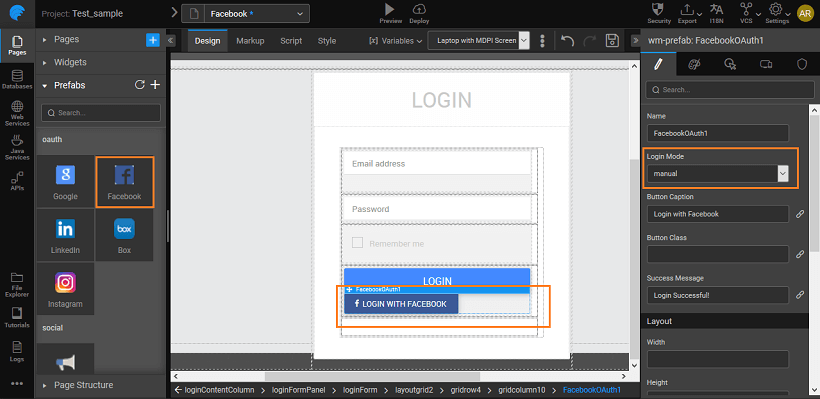
Drag and Drop the Facebook Prefab from the Prefabs Tab under OAuth. You can use the default login page created by WaveMaker.
You can set the Login Mode to be:
- auto will in the run mode after initialization of the Prefab the app would automatically be navigated to the OAuth Authorization page
- manual (default mode) will invoke the OAuth Authorization page on click of the login button

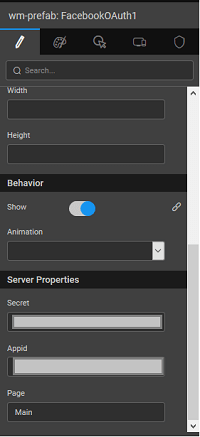
In the Properties Panel, under SERVER PROPERTIES, enter the Appid, Page, Scope and Secret in their respective fields.

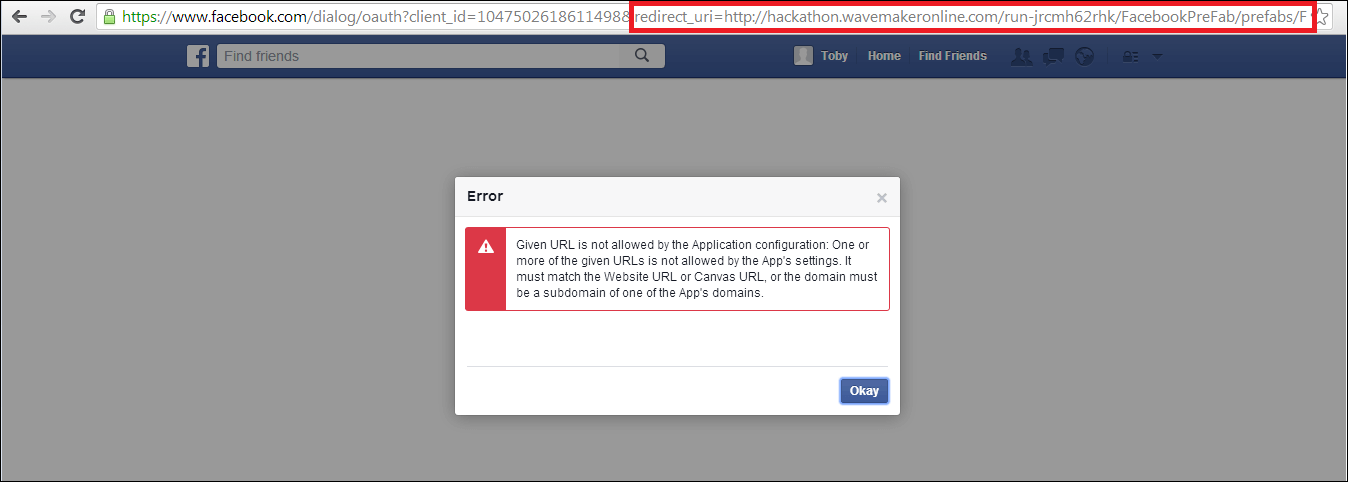
Save the application and Run the application. Note the generated redirect URL. You might have to click REMOVE TOOLBAR to get the URL. Copy the redirect uri till the callback part only.

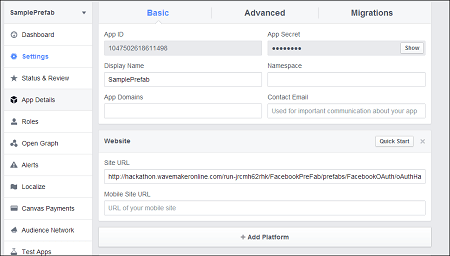
Go to Facebook Developers – your project page and click on Settings on the left side of the Dashboard page.
Enter this redirect URl in the Site URL field and click Save Changes.
Go back to WaveMaker application and again Run the app. You can now see the WaveMaker login page.
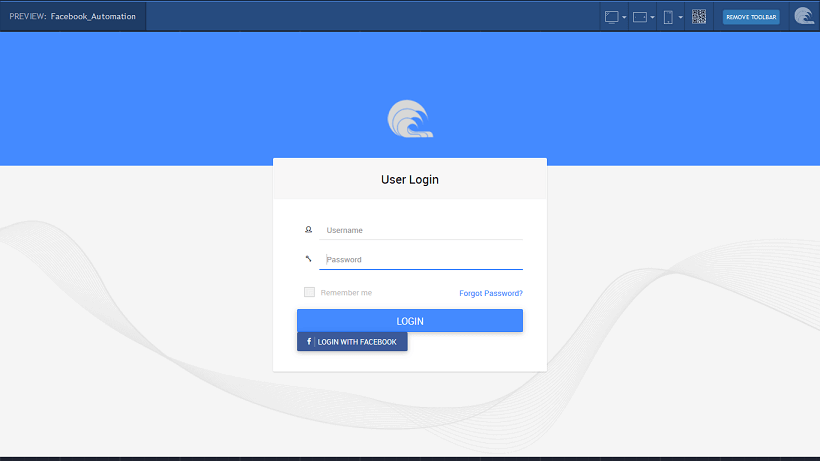
Click on the Login with Facebook button to be redirected to Facebook Authorisation page. This will the first page, in case you have set the Login Mode to auto
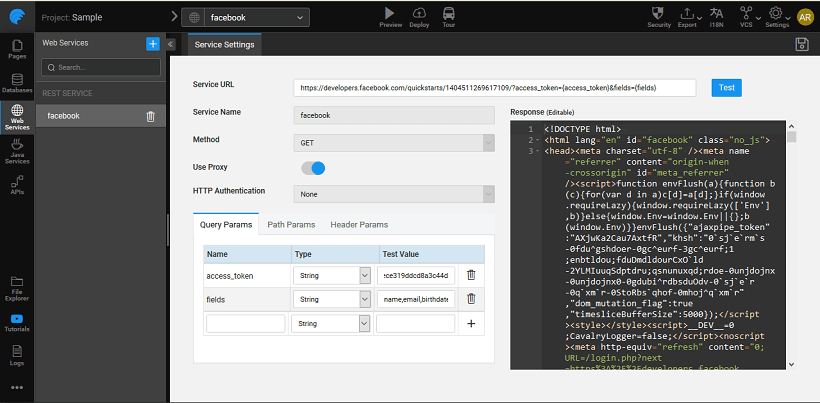
To use the Facebook API in your application, import the corresponding REST Web Service into WaveMaker by giving a valid URL with the access token. Test and Import.
You can see the variables imported from the service in the Left panel and these are available for binding and usage within your app.