Using Custom JS Libraries in React Native Applications
A JavaScript module allows you to enhance your application by integrating specialized libraries or custom scripts. Custom JS module can be uploaded locally. This helps in:
- Creating unique user interfaces
- Implementing complex business logic
- Integrating third-party services
Why Upload Custom JS Modules?
Uploading JS modules directly into the project offers the following advantages:
- Supports platform-specific custom modules (Web or Native)
- Local modules can be uploaded in the project without using third party server.
If your JS module is already available on NPM or Git, and it is not dependent on the platform, consider using Third-party expo plugins.
Types of Custom JS Modules
Custom JS modules can be:
- Platform-independent — works on both Web and Native
- Platform-specific — different versions for Web and Native platforms
When creating platform specific custom JS modules, user can either
- Uploading a custom JS module.
- Uploading Platform Specific Custom JS Modules.
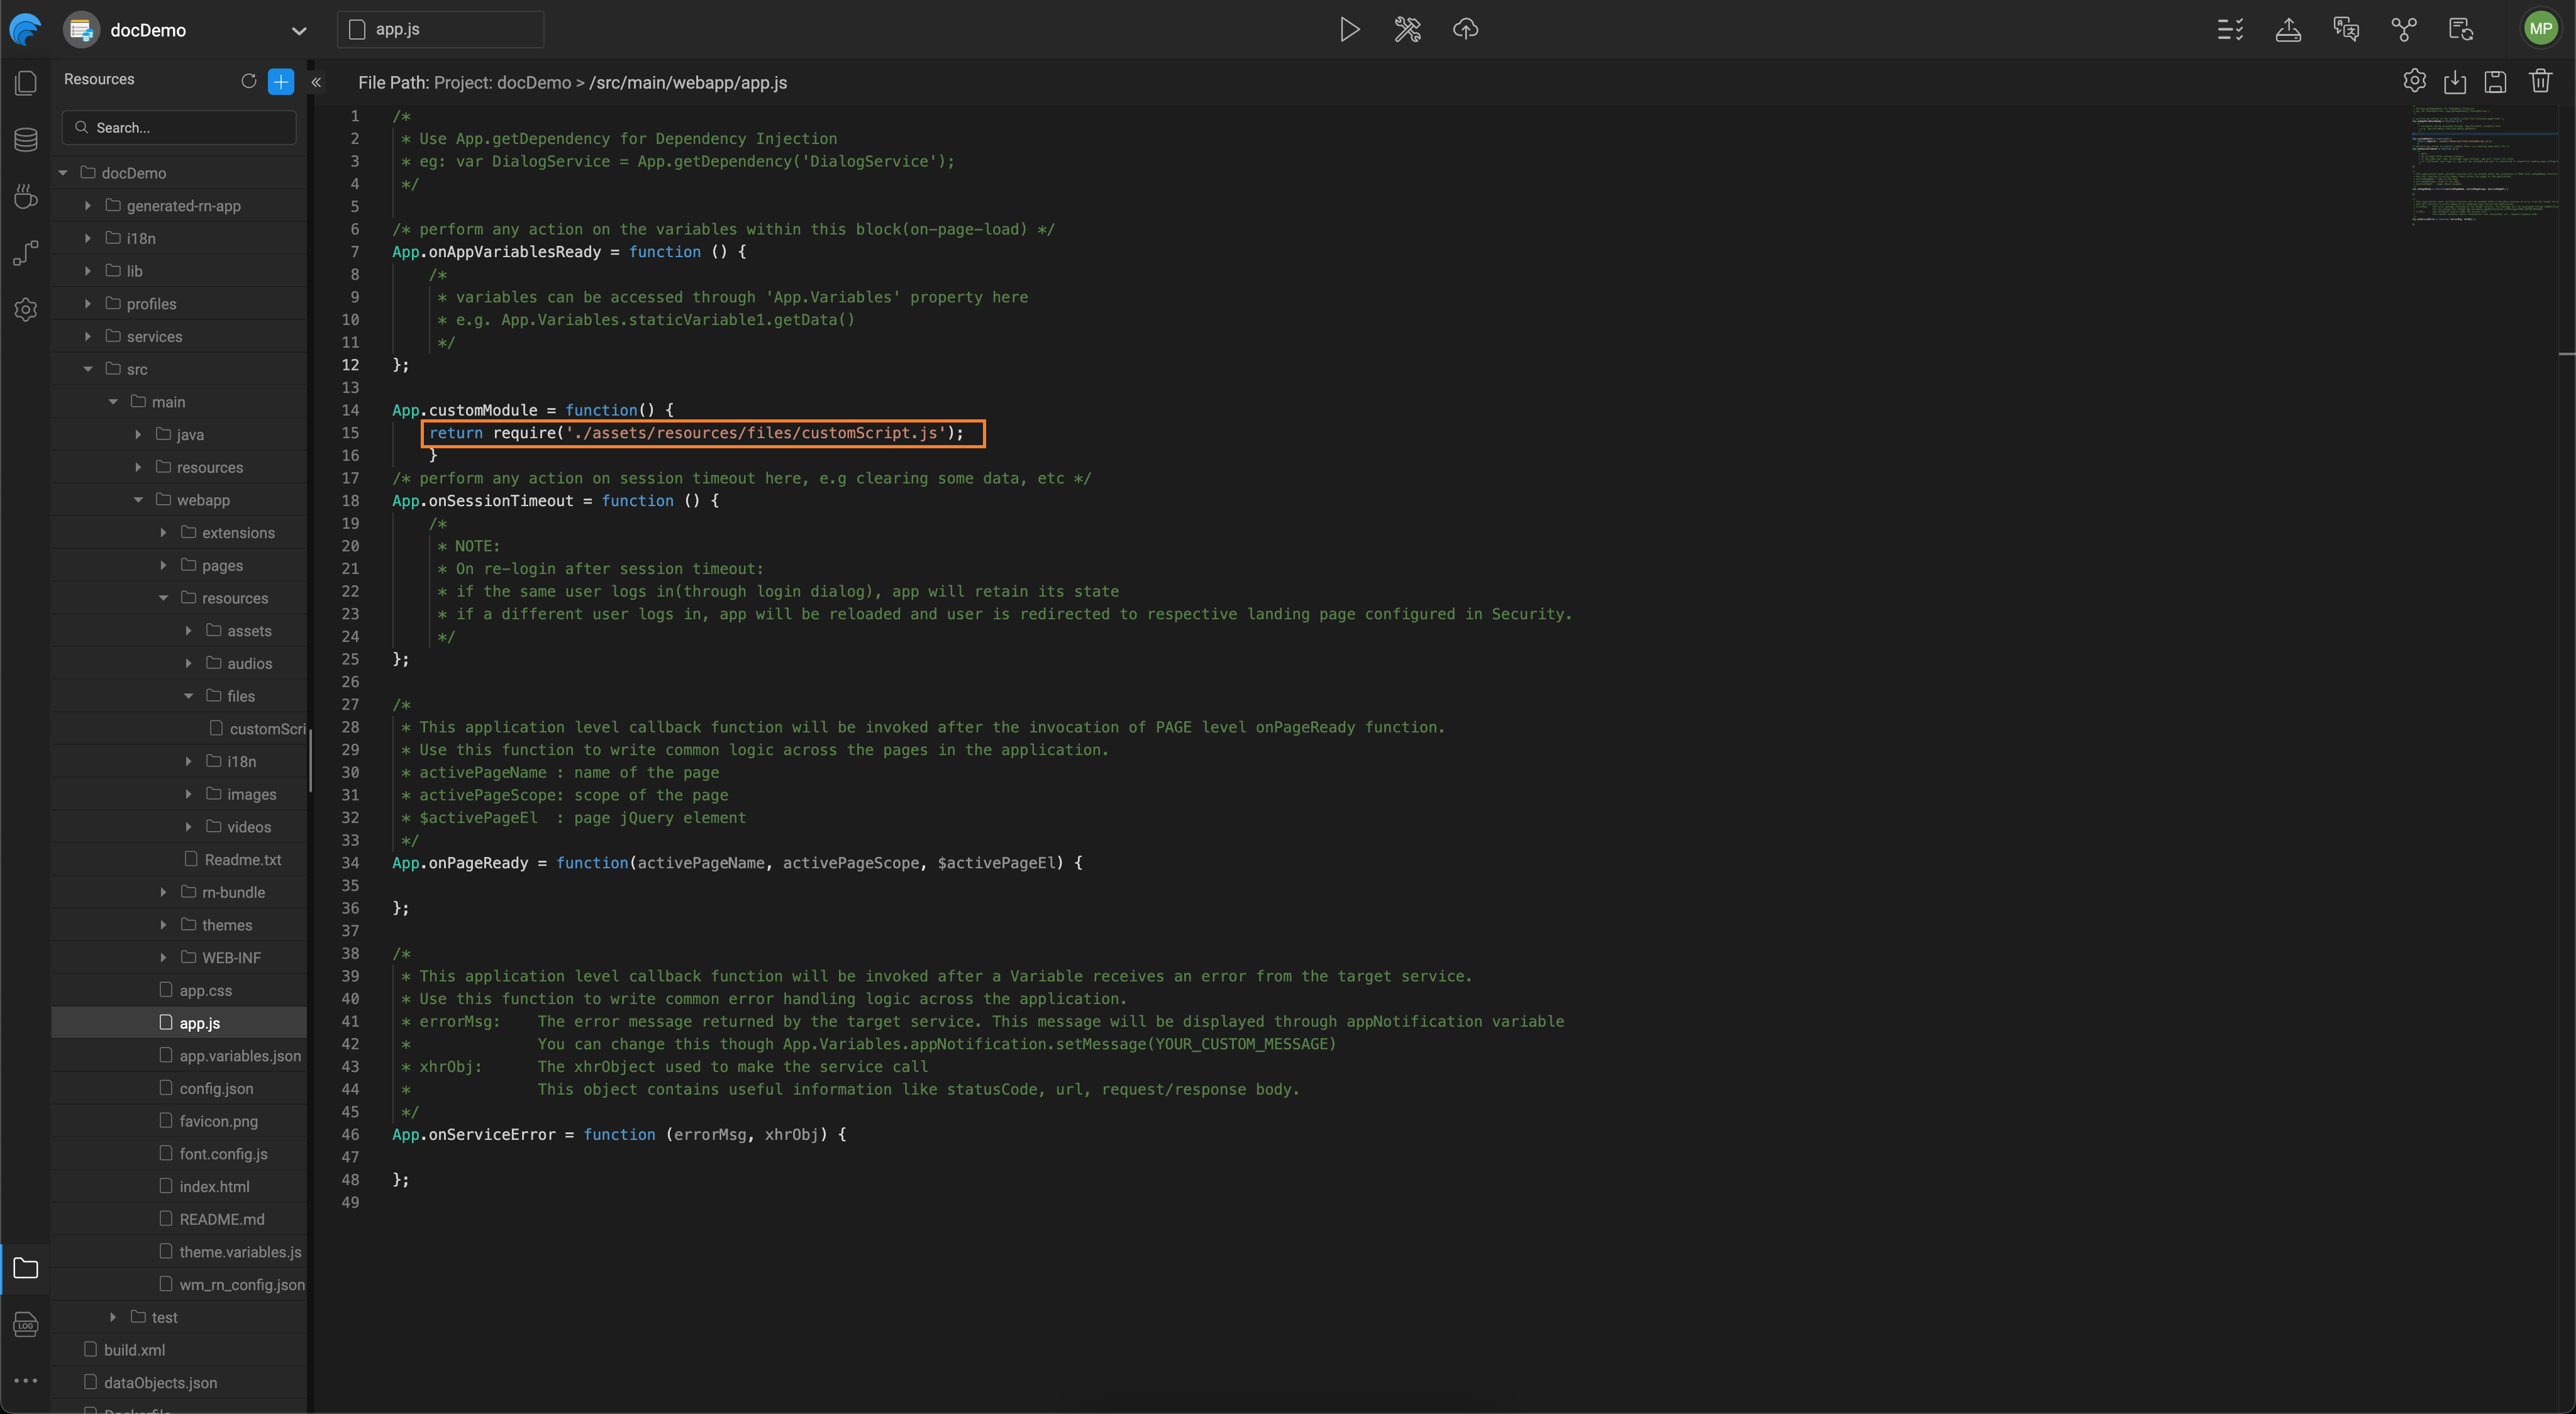
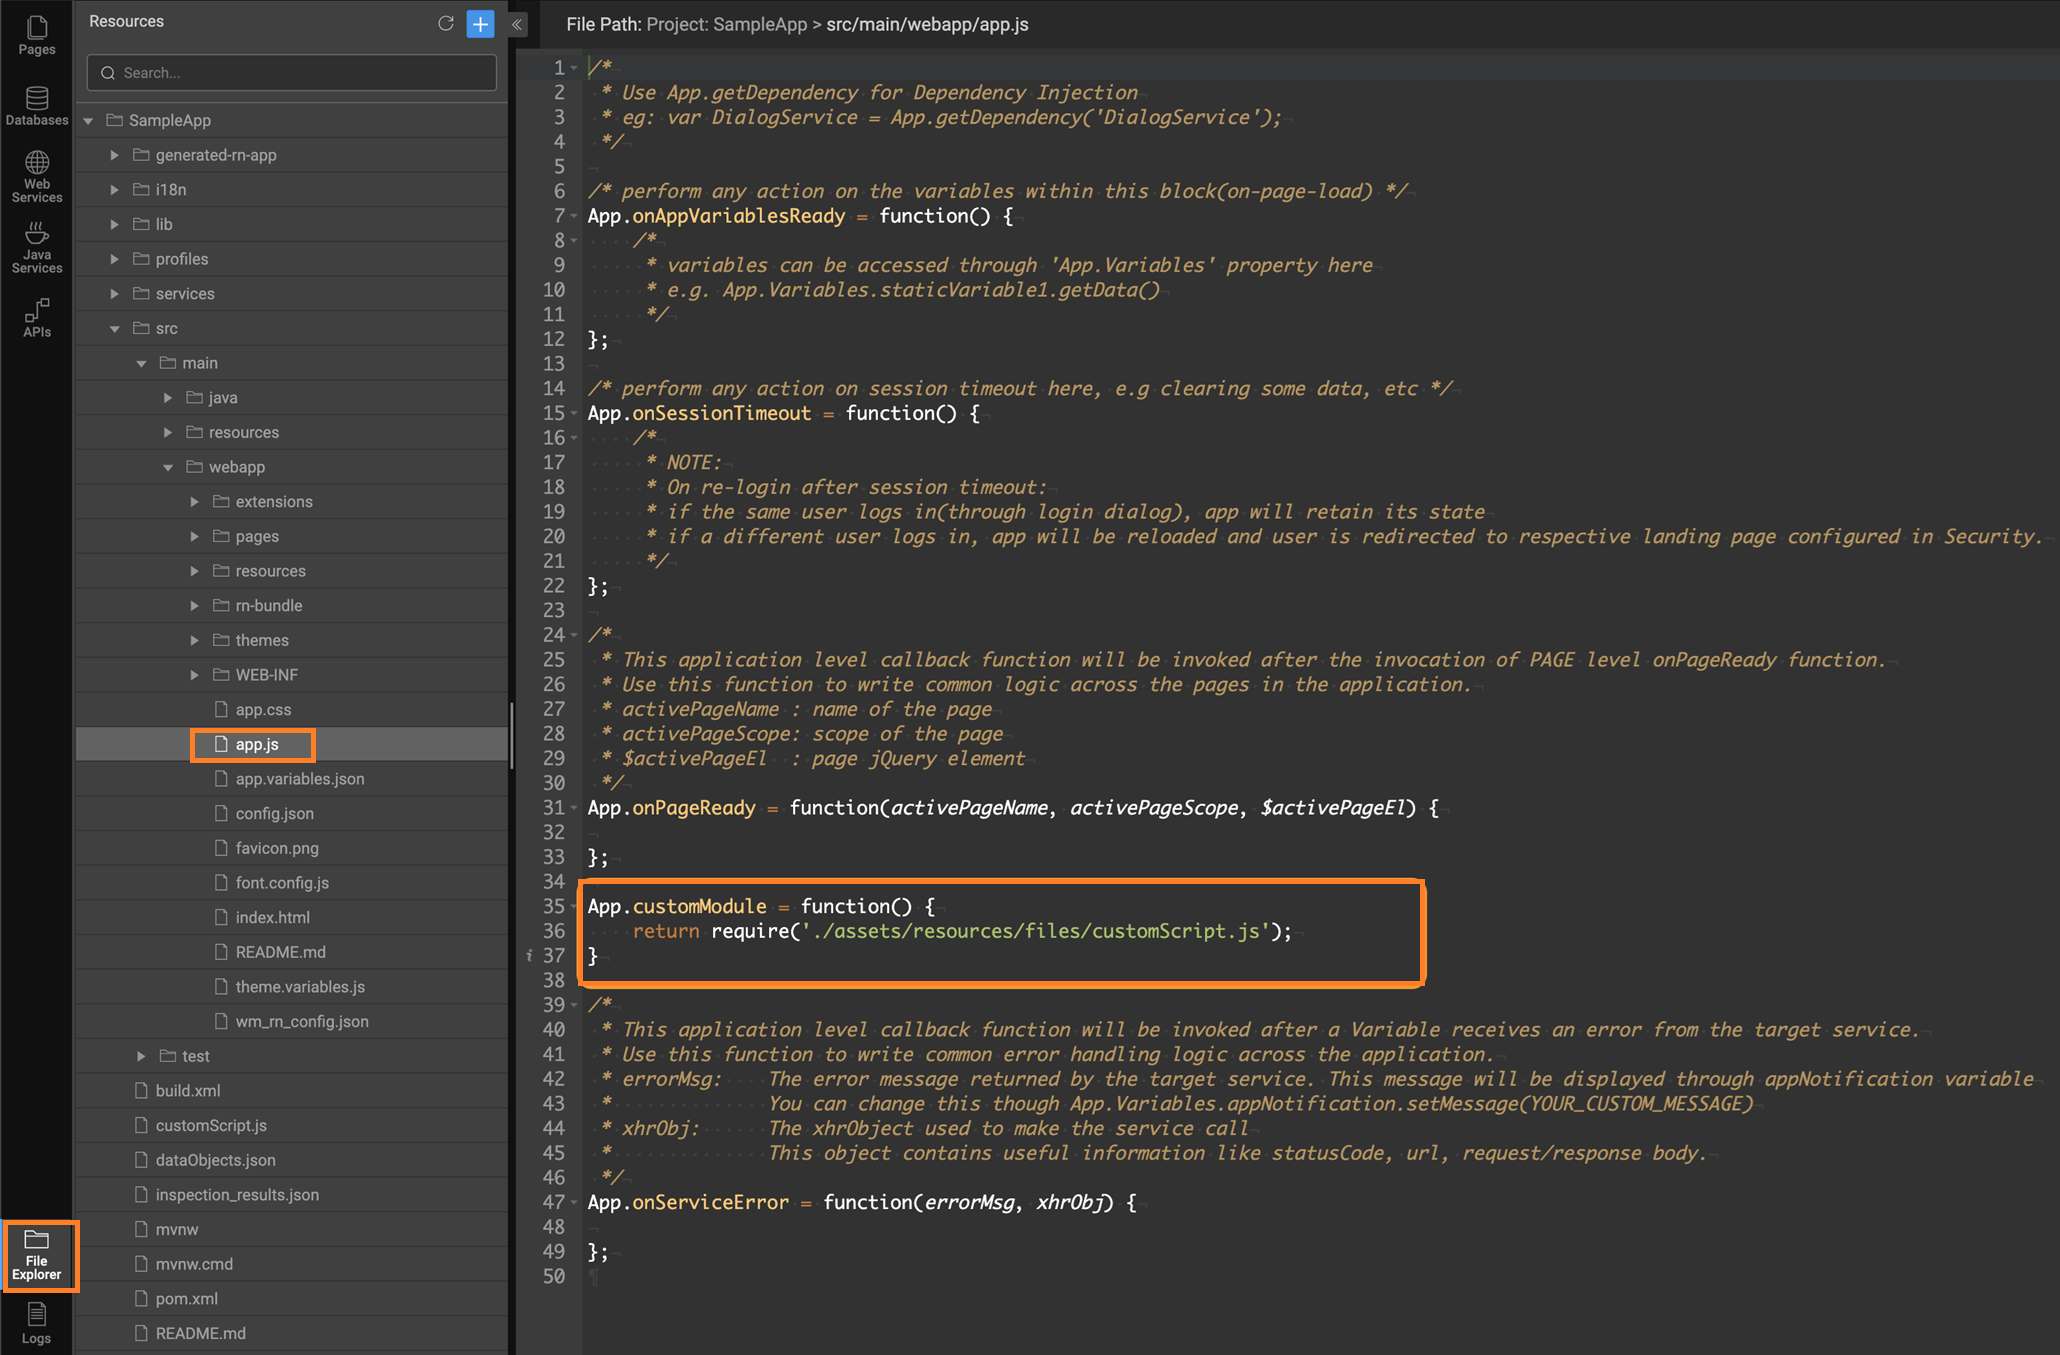
Uploading Custom JS module
You can upload a custom JS module by using the following steps.
- Navigate to File Explorer, go to resources.
- Click
+icon to upload the custom module. - In Project tab, navigate to the following path:
project/src/main/webapp/resources/files - Upload the custom module.
Example: Uploading the custom JS module with name customScript.js.
Ensure the path where the custom module is uploaded is same as the mentioned one.
Importing Custom JS Module
Once uploaded, import the custom JS module using the following steps.
- In an application, go to app.js file.
- Import the platform specific custom JS file using the below command.
require('./assets/resources/files/customScript.js');
Uploading Platform Specific Custom JS Modules
A custom JS module can be created and uploaded separately for Web and Native platforms.
Why Use Platform-Specific Modules?
- Web Logic uses browser-based APIs like document, window, or DOM methods, which are not available in the React Native environment.
- Native Logic relies on React Native-specific features like NativeModules, or StyleSheet, which are not applicable for Web applications.
- Keeping platform-specific logic separate ensures the application loads only the relevant code for the target environment. This improves application performance.
How to Upload Platform Specific JS Modules
You can upload an alternative custom JS module for Web to successfully run the Web preview in cases where the Native libraries might cause Web preview failure. To upload two custom JS module files for Web and Native platforms follow the below steps.
- Go to File Explorer and click '+' to add resources.
- In Import Resource dialog, click Upload Files to upload the custom JavaScript library.
- To upload platform specific files,
- For Web: Upload customScript.web.js library that has the web logic.
- For Native: Upload customScript.native.js library that has the native logic.
How to Import in Application
Two files, customScript.web.js for web and customScript.native.js for React Native, are uploaded to the application's resources folder. To use custom JS files in any application, import them using the following code in the app.js file.
Studio automatically picks up the platform specific custom JS file to be used in the application.
While importing platform sepcific JS module, ensure not to use file extension .js in the require statement as shown above.
Use Case
For instance, where you need to create an alternative Web custom JS module for Native JS module, go to PDF Preview. With this document, you can create platform specific custom JS modules for PDF preview.