Integrating Amazon Cognito for User Authentication
Amazon Cognito is a service that enables you to create unique identities for your users and authenticate them using either your own user pools or by using federated identity providers. Here we will see hot to create Cognito User Pool and implement custom authentication service in WaveMaker App using this user pool. Know more about Amazon Cognito from here.
Setting Up Cognito User Pools
- Go to Amazon Management Console
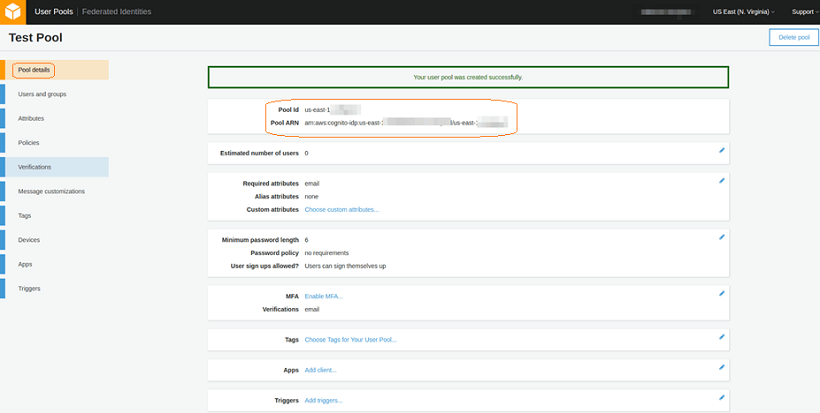
- Configure the User Pool as required
- Note down the generated pool id and Pool ARN values
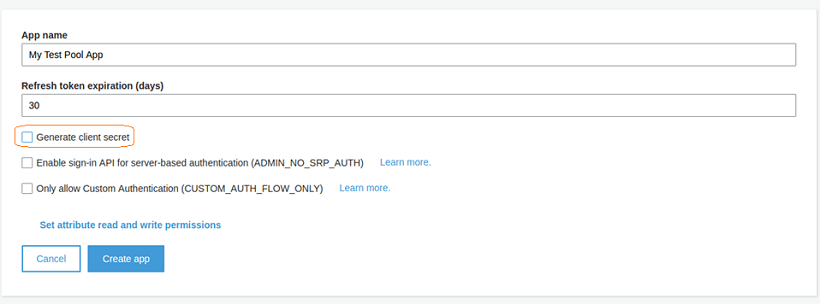
- From the Apps tab, create an application with following configuration, make sure that “Generate Client Secret” is unchecked

- Create the application and note down the App client ID
Configuring JS Libraries in WaveMaker
Download pre-requisite JS files
Download and include the following:
- Amazon Cognito AWS SDK for JavaScript files here: aws-cognito-sdk.zip
The Amazon Cognito AWS SDK for JavaScript is a slimmed down version of the AWS Javascript SDK namespaced as AWSCognito instead of AWS. It references only the Amazon Cognito Identity service. Similar to the AWS JavaScript SDK, the config.credentials property needs to be populated (either globally for AWSCognito or per-service).
Upload JS files to WaveMaker
- Upload the JS files to WaveMaker. Go to Import Resource and Upload the JS files downloaded in the previous section. The files should be uploaded to
project/src/main/webapp/directory. - From File Explorer, Navigate to
index.htmland include the JS files manually.
Ensure the path is correct.
At this point, we’ve integrated the Amazon JavaScript SDK into our project.
Getting started with User Registration
- Create a New Page named “Registration”, using the Sign-up template and blank layout.
- Add Form Fields as per your requirement. For example, contant, email ID, and more, required for creating a user.
- Add On Click event for the “Create Account” button and include the following code in JS:
- Additionally create a Navigation Action (
goToPage_Login) to navigate to Login page on successfully creating a User. The below mentioned code has already been added in the On Success for SignUp.
Configuring WaveMaker Security
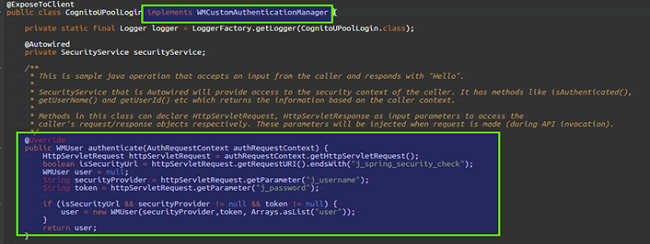
Implement a custom Authentication Service which will take the JWT access token , ID token and create a WMUser Object.
- Create a Java Service - CognitoUPoolLogin.
- Add the import statements as following.
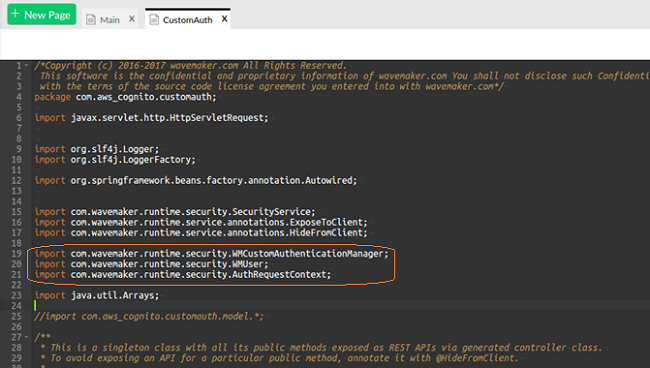
- Edit the code as following.
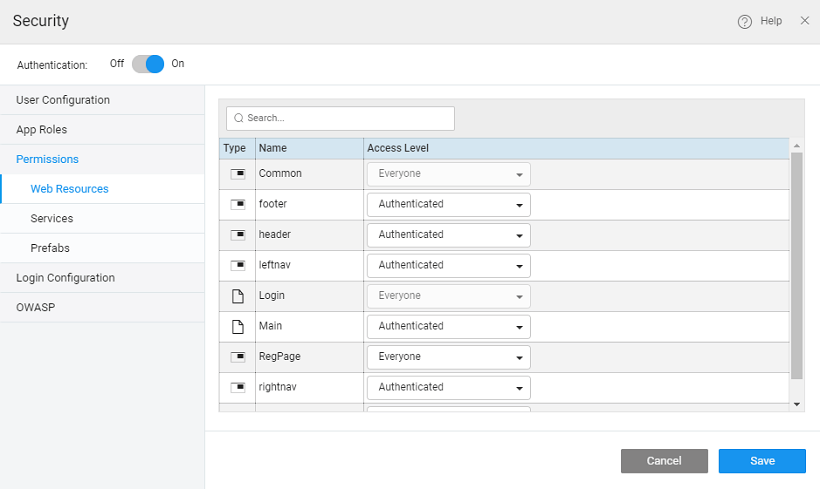
- Configure the Security with provider as Custom and give the above Class Name.
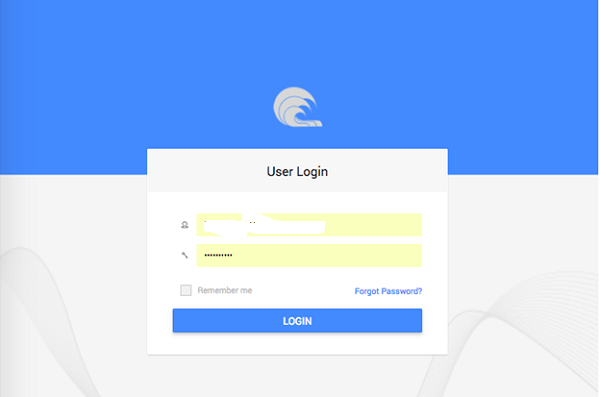
Configuring Login Page
- In the Login page, create Login Action, called
cognitoLogin.
Note we are using this action in the code snippet given below, if you are creating the action with a different name, you need to change the code accordingly.
- Add On Click event to the Login Button.
- Add the Following code into the
loginButtonClickfunction.
- From the Settings dialog of the project, set the Landing page as Registration page and from the security dialog, set the permission for the Registrations page as Everyone.
- The JWT - Access token, ID token will be available in the Logged In User Variable.
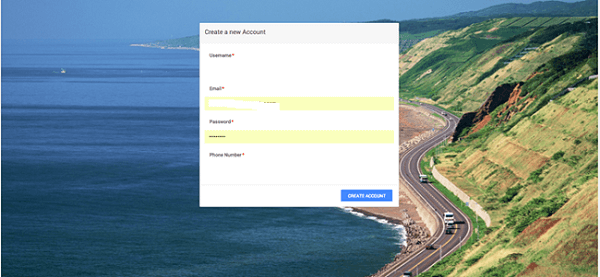
Post-registration Process
- On running the application, the Registration Page shows up. This page allows you to create a user who will be added to the user pool created.
- After creating the account, Login page shows up. Verification of the user should be done by going to to the Amazon Cognito Create User Pool page and click on Users and Groups in the Left Navigation Pane. This will show you the all the Users added to the user pool.
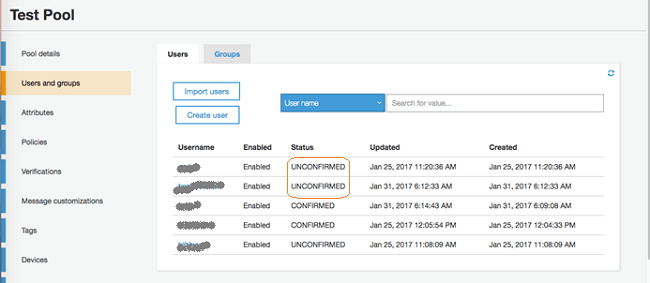
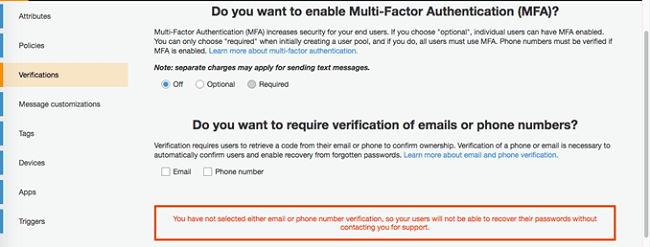
The user added should be confirmed by using the verification option chosen for verifying the user (EMail or Phone Number).
- Once the user is confirmed, the user can login into the account.