Passivate Containers
Passivate containers in StudioWorkspace/AppDeployment Instances from the launchpad
In order to upgrade WME from 10.x to below 11.2.x version, it is recommended to passivate the containers in StudioWorkspaceInstance and AppDeploymentInstance.., It is not needed when upgrading above 11.2.x versions.
Following are the steps to passivate the containers before running patch.
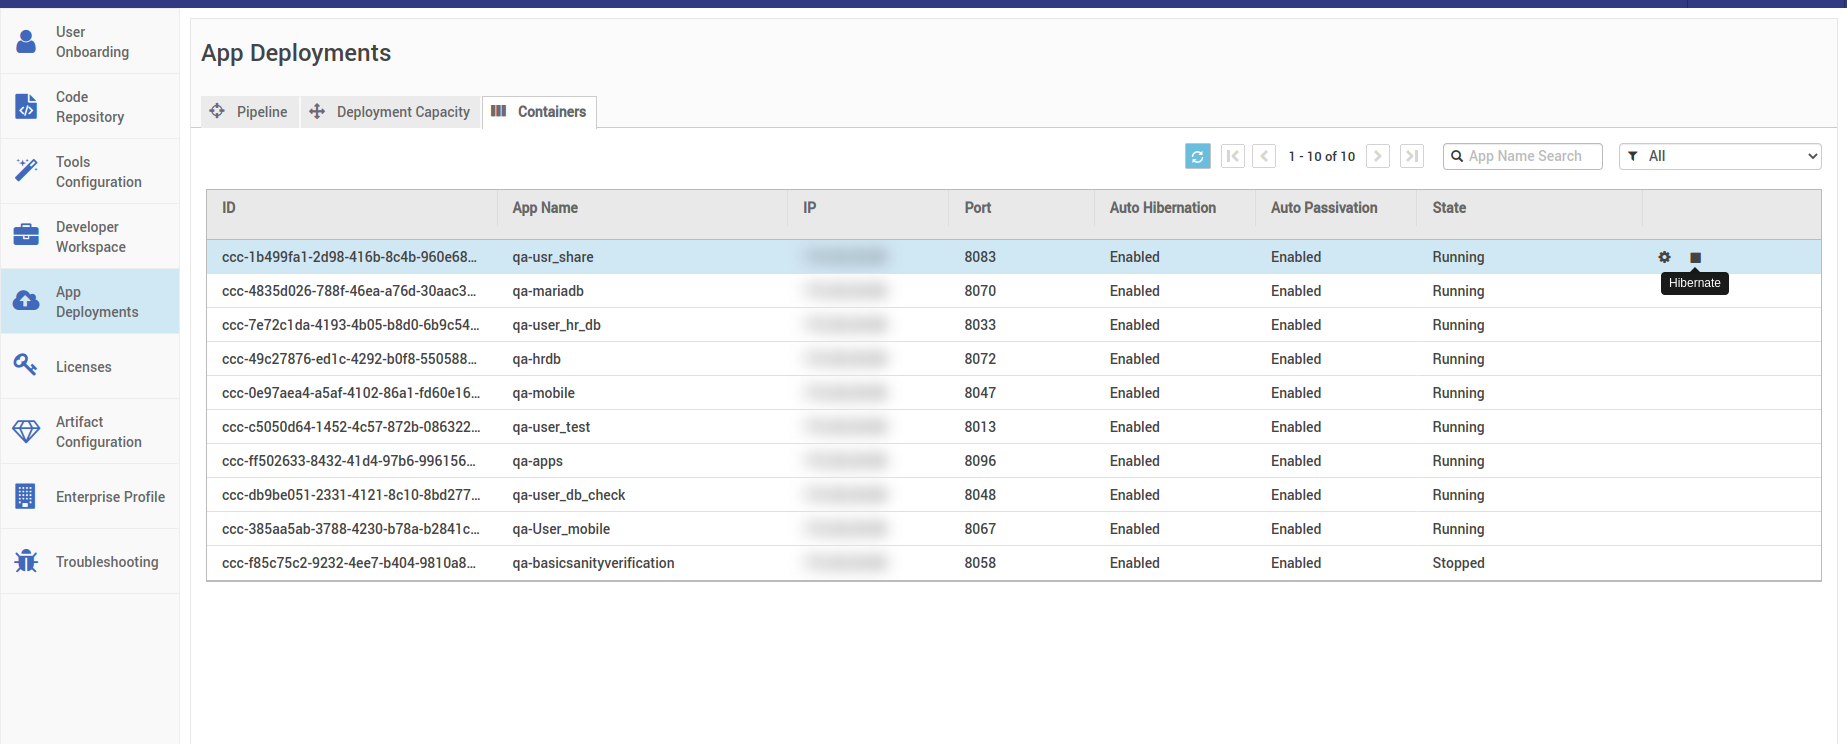
After logging into launchpad in your WME setup go to the Developer Workspace Tab, and then go to the container as shown in the below image
Select the containers that are running, hibernate those containers one after the other by hitting the stop button as shown in the image below.
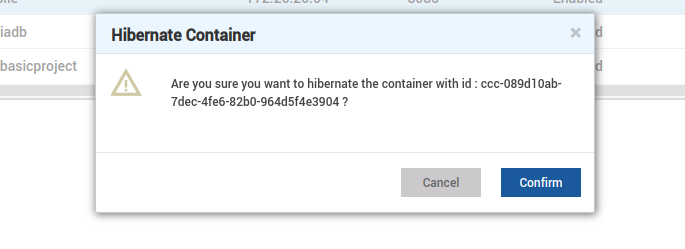
- Select confirm to hibernate the container.
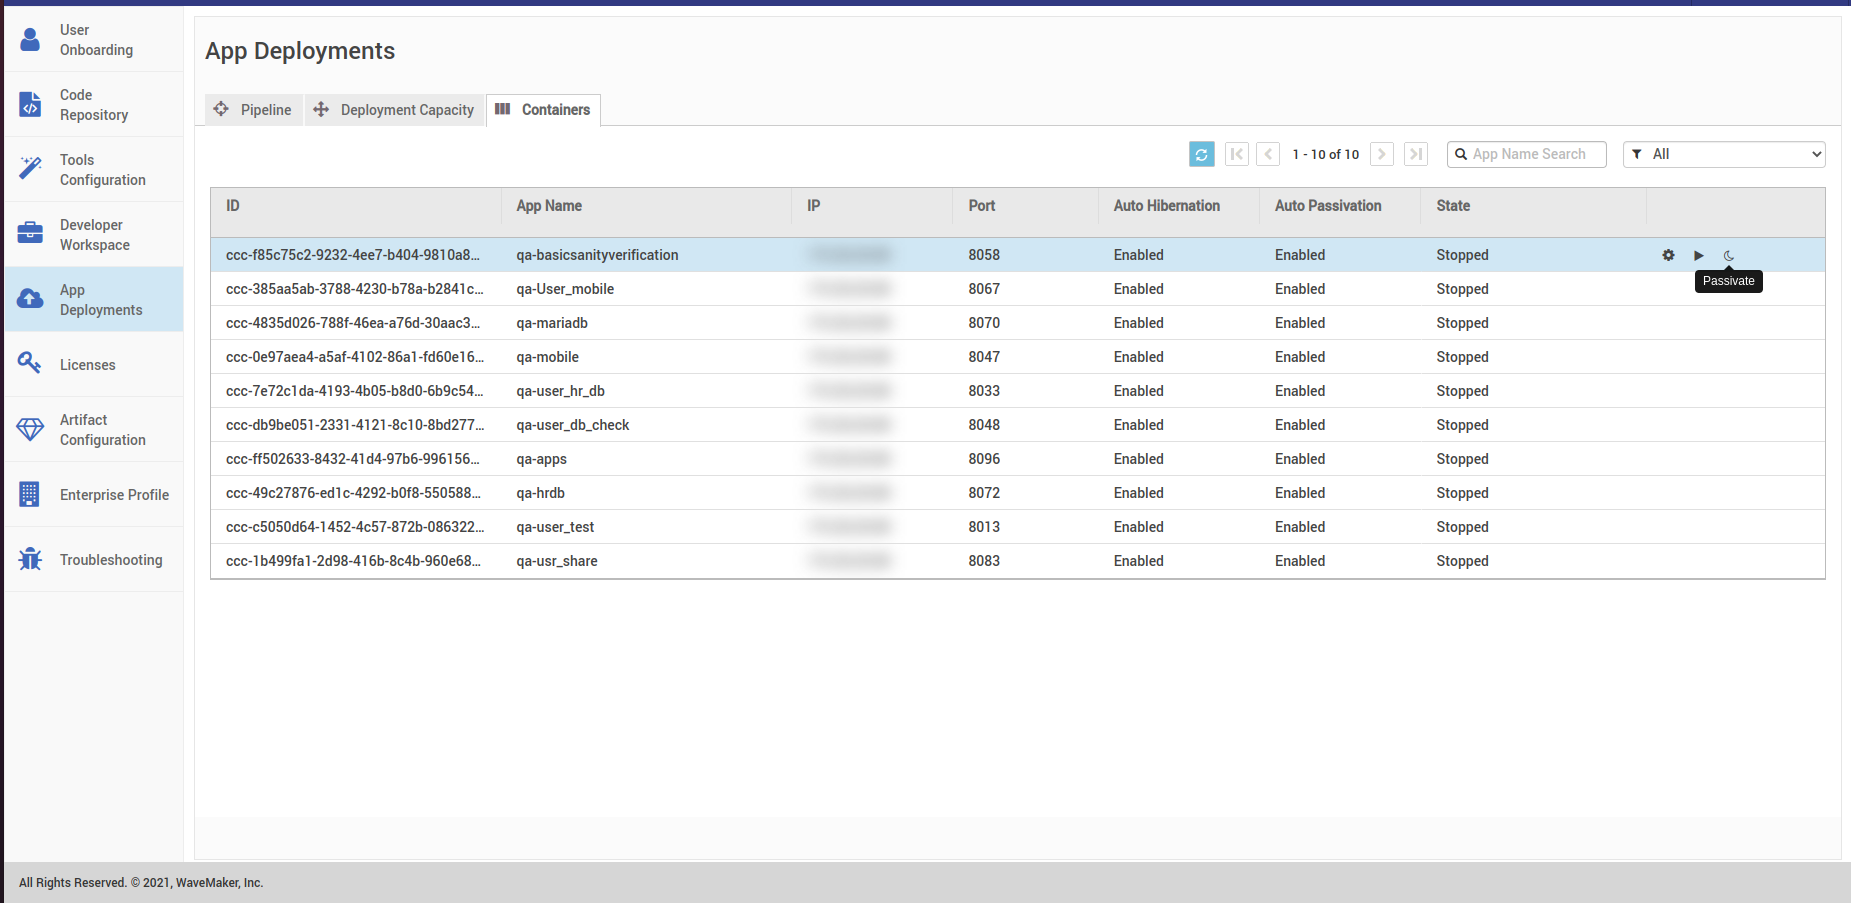
- Wait till the state is changed to stop as shown in the image below. After the container state changes to stop, you can passivate them by hitting the passivate button.

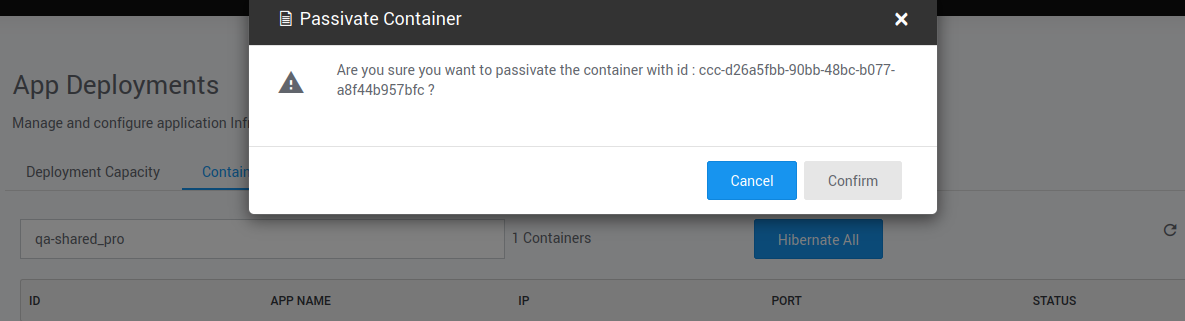
- Select confirm to passivate the container.

Alternatively, you can passivate all the hibernated containers in one click. To do this, follow the steps provided below.
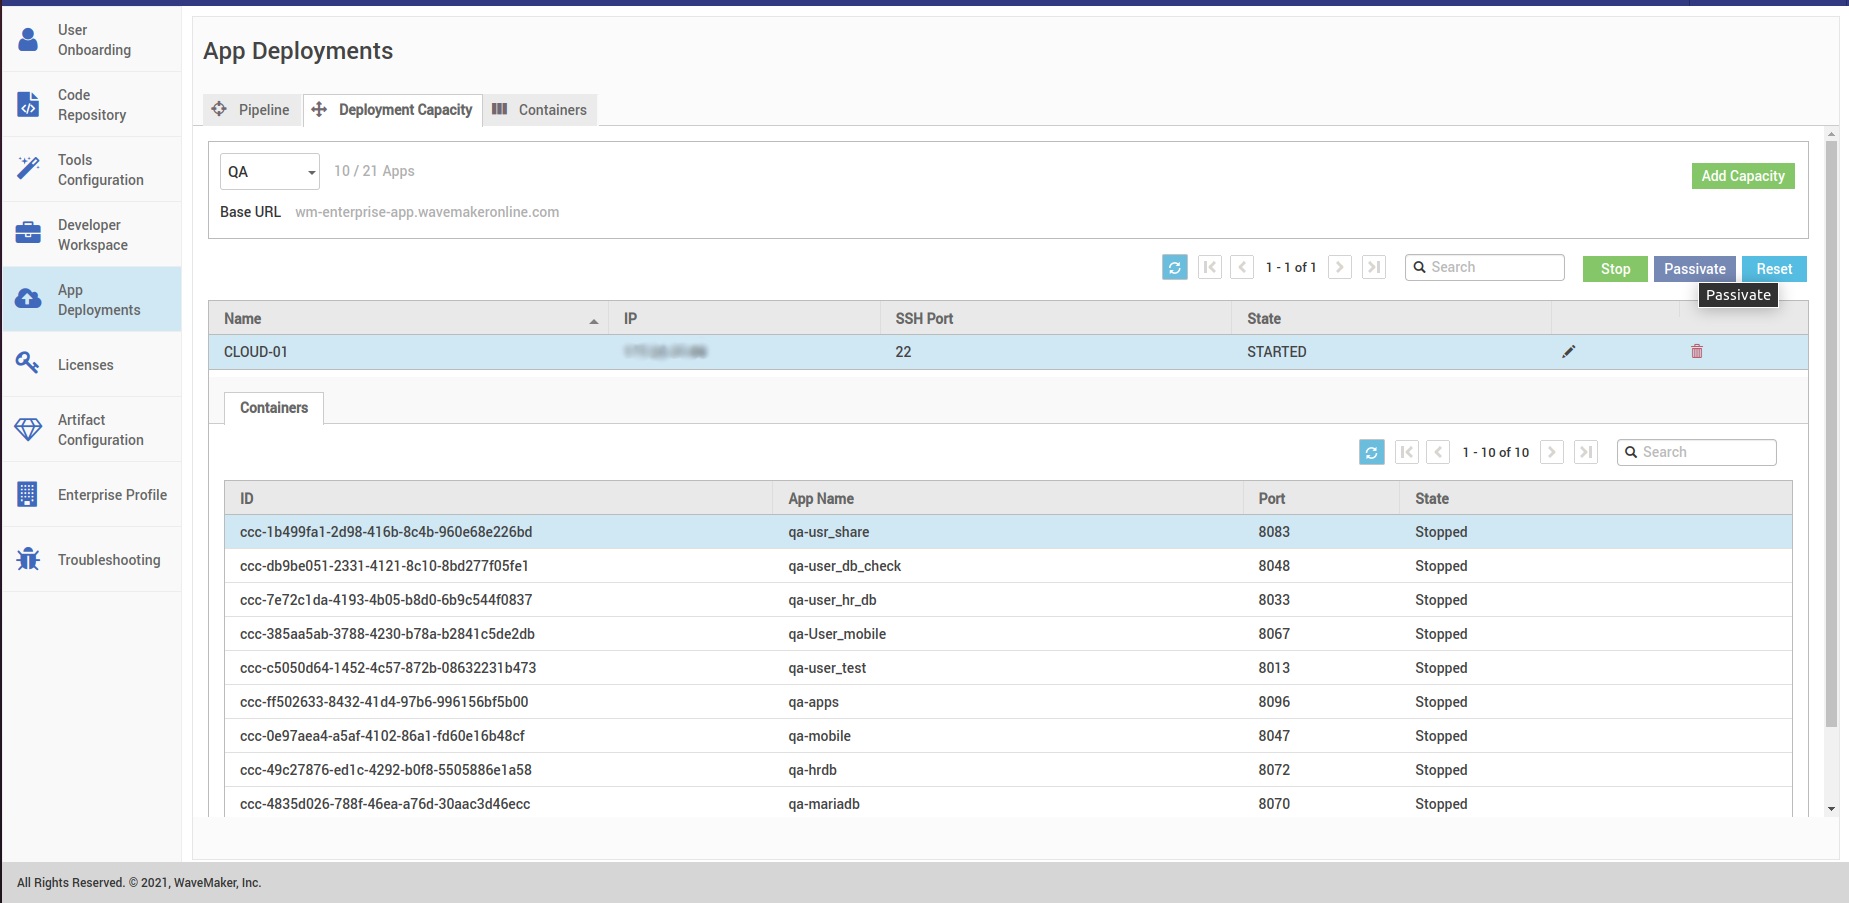
- After hibernate all the containers, go to Developer Capacity and hit the Passivate button shown in the below image. This will passivate all the Hibernated containers in the Instance.

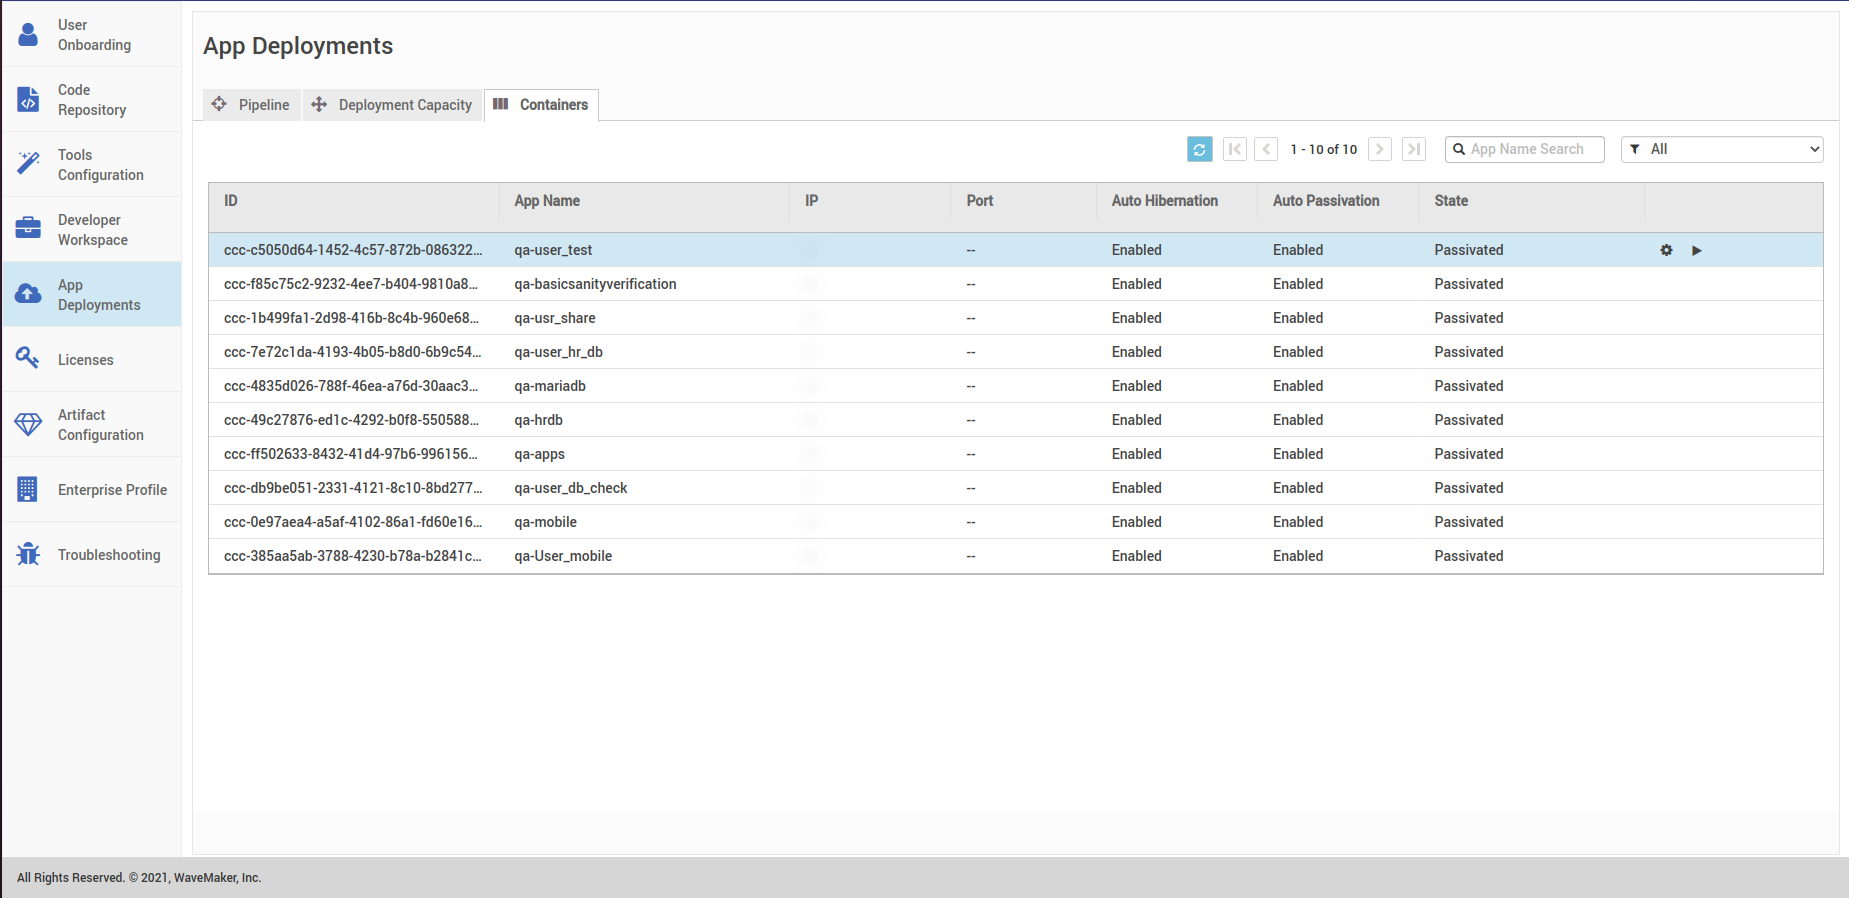
- Check the container status and wait till their state changes to Passivated.


- Do the same for rest of the StudioWorkspace/AppDeployment instances.
- After passivating all the containers in StudioWorkspace/AppDeployment instances, you can proceed with the patch.