OS Upgrade
Why do we need Operating System Upgrade ?
- WME is completely running inside docker containers, these docker containers are hosted on the Platform Instance's Operating System.
- Updated Docker versions are been introduced for every OS version, so inorder to maintain an updated docker version we expect users to upgrade the host OS.
- Beside these points by upgrading you will benefit by getting the latest software, including newly updated security patches.
- It also comes with the latest upgraded technology in different services along with docker, with every new release and bypasses having to resort to reinstalling and reconfiguring your system.
Below is the guide for upgrading the Operating system in the WME running Instances.
How Data Stored in WME
- WaveMaker Platform Stores its state into the disk. WaveMaker Platform administrators can take backups of those disk/directories and can restore them to any previous state.
- WaveMaker uses separate dedicated directory /wm-data in WaveMaker Platform Instance for storing data and /data directory in StudioWorkspace Instance / AppDeployment Instance.
What Data needs to be Backed up
- The
/wm-datadirectory in Platform Instance. - The
/datadirectory in all the StudioWorkspace/AppDeployment Instances are required to be backed up. - Take backup/snapshots above volume/directories periodically.
How to move all the data to a single location
- We can move all the data to Platform Instance(/wm-data dir or volume) so that backup will be easier. In that case, no need to take backups of any (volume/dir) in any of StudioWorkspace Instance / AppDeployment Instance.
- This moving of all data to the
/wm-datadirectory, is achieved by performing the following steps
Passivate containers in StudioWorkspace/AppDeployment Instances
- Inorder to upgrade your operating system it is recommended to passivate the containers in StudioWorkspace/AppDeployment Instances
- It can be done in following way:
Launchpad
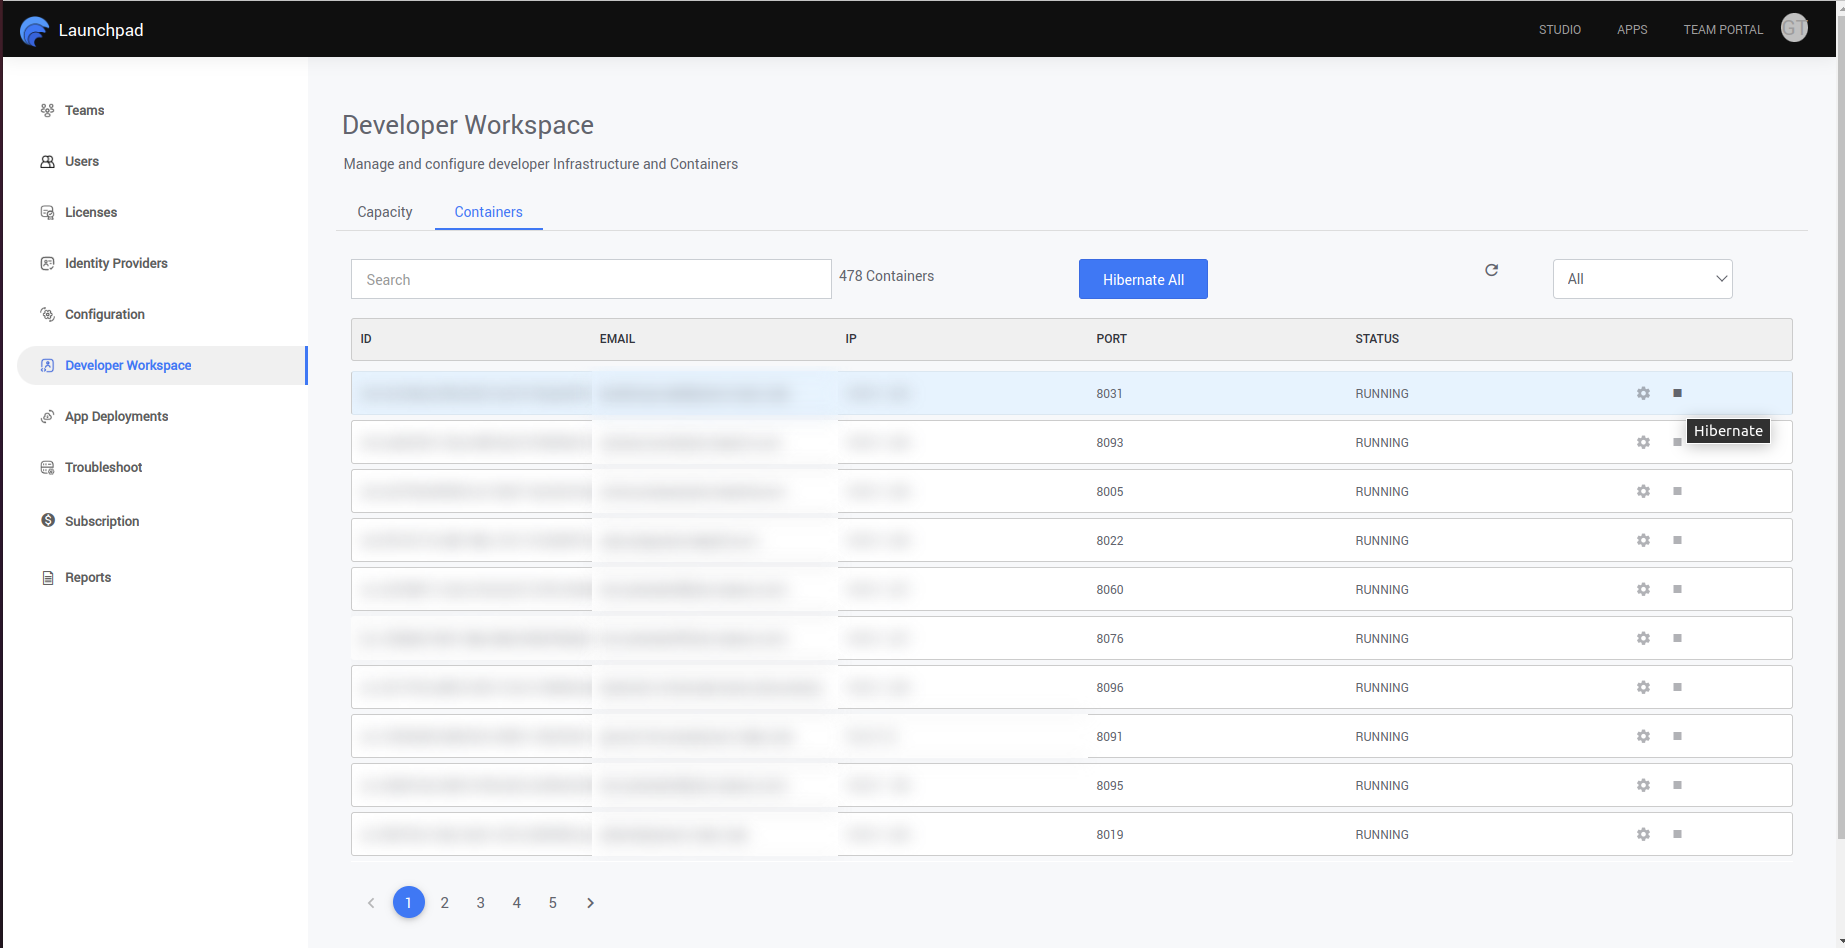
After logging into launchpad in your WME setup go to the Developer Workspace Tab, and then go to the container as shown in the below image
Select the containers that are running, hibernate those containers one after the other by hitting the stop button as shown in the image below, and wait till the state is changed to stop.

Go to Developer Workspace, and then go to capacity as shown in the below image
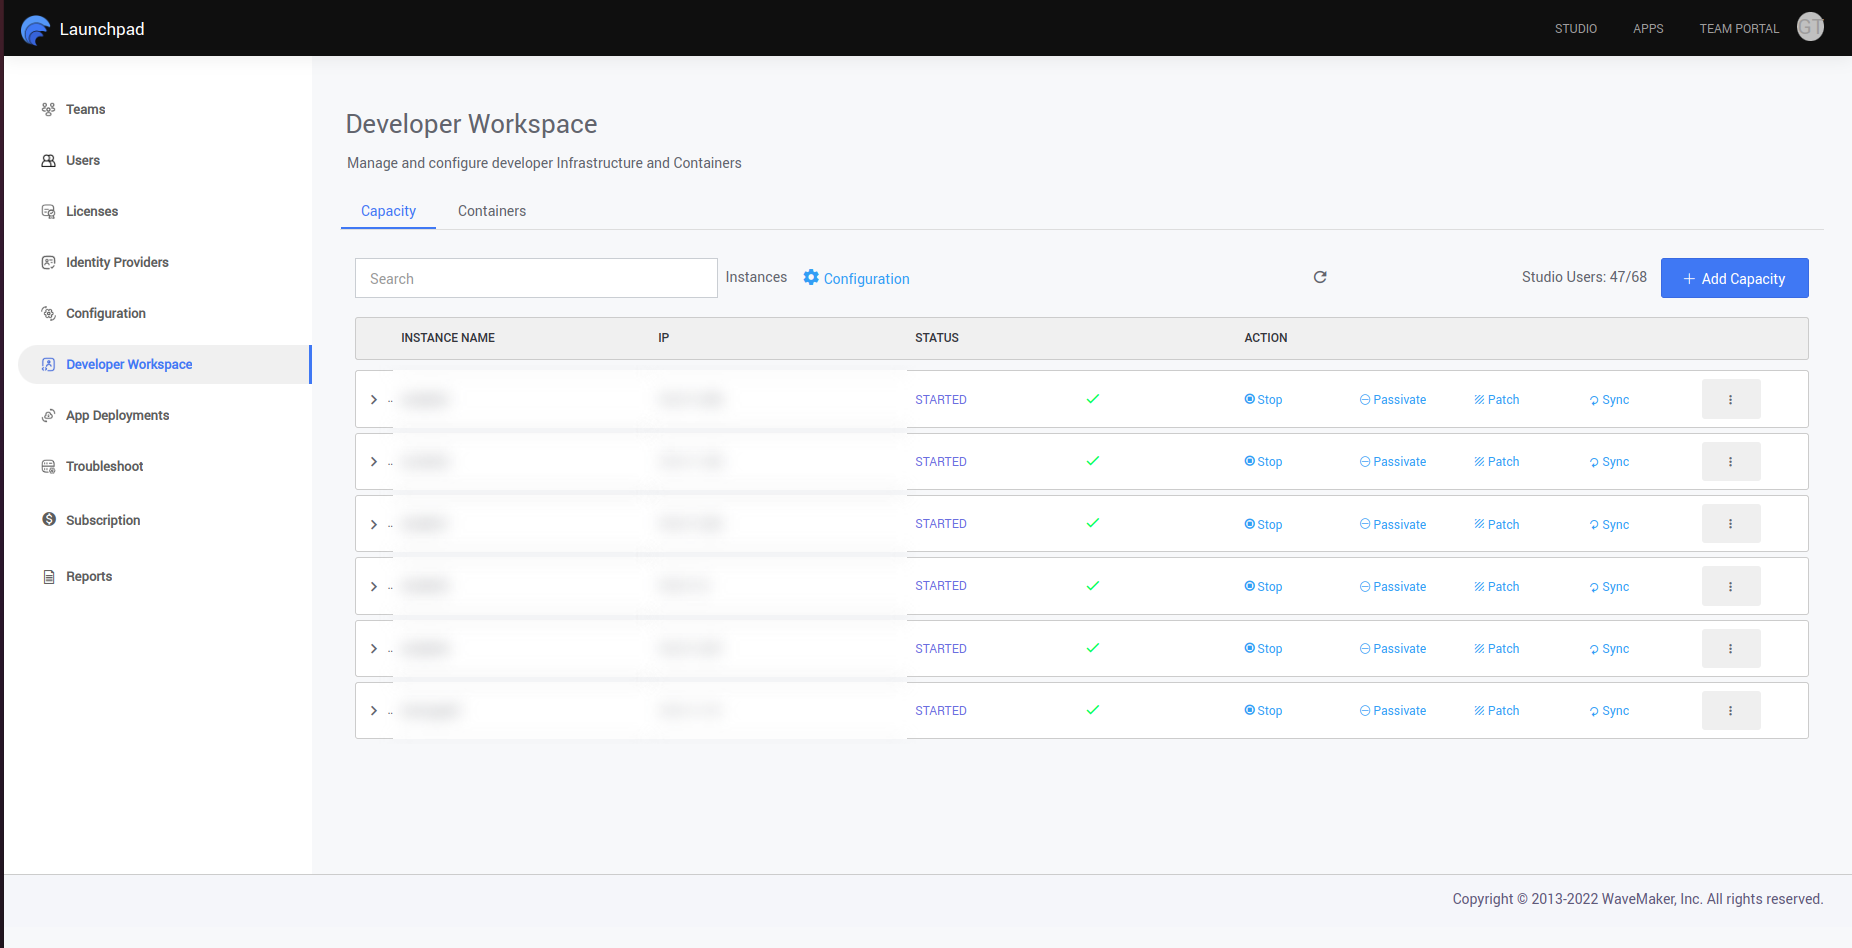
Here select all the StudioWorkspace Instances one by one and do the below operations.
First hit the stop button present there, it will stop the Instances from taking new user containers, wait till the state of Instance is changed to STOPPED
Then you need to hit the passivate button, this will passivate all the stopped containers in the Instance selected, wait till there are no stopped Instances present in the Instance
After this is done in all StudioWorkspace Instances cross-check the running containers in the containers tab, all the containers should be in the passivated state.
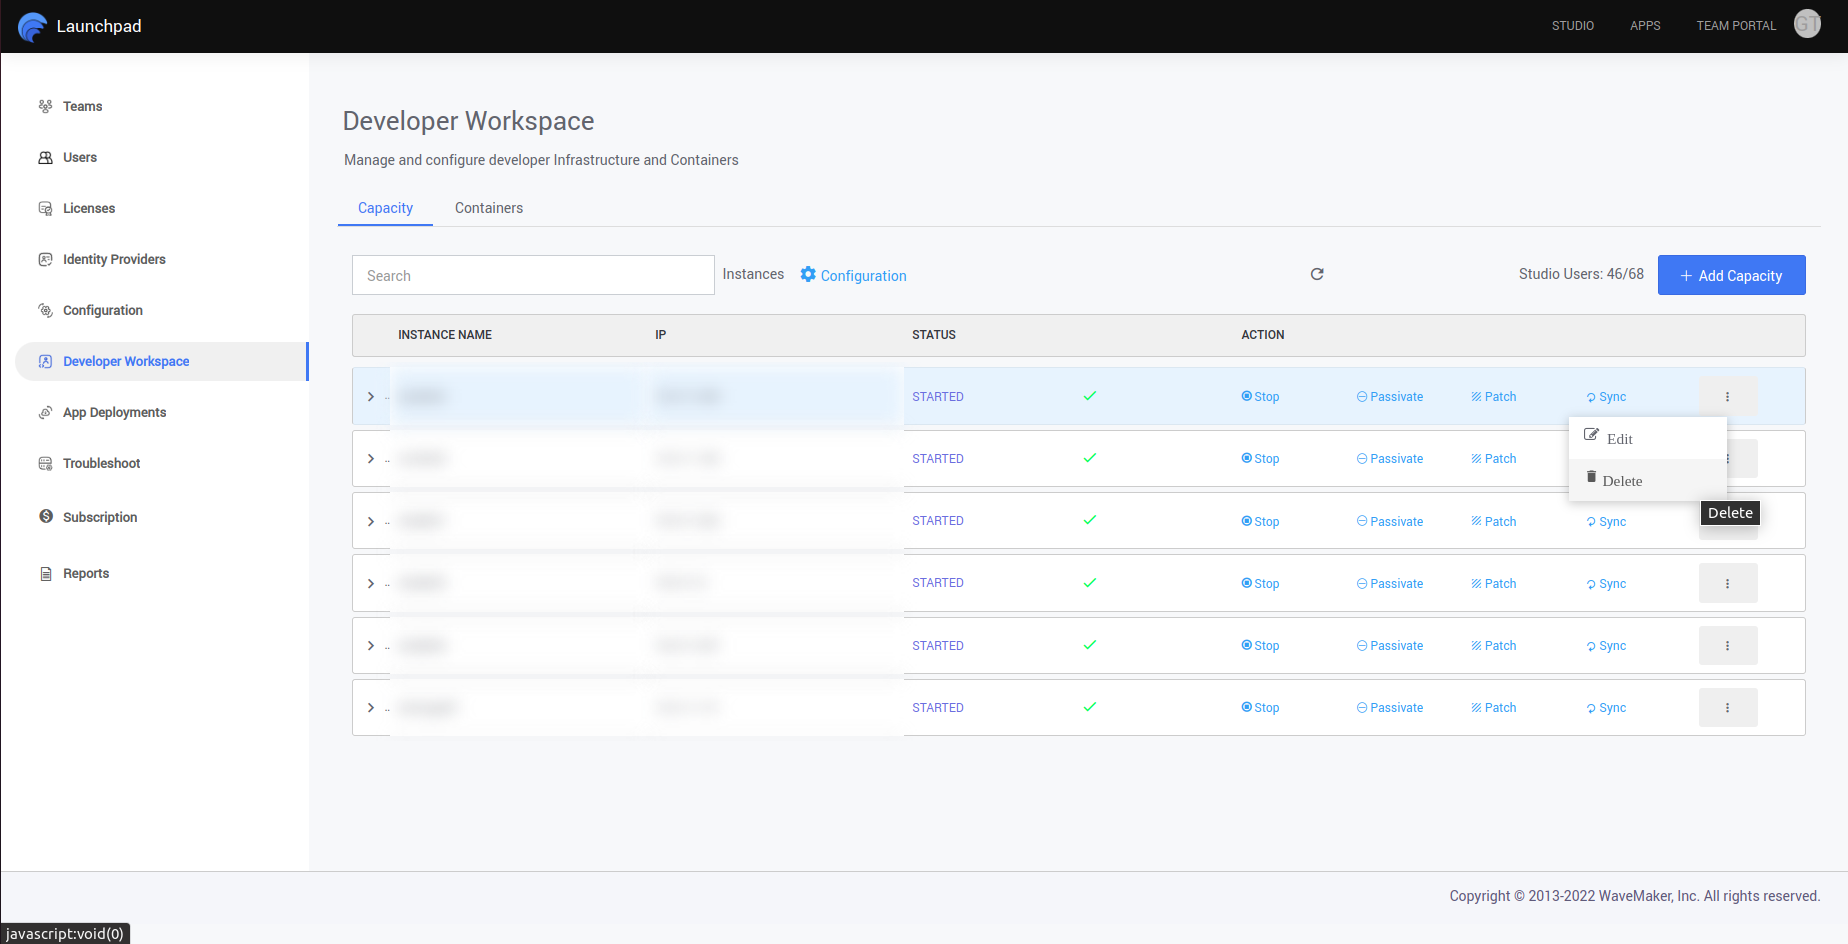
After making sure all containers are passivated come back to capacity and select one by one Instances by clicking the ":" icon and hit the delete icon as shown below, this will delete the Instance from setup.
After completed the above process in Developer Workspace, go to AppDeployments, and perform the same operation mentioned above in all AppDeployment Instances(Demo, Stage, Live)


Stop the WME Setup
- We recommend you to stop the WME setup before proceeding for further steps
- You can stop the WME setup operation from the config wizard portal
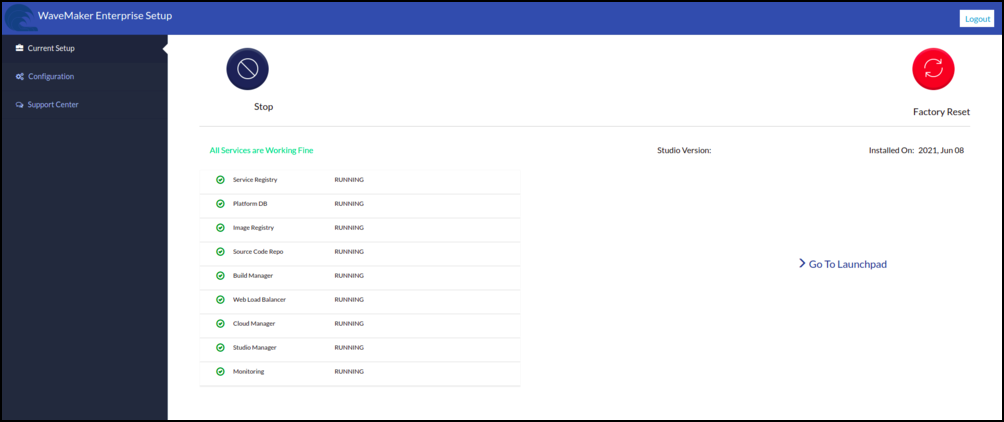
CW Portal
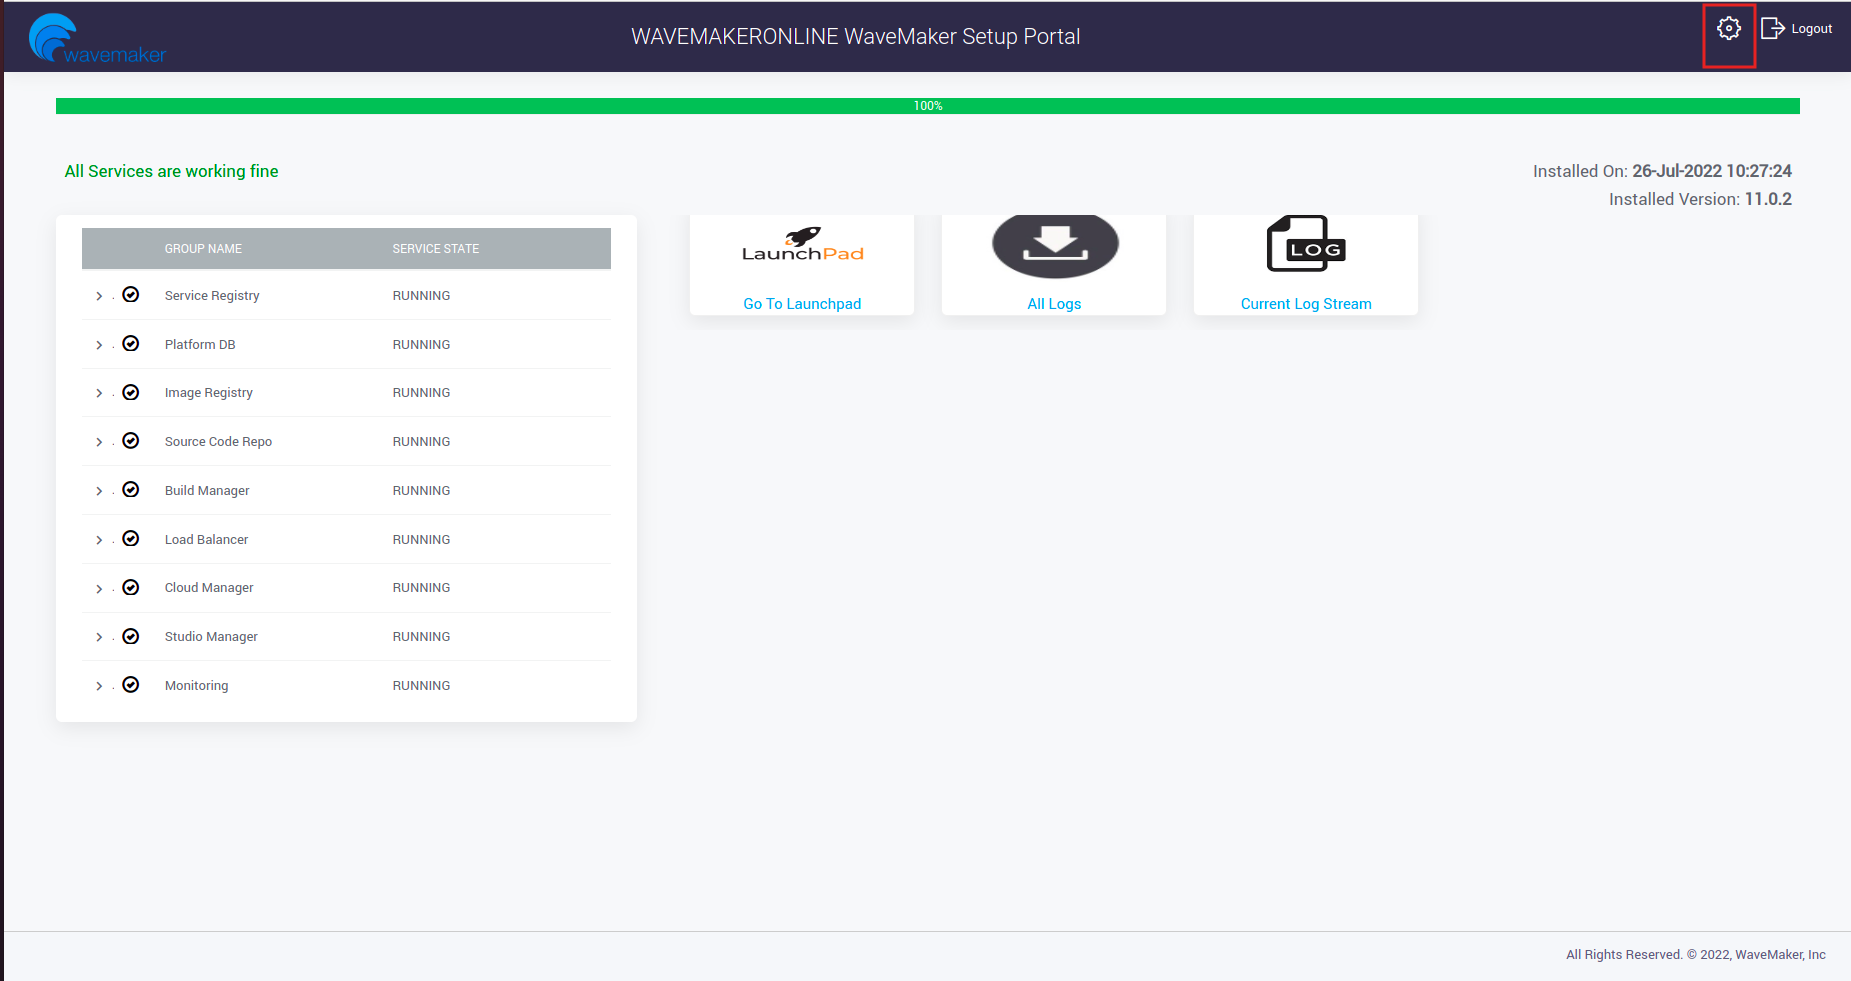
- Login into the CW portal, after login in home page you can see settings icon on the top right as marked below.

- Click on Stop Installation button as shown in the image below, hit to stop the WME setup.

- From here also, you can start the CW process, can be perform Sync and Cleanup Operations.
How to take a backup of the data
- Take a backup of
/wm-datadirectory of Platform Instance by taking a snapshot of a volume - You can find below, the steps of taking snapshot of a volume in different Infra providers.
AWS
- To create AMI of Instance in AWS cloud provider please refer AMI creation in aws.
- Stop WME EC2 instance and detach eth1 network interface follow the steps given here, make a note of interface ID or ENI ID
Azure
- For creating an Image of Instance in AZURE cloud provider please refer Image creation in azure.
- Stop WME VM and detach network interface follow the steps given here, make a note of interface ID.
GCP
- For creating an Image of Instance in GCP cloud provider please refer Image creation in GCP.
- Stop WME VM aESXietach IP address follow the steps given here, make a note of interface ID.
VMWARE ESXi
- For creating a snapshot of VM in VMware please refer snapshot creation in vmware.
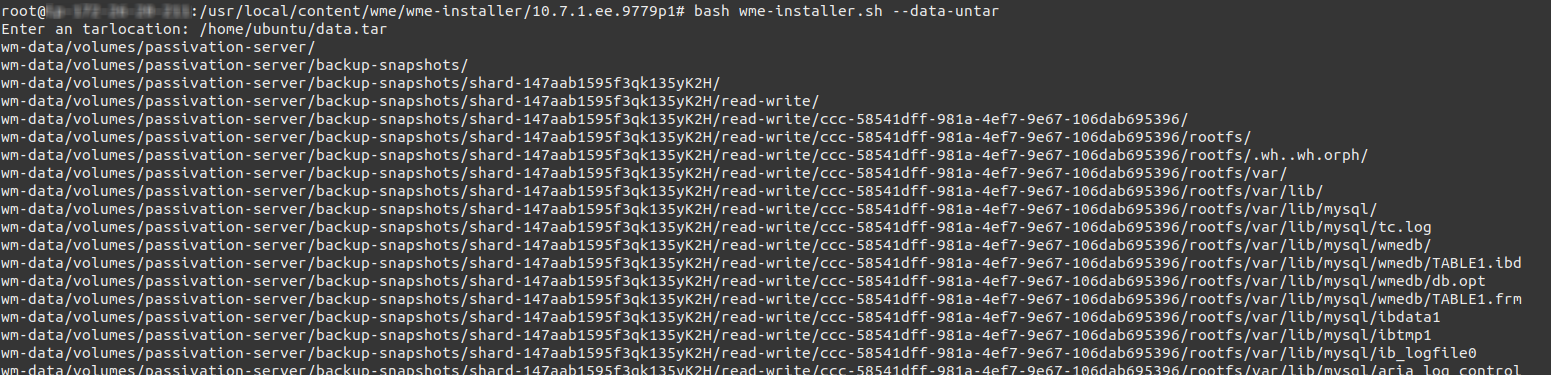
- Alternatively, you can take backup of the data directory by executing the below command in the Platform Instance. Archived copy will be created in /wm-data directory with the name data.tar.
- Copy the generated data.tar to secure location either on to new WME Platform Instance or to any cloud storage services or your local machine. This data.tar will be used for restoring purposes.
Hyper-V
- For creating a snapshot of VM in Hyper-V please refer snapshot creation in Hyper-V
Stop Docker service in the system
- After the backup is completed we request you to stop Docker service in the WME Platform Instance and StudioWorkspace Instance / AppDeployment Instance.
- Connect to each Instance via SSH then execute the below command
Upgrade the Operating System
There are two possibilities depends on your infrastructure.
- You may have a Predefined list of Operating System Images allowed by your organization and managed IT Team. i.e You are only Allowed to launch/request Instances with those images.
- If you are allowed to execute Operating System upgrade Commands(like apt update, yum update) in given WME Instances.
Instances with Managed Operating System
Launch WME Platform Instance
- Launch the Instance or VM with the same IP address with the latest AMI Image. To create WME Platform Instance in the different cloud or on-premise environments please follow the below steps. Attach the previously backed up /wm-data volume to Platform Instance and Mount the volume to the platform Instance using the following command.
- Make sure to attach backup of /wm-data volume to Platform Instance.
- You can find below, the steps of launching a Platform Instance with respective to different Infra providers.
AWS
- To launch WME Platform Instance in AWS cloud environment please refer WME Platform instance Infrastructure in AWS.
AZURE
- To launch WME Platform virtual machines in AZURE cloud environment please refer WME Platform instance Infrastructure in AZURE.
GCP
- To launch WME Platform virtual machines in GCP cloud environment please refer WME Platform instance Infrastructure in GCP.
VMWARE ESXI
- To create WME Platform virtual machines in VMware Esxi please refer WME Platform instance Infrastructure in VMware Esxi.
Hyper-V
- To create WME Platform virtual machines in Hyper-V please refer WME Platform instance Infrastructure in Hyper-V.
Volumes Based Disks Restoring(AWS, GCP, Azure)
- Mount the /wm-data backup disk to new Platform Instance
- Update the fstab entry for volume on every system reboot, add an entry for the device to the /etc/fstab file.
- Take UUID of disks for identification by using the following command.
- To entry, the UUID of the disks in fstab, use the following format.
Directory based Disks Restoring(VMWARE ESXi and Hyper-V)
- Copy tar to new Platform Instance which was archived in the previous steps.
- Use the below steps for restore /wm-data using data.tar which was archived in previous steps in Platform Instance,
Launch WME StudioWorkspace Instance/AppDeployment Instances
- Launch StudioWorkspace Instance/AppDeployment Instance in different Infra providers from Link WaveMaker Launch Instances.
Installing WME on New Platform Instance
- For Download WaveMaker installation package please refer WaveMaker package Installation.
- Extract Package please refer WaveMaker package extraction. Initializing the setup please refer WaveMaker Initialization. Make sure to provide the same CIDR Range which is used in the previous setup.
- Setup using config wizard please refer WaveMaker configwizard setup and use same WaveMaker studio and built apps Domain names.
Setups when allowed to execute Operating System Upgrade Commands
::: note Follow the below steps in PlatformInstance, all StudioWorkspaceInstances and AppDeploymentInstances. :::
Ubuntu
To upgrade the Ubuntu operating system to the next available release version please refer Ubuntu OS Upgrade
::: note
For a user to upgrade from Ubuntu 16.04 to Ubuntu 20.04 version the above upgrade operations has to be done in two steps to reach the desired version
:::
RHEL
- To upgrade RHEL 7 operating system to RHEL 8 operating system please refer RHEL OS Upgrade
Reboot the system post upgrade
- Reboot StudioWorkspace and AppDeployment Instances
- Once it is done you have to reboot your platform Instance after upgrading OS in that Instance
Start WME Setup
- After rebooting the platform Instance, the config wizard will automatically start the WME setup, you can verify the startup process through CW portal and can use the setup post start up process.
Add StudioWorkspace/AppDeployment Instances from launchpad
- Add Newly launched Instances or Upgraded Instances to Platform from Launchpad.
- For adding Developer Instance you can refer WME Add Developer Capacity
- Similarly, for AppDeployment Instances you can refer WME Add Apps Capacity