Manage Projects
Sharing a project with a team member is so essential for collaborative work. Teams help you share projects and collaborate with other users in the team. The only users who will be allowed to access the project are the users you have invited to collaborate with. You can even choose to restrict what type of access other users have to specific projects.
Manage Projects allow you to have transparent project tracking across your team. This helps you to make sure each member is handling their tasks accordingly. It is a central place that you can leverage and access. Project Admin role has all the permissions for a particular project. Therefore, as an admin, you can override and assign or revoke the role from the project members.
For example, Tom is a developer. If you want to collaborate with Tom, you can readily invite him to work with you in the Test-Sample project. If Tom is leaving the company, you can remove him from the projects he is associated with and invite new members to these projects with specific roles.
Members should be registered with Teams before they can be invited to a project.
You can access the Manage Projects page in the administration area by clicking Manage Projects from the left panel.
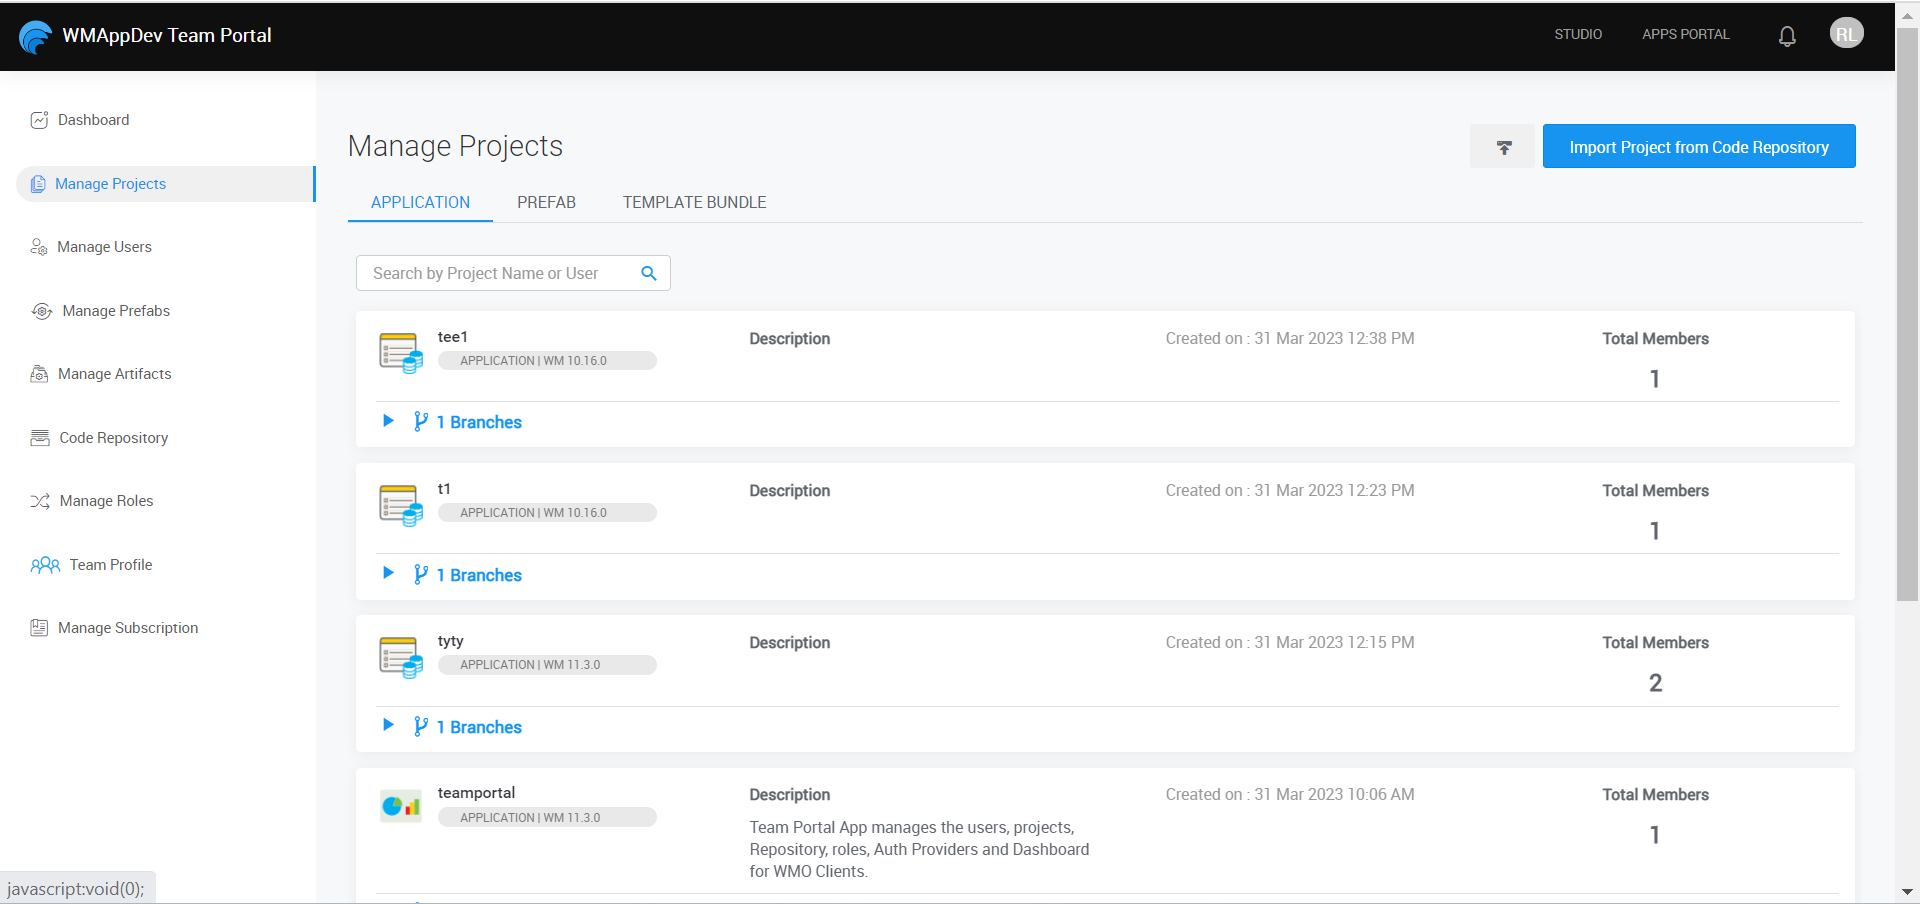
From the projects list, you can
- Import project from code repository
- Export project details
- Add user to a project
- View or edit user’s role in a project
- Add and view project information
- Remove a user from project
Import Project from Code Repository
You can import a project available on Version Control Systems (VCS) like GitHub, GitLab, Bitbucket and Azure. Commit history of the specified branch carries over when imported.
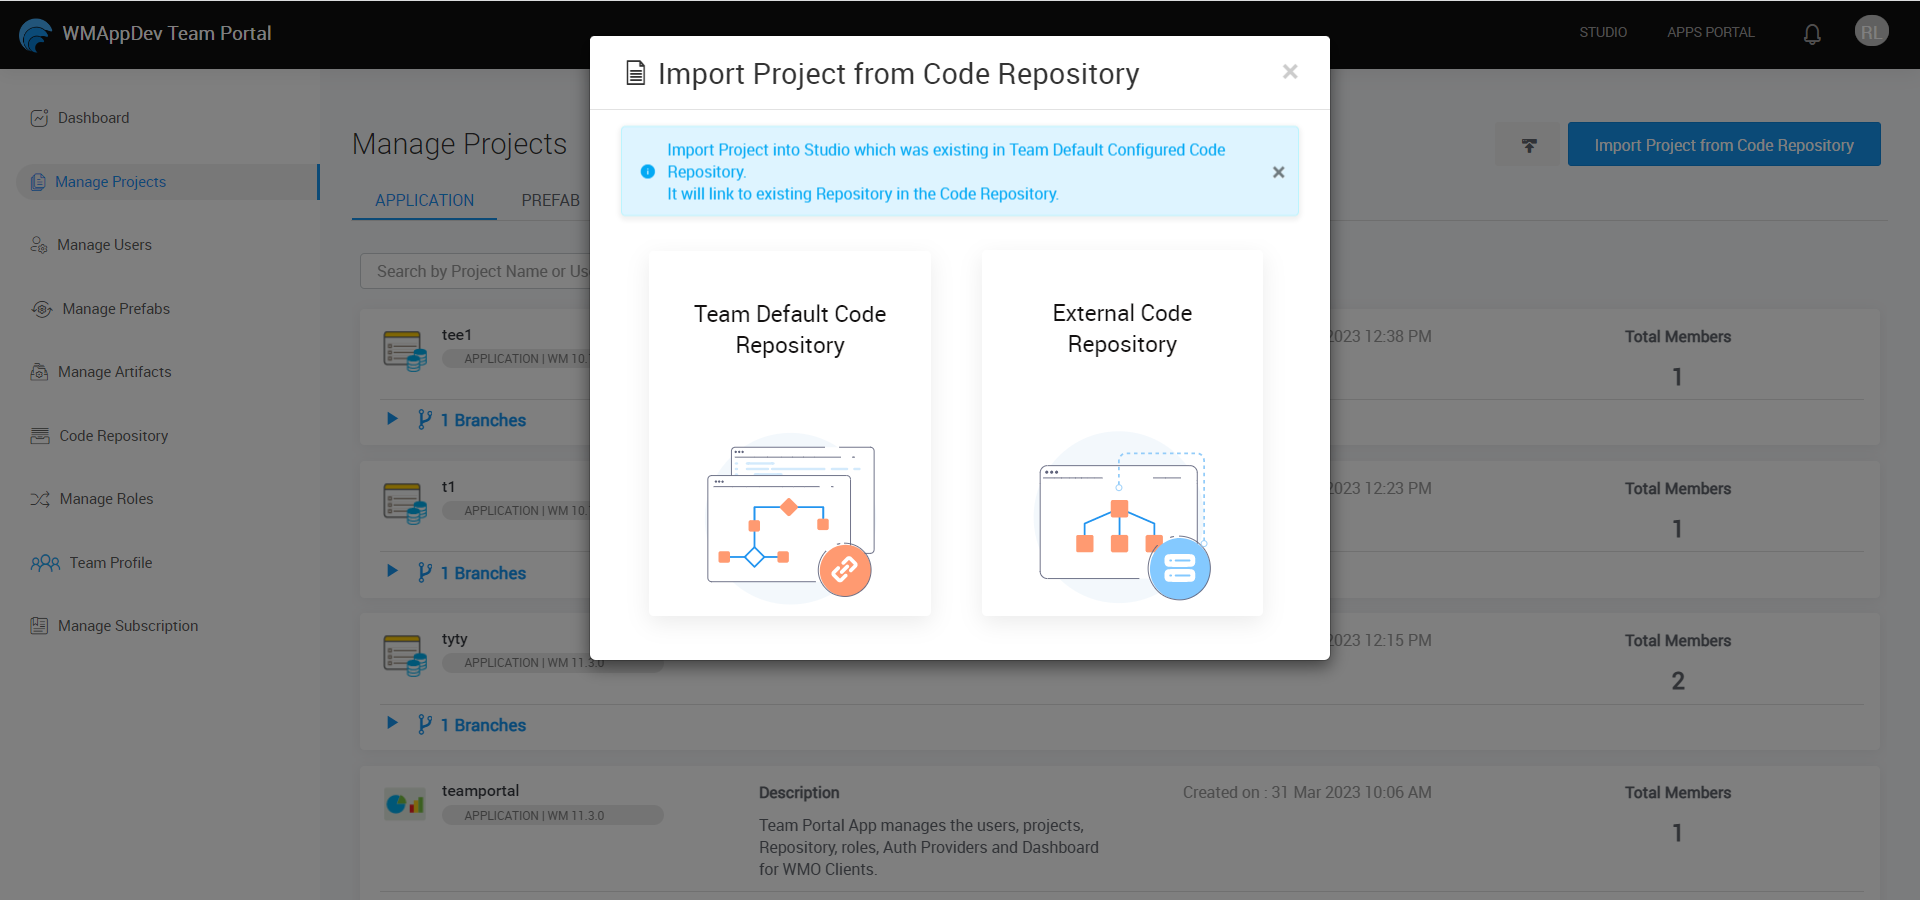
For more information, see Import Project from Code Repository
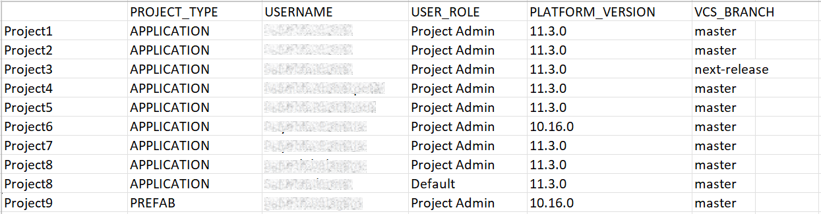
Export project details
Project metadata such as name, developers working on each project can be exported as CSV file for offline usage. The CSV file includes developers and their role in the project as well.

Refer to below screenshot to view the CSV file format that gets exported:
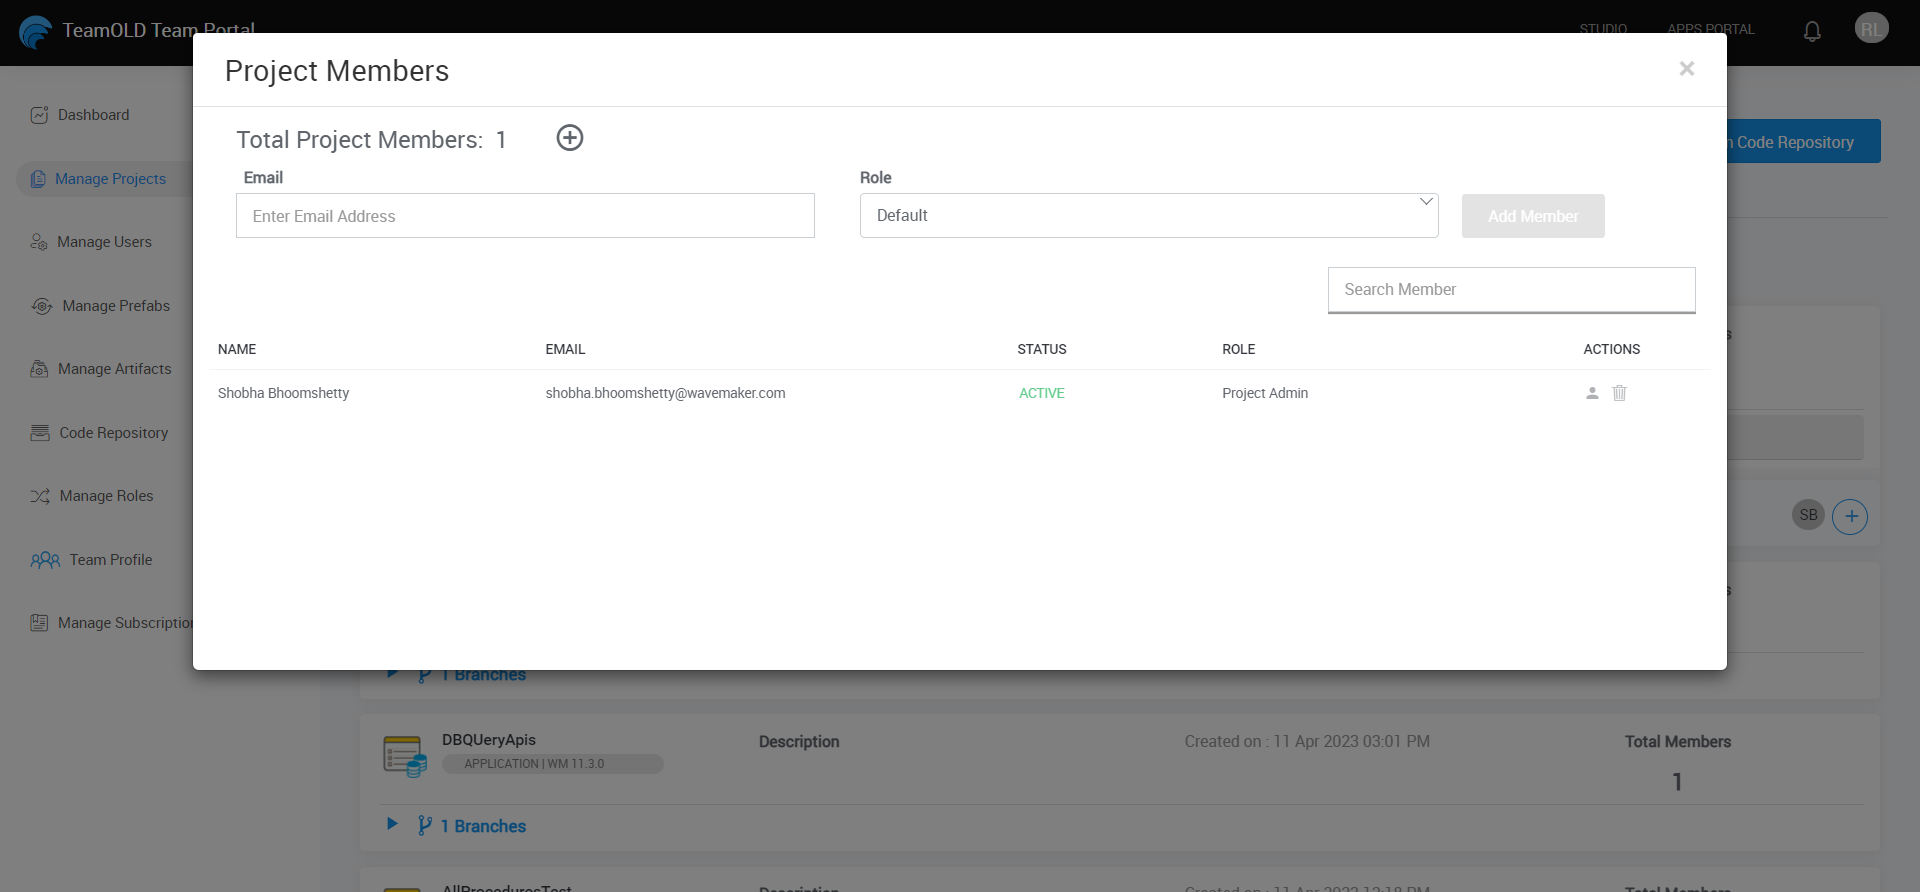
Add Members
You can add members in the team to a Project. The new members assign with the default role which gives them only read access. You can also choose a specific role for the user. For more information, see Manage Roles
- To add a member, click the Plus button as shown in the image below. This opens the Add User Form.

- Enter the email address of the user you would like to share the project with
- Select the role(s)
- Click Add.
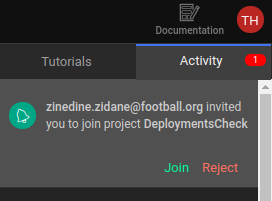
Your collaborator receives an notification inviting them to join the project. Once they login to their account, they can accept the invite and collaborate on the project. The shared-project dialog will update if the collaborator has accepted the request and joined the project.
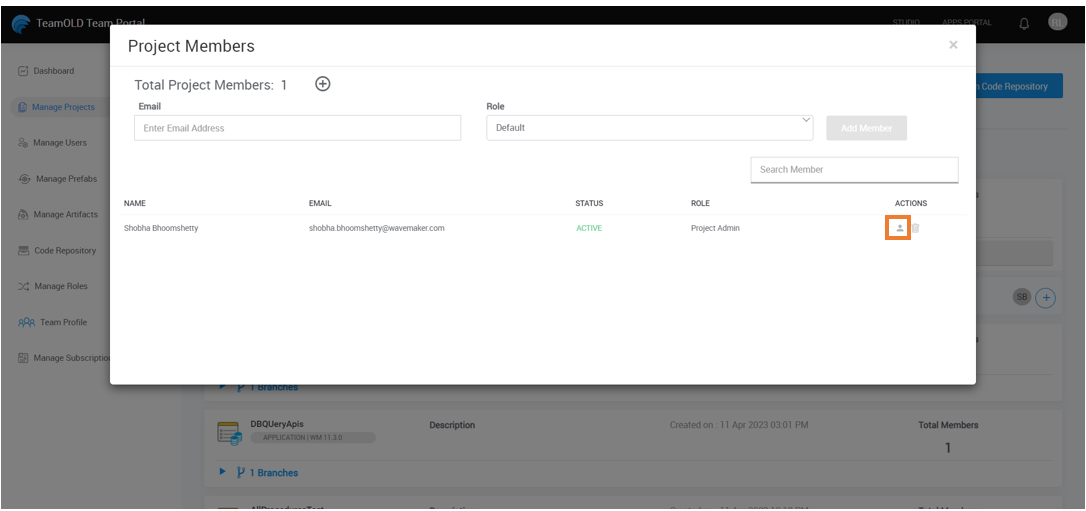
Change Roles
- Once the user is added to the project, the role can be changed. To change the role of the existing member, click the User icon.
- Edit the roles by clicking on the desired roles to assign as shown in the image below.
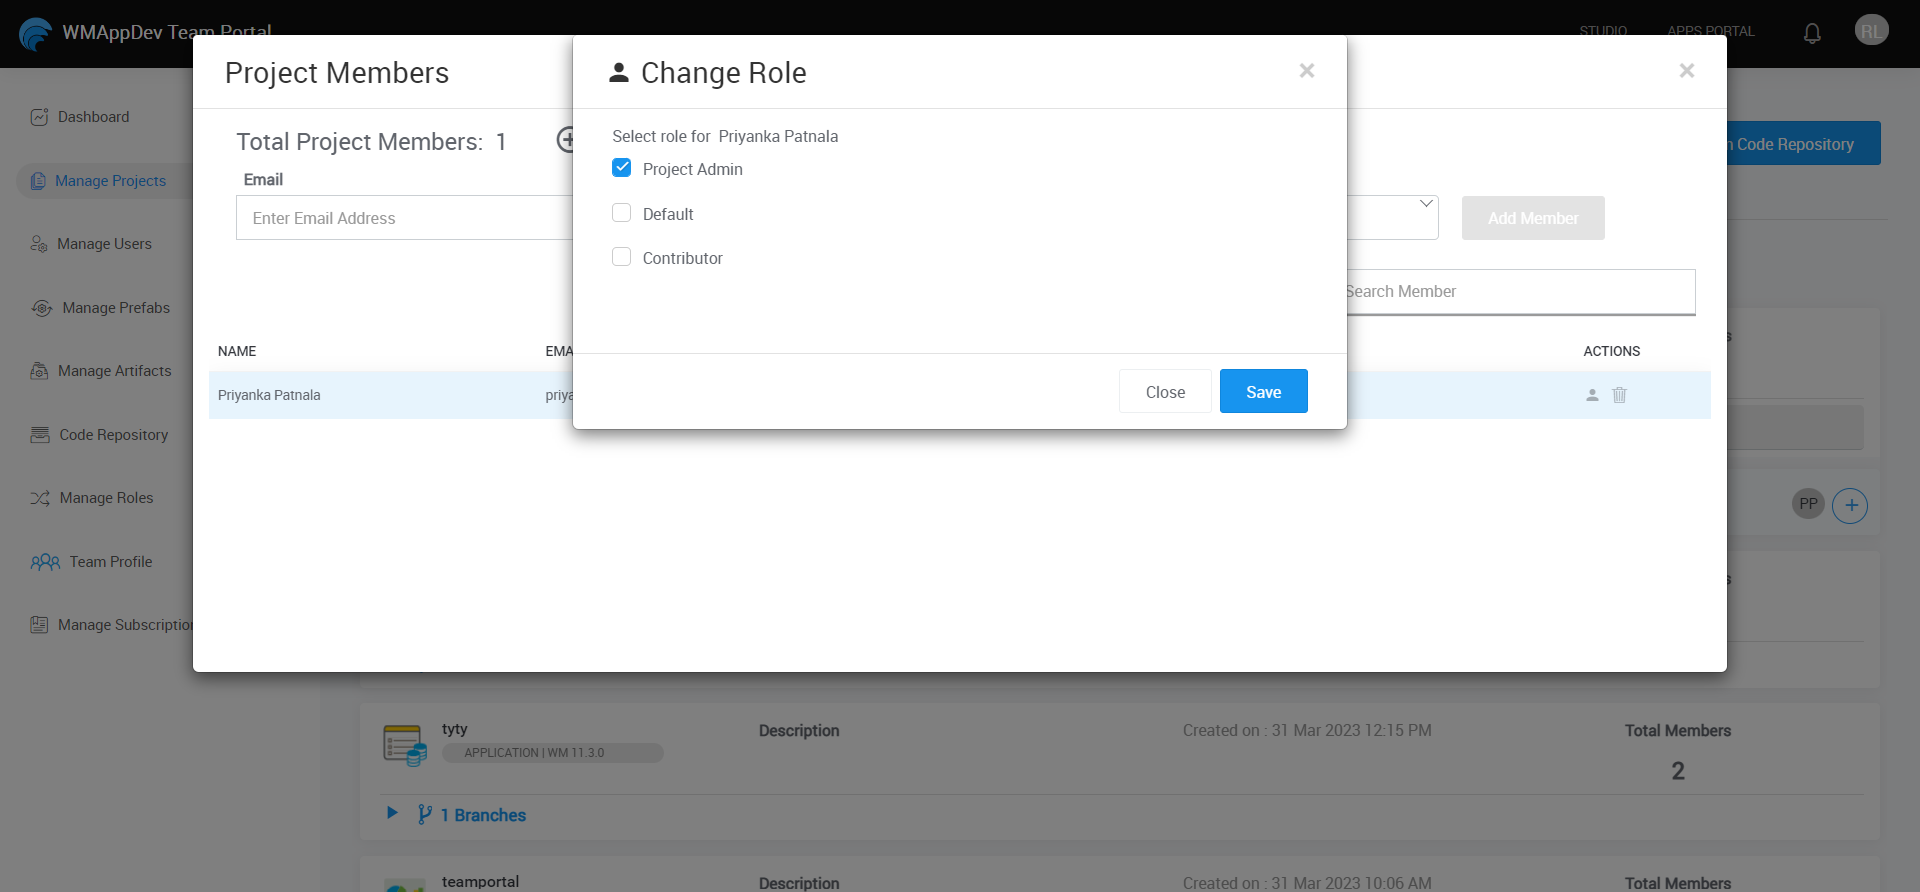
- It opens a confirmation dialog saying that the user role will be changed from the existing role to the new role.
- Click OK to confirm.
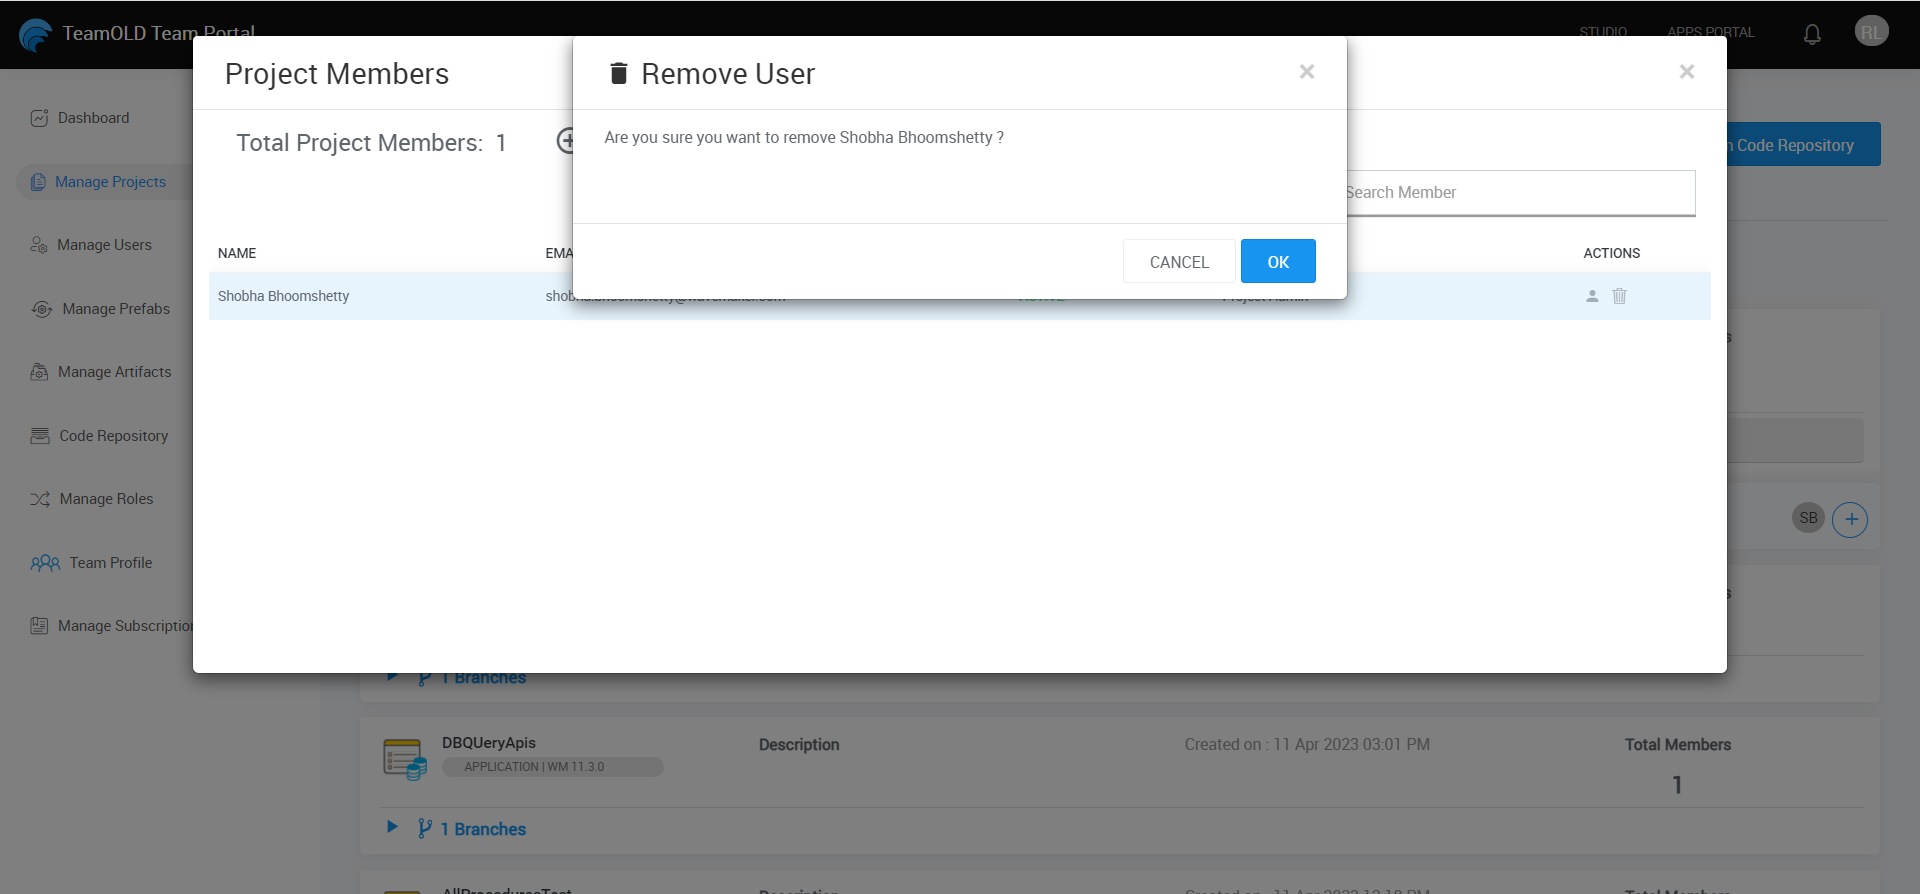
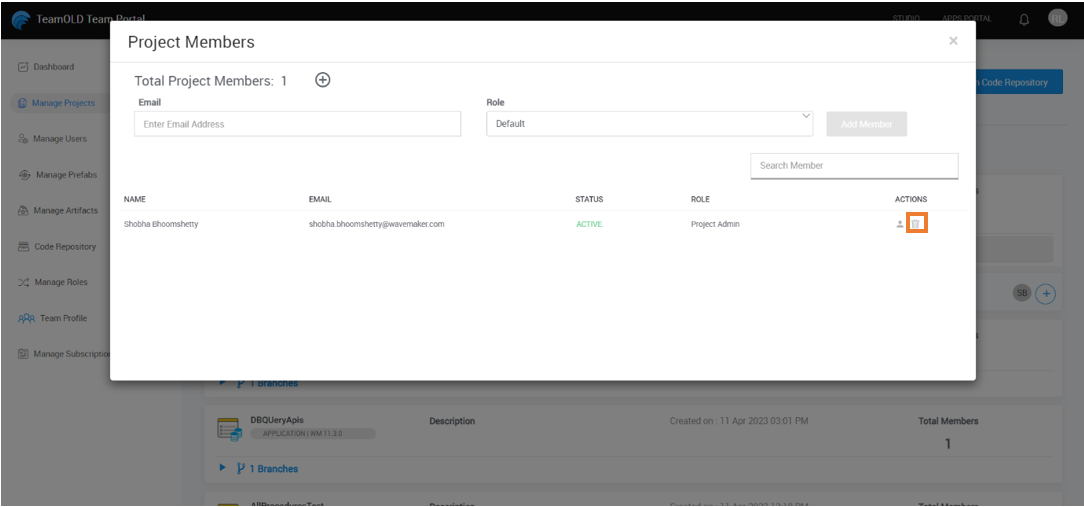
Remove a Member
- You can remove a member from the project using the Remove Member option as shown in the image below.
- It displays a confirmation dialog saying whether the user should be removed from the project.
- Click Remove Member to confirm.