Manage Roles
Manage Roles help you to define customized roles. Customize the access permissions for each role however you want. Therefore, the user can then perform actions on a project based on their assigned role and permissions.
For example, you can create a role UI Developer to give fine-grained access privileges like create pages, change theme etc and assign those roles like UI Developer to the members of your projects.
Say, Tom is a UI developer. If you want to collaborate with Tom, you can readily invite him to work with you in the Test-Sample project with role UI Developer. Tom can then perform actions on a project based on assigned role and permissions.
Project Roles are different from User Roles.
A User role defines the permissions of a user in the Team. For example, whether the user is authorized to access the Team portal or not. A user can be a Teams admin or a Studio user.
Whereas, Project role defines the permissions of a project member in a particular project. A project member can perform actions on a project based on their assigned role and permissions.
A project member's actions include view pages, edit pages, deploy application, and more. You can only create custom project roles.
- You can access the Manage Roles page in the administration area by clicking Manage Roles from the left panel.

From the Manage Roles page, you can
- Create a custom role, granting permissions as per your needs
- View or edit a custom role
- Remove a role
Create a Role
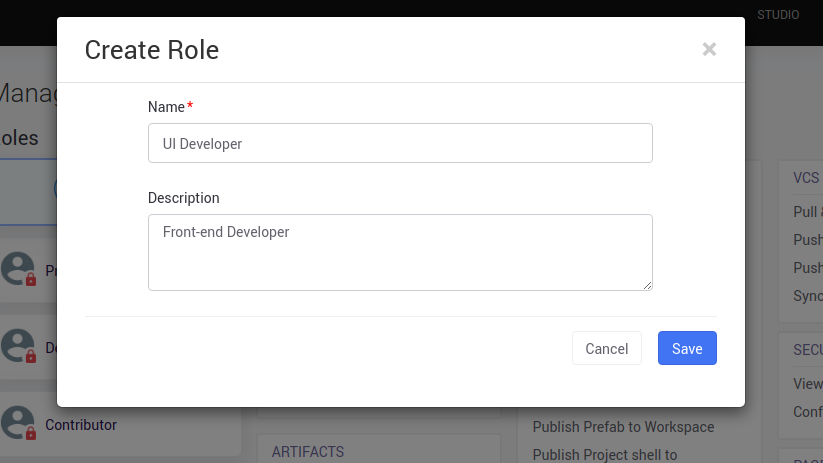
- Click the Create Role button, and provide a name and description of the role you want to create.
- Click Save to complete the action.
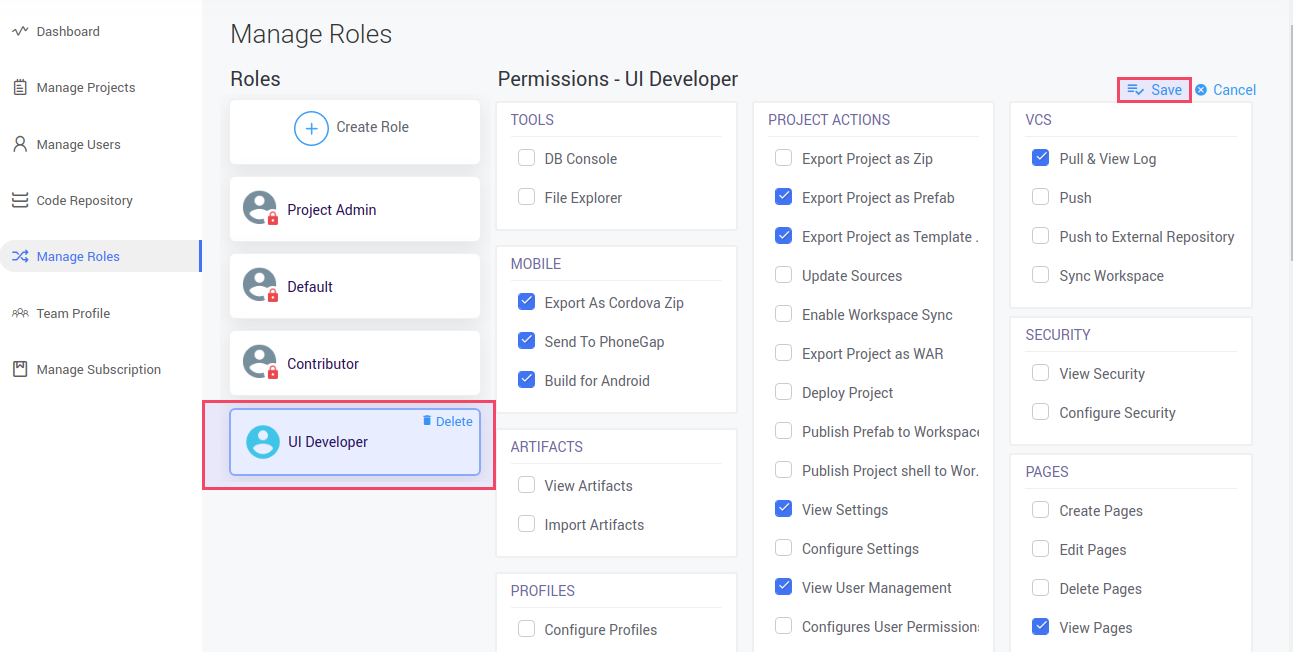
- Select the role and assign permissions, click Save from the top right corner as shown in the image below.
Delete a Role
- To delete a custom role, select the role and click the delete button.
