How to apply Custom Template for Widgets
Apply custom template for widget, including Search, Radioset, Checkboxset widgets.
You can use this feature to change the look and feel of the widgets that represent repetitive data. For example, customize the UI in the dropdown for each item of Search or Autocomplete widget, as shown in the image below.

Choosing Template from Canvas
Drag and drop a Search Widget, and bind the widget to a dataSet.
When you select the Search widget on the canvas, you can see the template icon on the toolbar. Click the template icon.
![]()
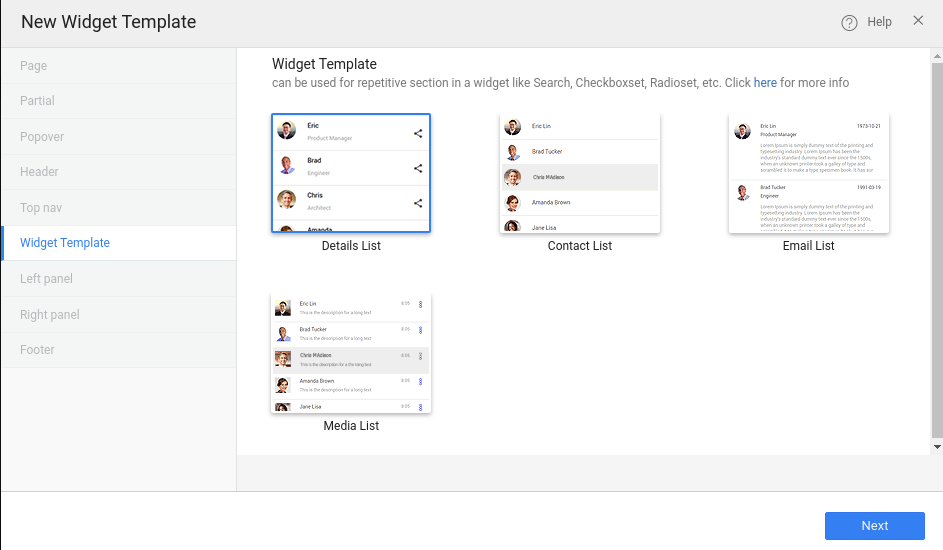
- It opens a New Widget Template dialog. From the left navigation, click Widget Template, and select a template.

Click Next, it automatically selects the Table/Entity to which the widget is bound to.
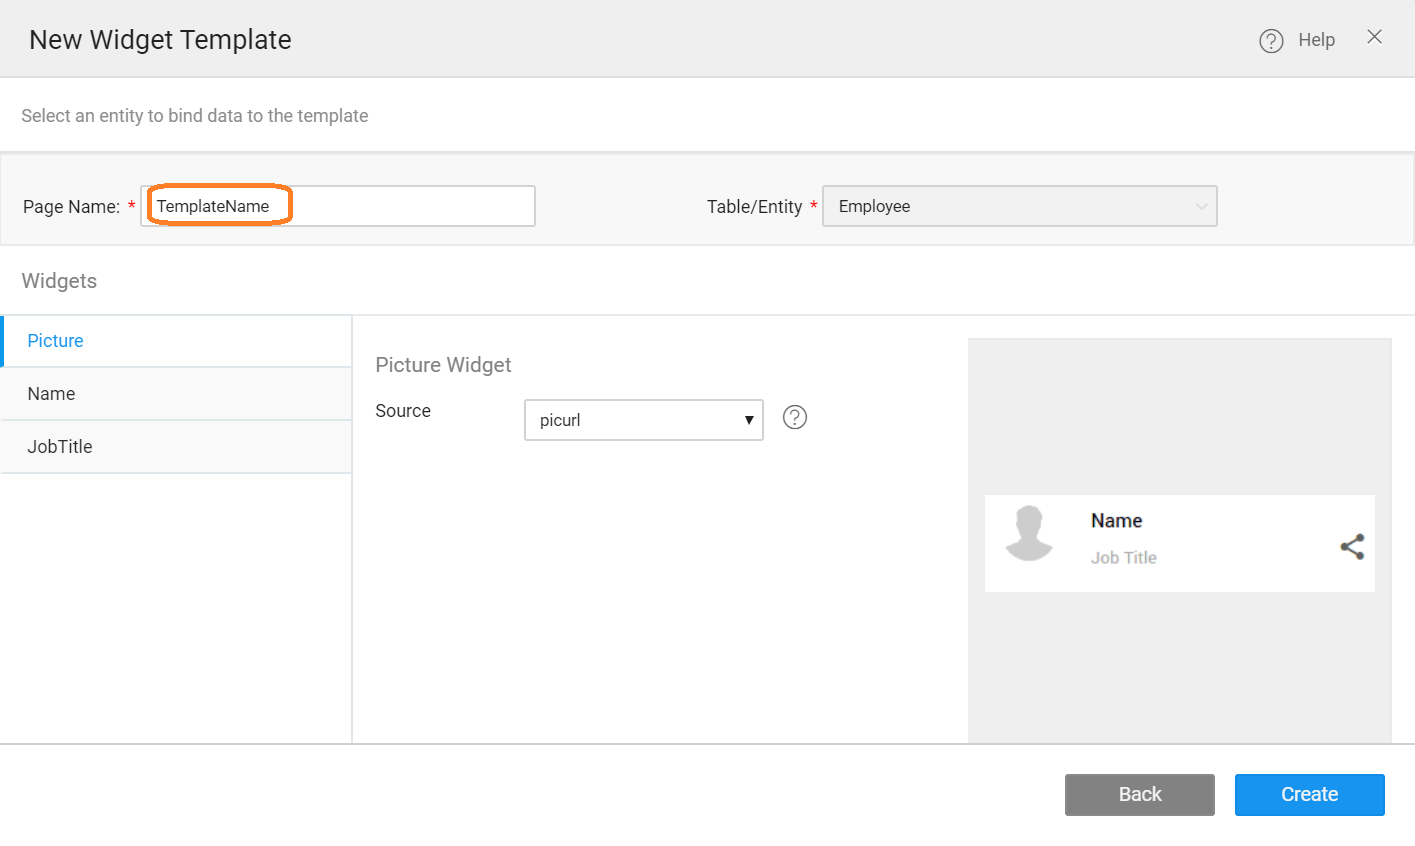
Provide a name for the template, which will be used to notify in the next steps.
Bind the template fields. The fields display based on the template you select, and click Create.

- Now, notify the widget to use the template from the page script tab.
Creating Template from Page Creation Dialog
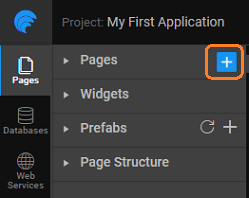
- Click the + to create a new page.

- From the left navigation, click Widget Template, and select a template.

Provide a name for the template, which will be used to notify in the next steps.
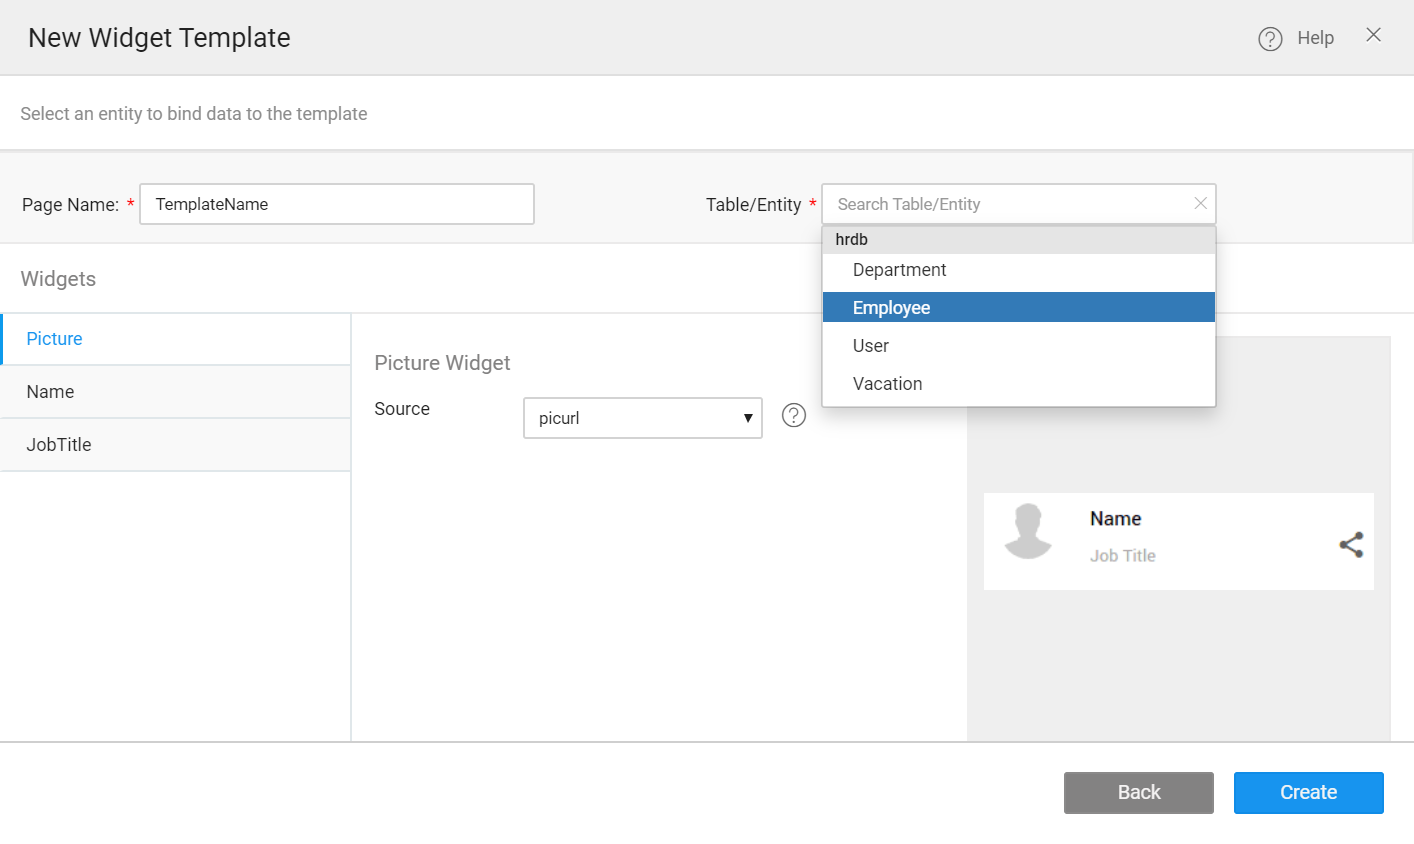
Select the Table/Entity of the service. Bind the template fields. The fields display based on the template you select, and click Create.

- Now, notify the widget to use the template from the page script tab.
Notify the Widget
Notify the search widget to use the custom UI template, instead of the default template.
Search Widget
Reusability
Similarly, you can reuse the created-template for widgets, including search, checkboxset and radioset by simply notifying the widget to use the custom UI template.