How to apply Custom Formatter for widgets
With Custom Formatter, customize data more specific to your audience. Convert data received from services to well-formatted data before showing it in the UI, depending on the role, country, currency, and more. In this example, we are using a Card Widget to show how it works.
For more information about Custom Formatter syntax and definition, see Custom Formatter.
Drag and Drop the Widget
- Drag and drop a Card widget, and bind the widget to a dataSet. In this example, we are using a model variable with the following static data.
- Select a Label from the canvas. Go to the property panel, click the Bind property to start configuring the Label with a "new custom" data.
- In the property Bind dialog, navigate to the Use Expression tab.
- From the Format Type dropdown, select the Add custom formatter.
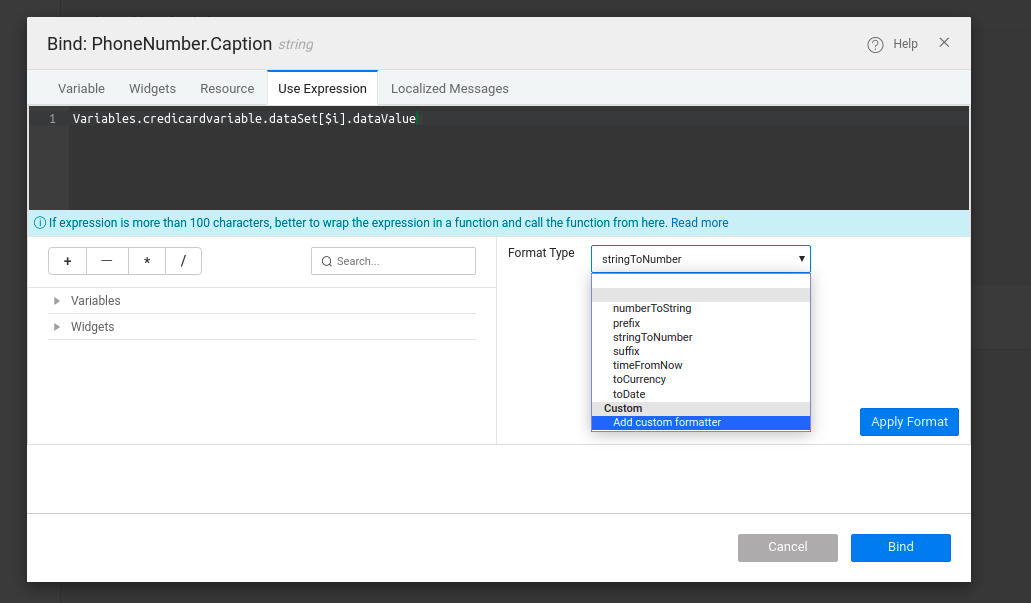
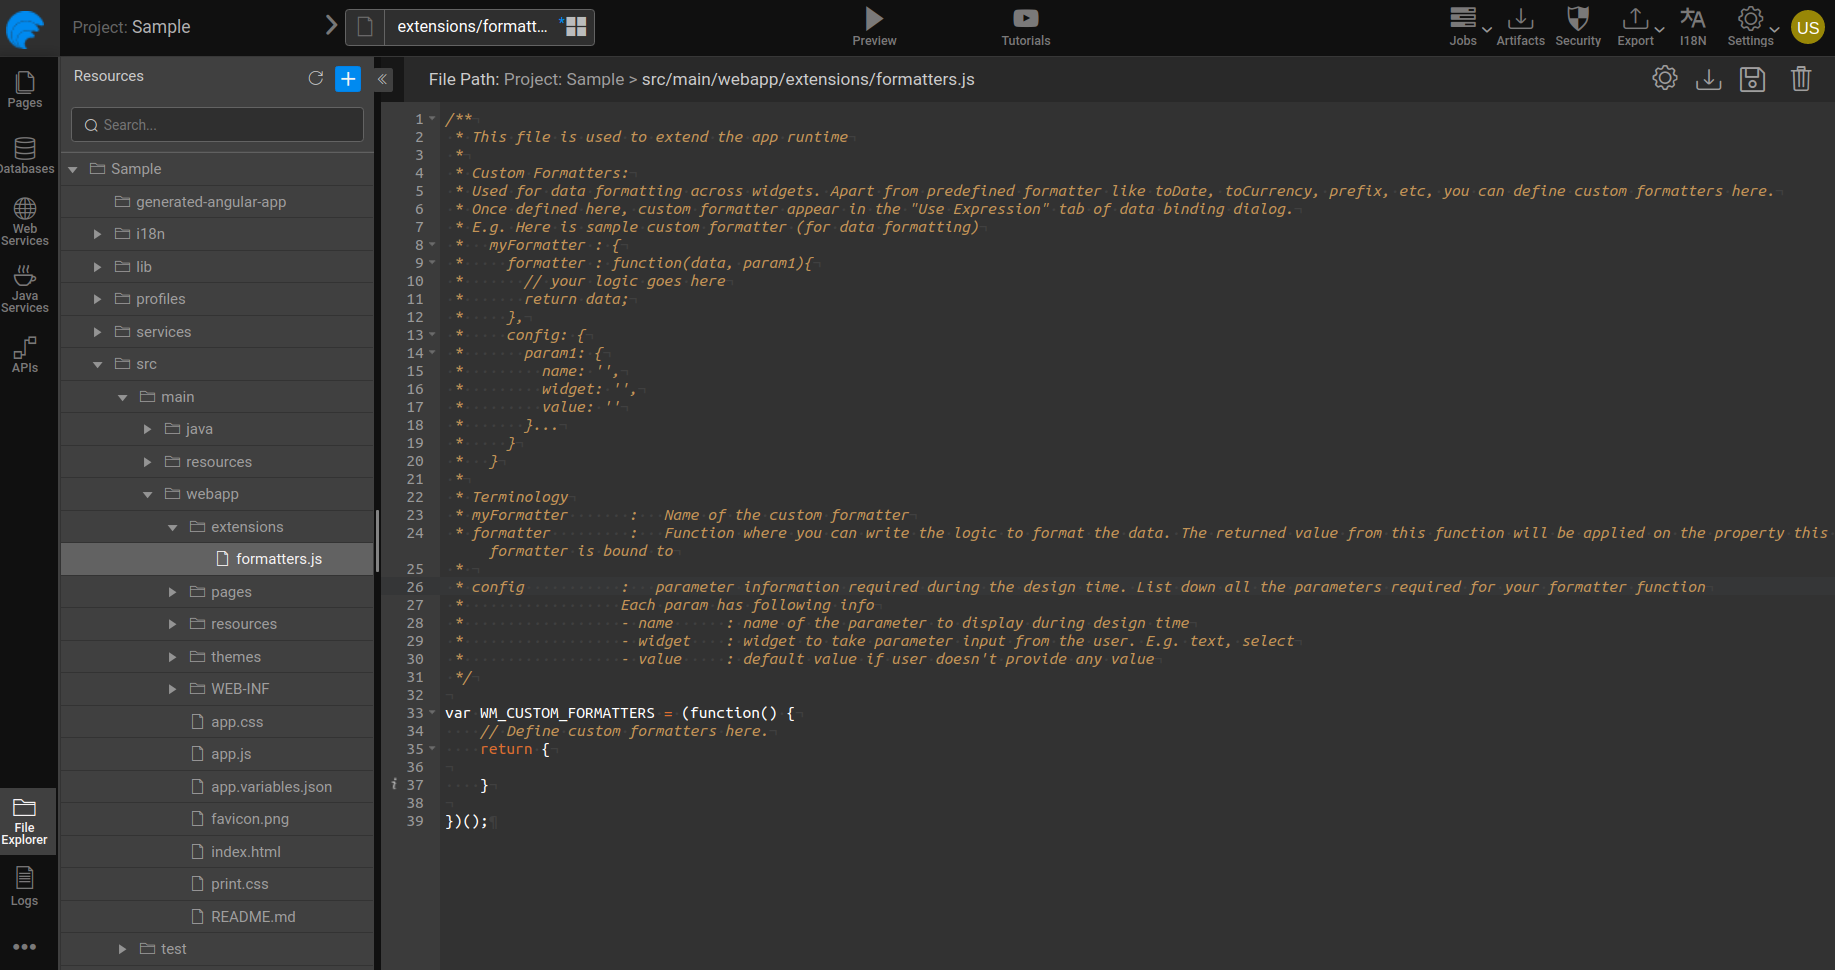
- You will be navigated to the
formatter.jsscript editor page.
Credit Card Formatter
Here's a simple example snippet for formatting the credit card number to mask sensitive data. This enables to show full credit card number only to the cardholder, and mask the sensitive characters to the bank admin.

- Add the following code snippet in the
formatter.jsfile.
For more information about the syntax, see Custom Formatter Syntax Definition.
Snippet
- Next, go to the Use Expression tab. Expand the Format Type dropdown, you can see the new formatter under the Custom section.
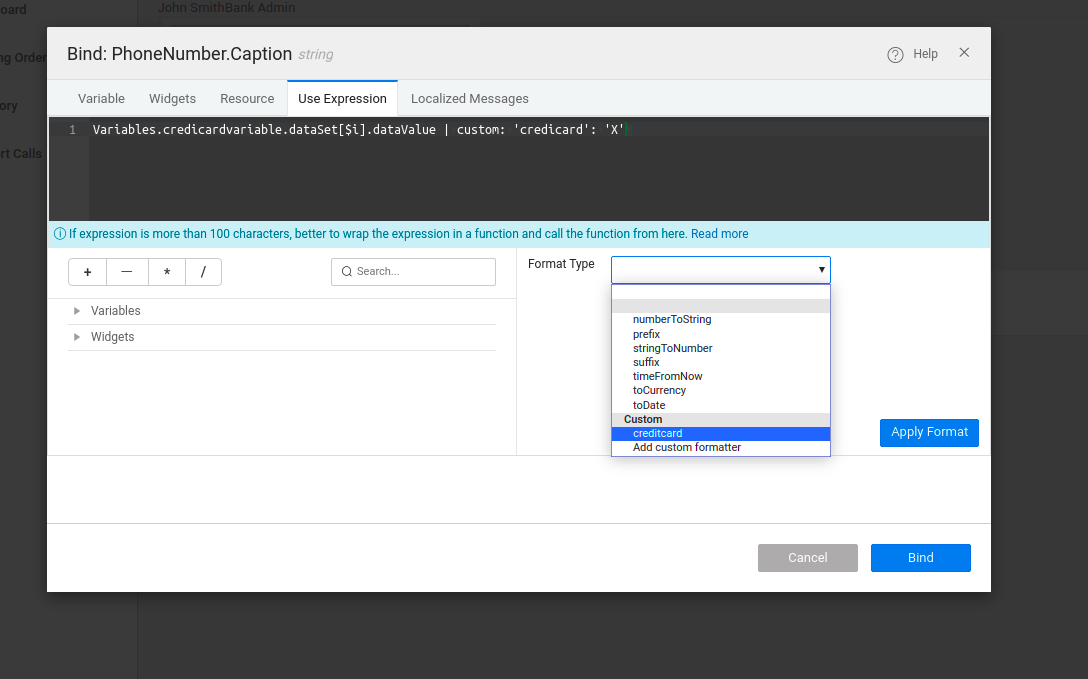
- When you select the new formatter called
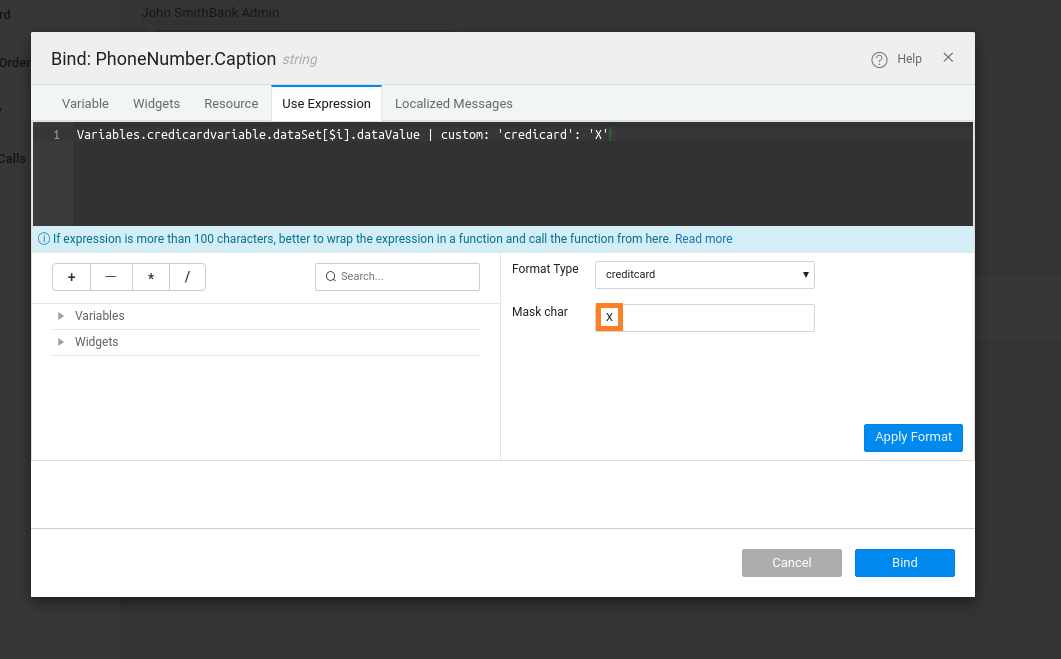
creditcard, the text widget will be configured to it where you can send custom paramsparam1to theformatterfunction.
You can edit the custom or mask characters here.
Enabling Role-based Viewing
Allow viewing only to specific role-based settings to control who sees what. Therefore, the formatter needs roles to be configured.
- For the roles to work, enable Authentication. In this case, we are using the Demo security provider. Enable these settings and come back to the Use Expression dialog.
The snippet already contains the role-based condition in it.
- From the Use Expression tab, go to the Variable section, bind the roles to
loggedInUser. For this, select the roles property then the expression will be built.
Ensure to add the colon : after the defined-custom character.
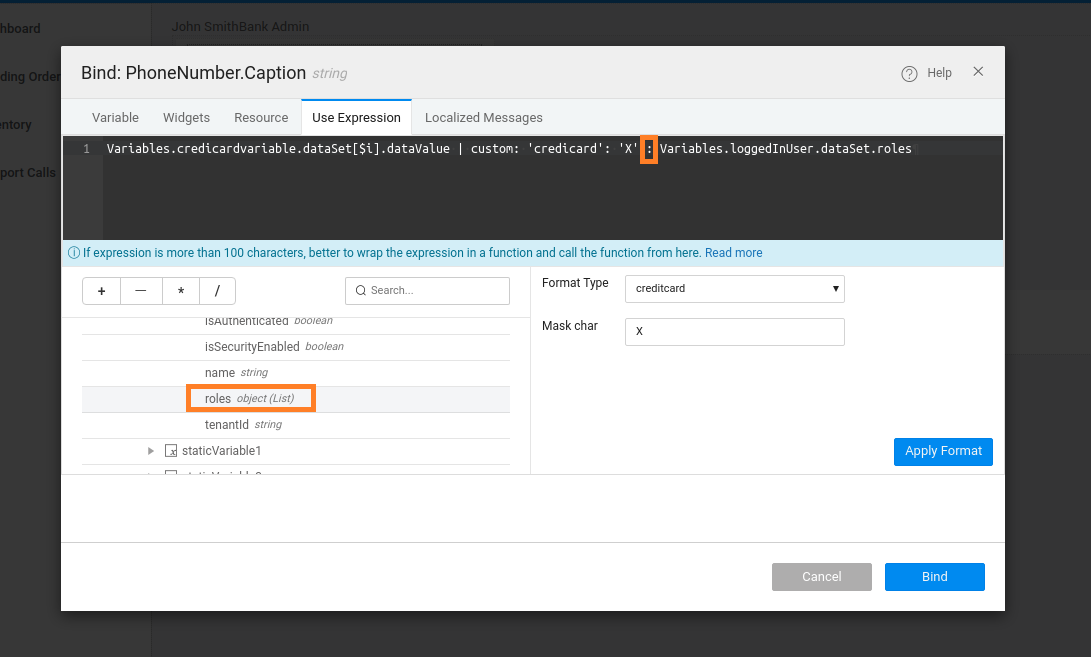
- Click Bind to save the expression.
Preview the app and log in as an admin to see masking of the sensitive characters.