How to Configure Row Expansion in a Data Table
In this article, you will learn how to configure row expansion on a data table. To use the row expansion feature, you create a data table and a partial; you configure the partial to contain related information of the table item. A partial is a semi page which is a reusable object, and a data table is a data widget configured as a variable. You add page params in the partial page and bind it through the data table settings.
Use Case
Create a department page and display employees of each department when you expand the department ID.
Note: In the following example, we use the department table which invokes the data from the Employee table. Thus, ensure the hrdb sample database is up. To import the sample database, see Connecting to a Database.
Creating a page
- Create a Page called Department. To create a page, see Page Creation.
- Drag and Drop a Data Table on the Department page.
- Configure the Data Table to bind the data source to the Department table.
- Retrieve Data From → Services.
- Select a service type → All.
- Select a service → hrdb.
- Table/Entity → Department → A variable will be created automatically, for example, HrdbDepartmentData.
- Set Records per request, Update data on input change, Request data on page load, and click Next.

- In the next window, choose ReadOnly function, and select Simple View Only.
- Choose pagination; for example, basic.
- Click next, and Done.
You created a department page which displays the department table. Next, you create a Partial to contain employee details. You use a List Widget and configure the List to bind with employee table.
Creating a partial
- Create a partial called Employees.
- Click + from the Pages tab.
- Create a → Partial (select from the dropdown, the default is a page).
- Name the partial; for example, Employee.
- Choose a category → All.
- Use blank template, and click Create. A partial is created.
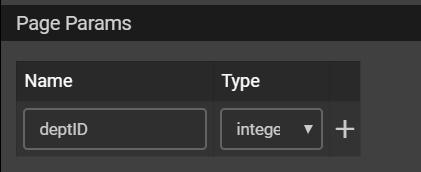
- Set the Page Params for the partial to bind the Department table.
- Name → deptID.
- Type → integer.
- Save.
- In the partial, drag and drop the List Widget.
- Configure the List widget to bind the data source to the Employee table.
- Retrieve Data From → Services.
- Select a service type → All.
- Select a service → hrdb.
- Table/Entity → Employee → A variable will be created automatically, for example, HrdbEmployeeData.
- Set Records per request, check Update data on input change, and uncheck Request data on page load, and click Next.
- In the next window, choose an appropriate template type; for example, Contact List, and click Next.
- Choose pagination, for example, basic.
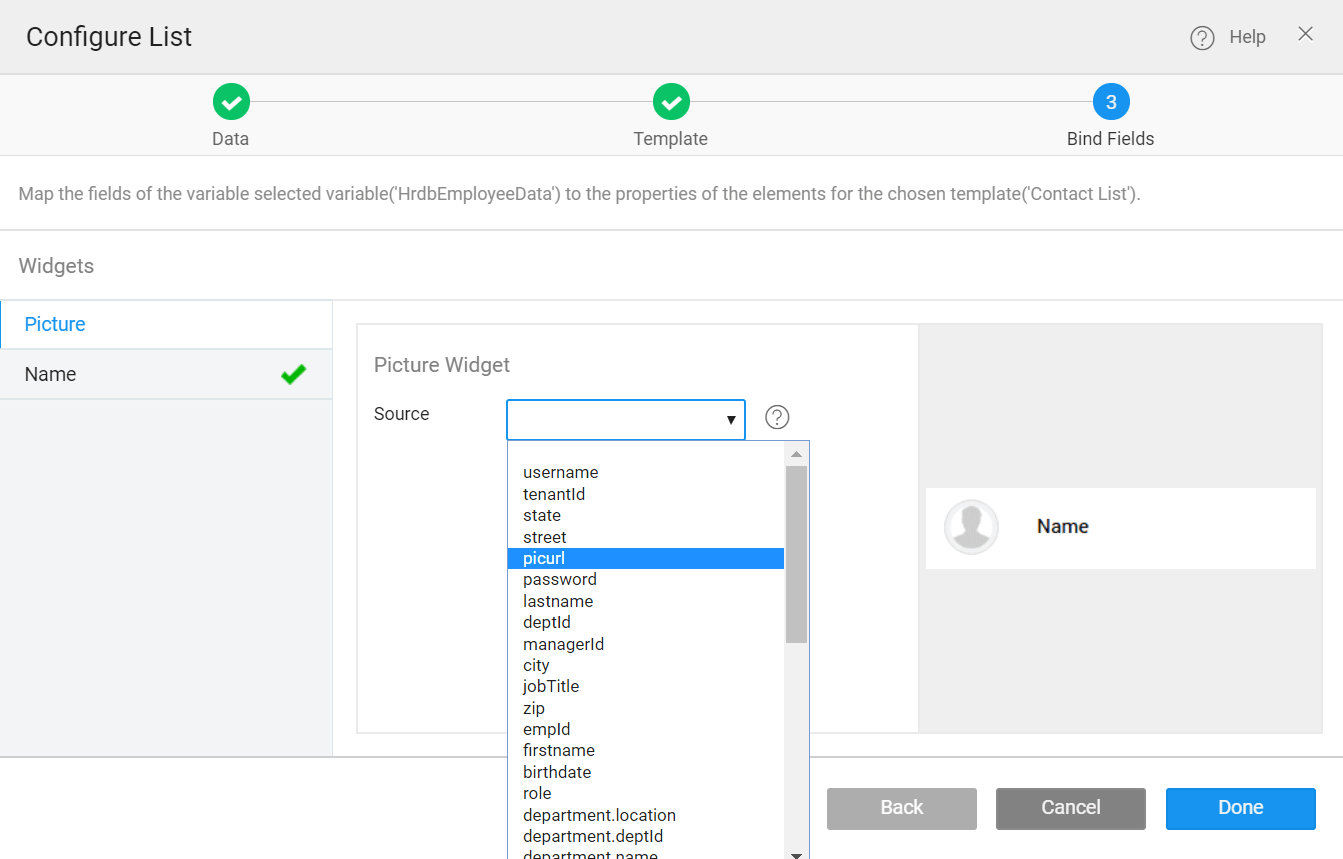
- In the next window, bind the data source for the picture widget and name widget.
- Picture Widget → Source → picurl (select from the dropdown).
- Name Widget → Source → username (select from the dropdown)
- Click Done.
You created a partial which contains employee information and page params.
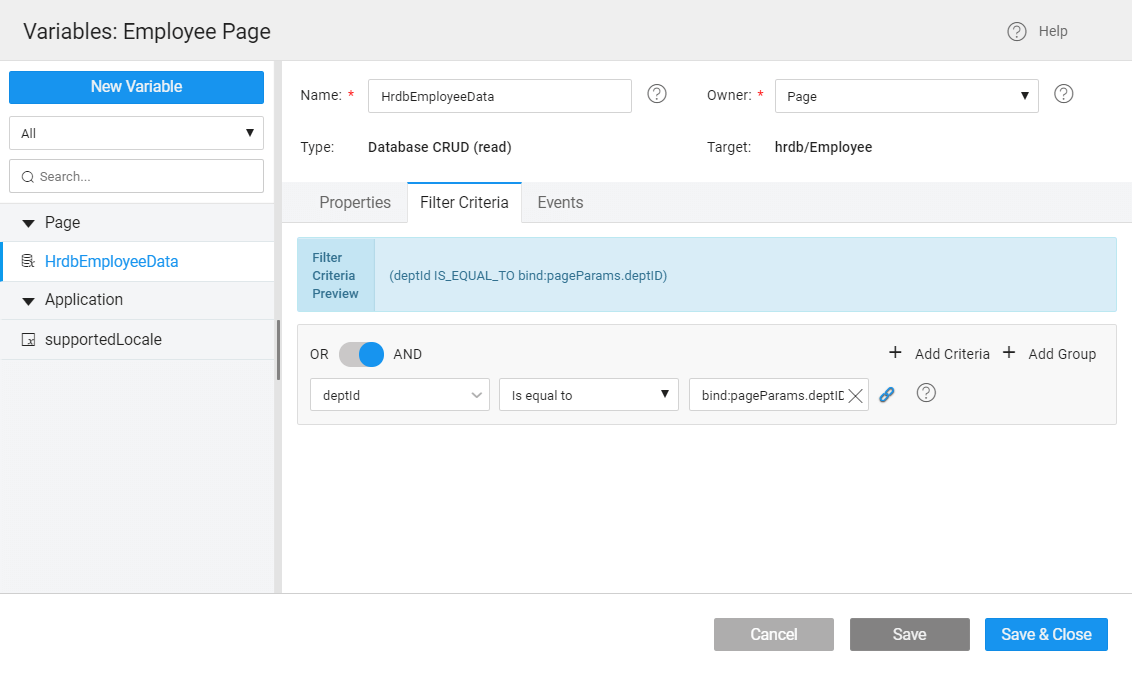
Now, set filter criteria in the variables for HrdbEmployeeData to deptId Is equal to _bind.pageParams.deptID, _as shown in the image below:
Binding deptID with Page Param
Here, we are binding deptId with the page param to filter the records for List based on the filter condition.
- Go to Variables Dialog.
- Select to HrdbEmployeeData variable.
- Go to the Filter Criteria tab
- Select deptId and set condition is equal to, as shown in the image below.
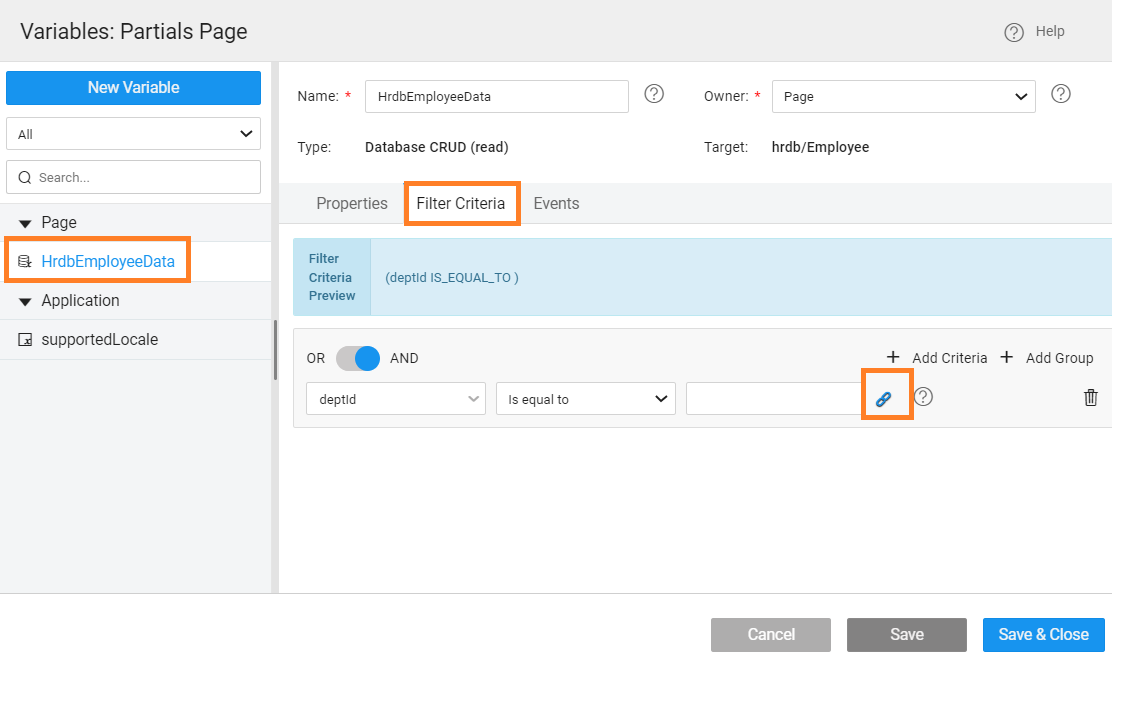
- Click Bind, the below dialog will open.
- Go to the Page Params tab and then select deptId and click Bind.
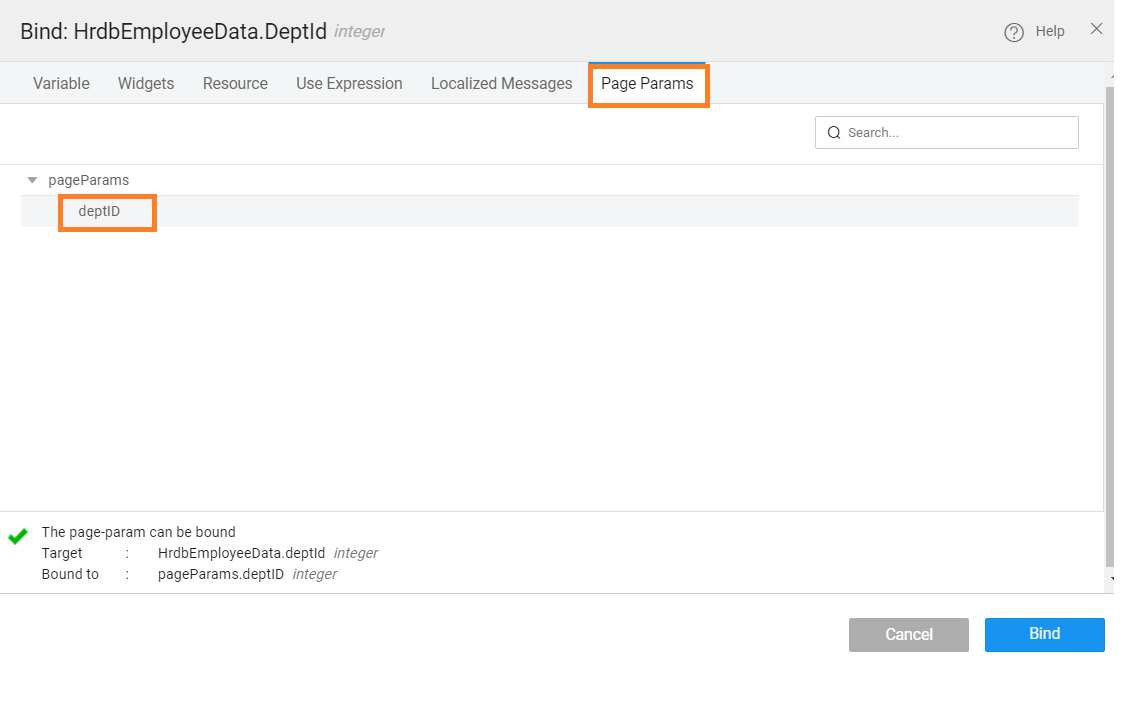
- Click on Save & Close.
 In the department page, you bind the Employee (partial) and Page Params and set the row expansion property.
Configure row expansion property
- In the department page, go to Advanced Settings.
- Navigate to the Row Detail tab.
- Enable Row Expansion property.
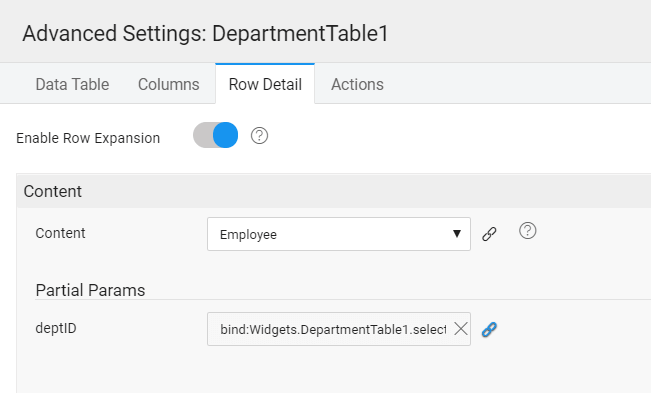
- Content → Employee.
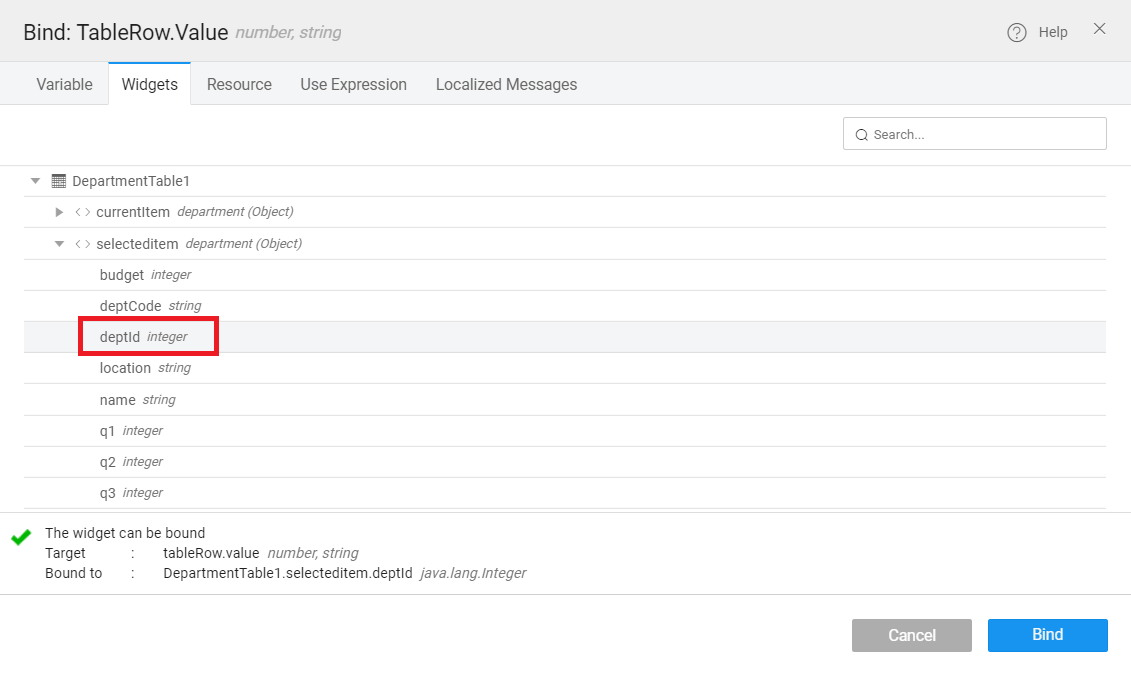
- Partial Params → deptID → click on the Bind Property icon.
- Go to the Widgets tab → DepartmentTable → selecteditem → deptid integer → click Bind.
deptID fills with: bind:Widgets.DepartmentTable1.selecteditem.deptId
- Click Save.
You implemented the row expansion feature on the Department page. By expanding the department ID, you can view the employees associated with the department you expand. You can view the changes in the preview mode.