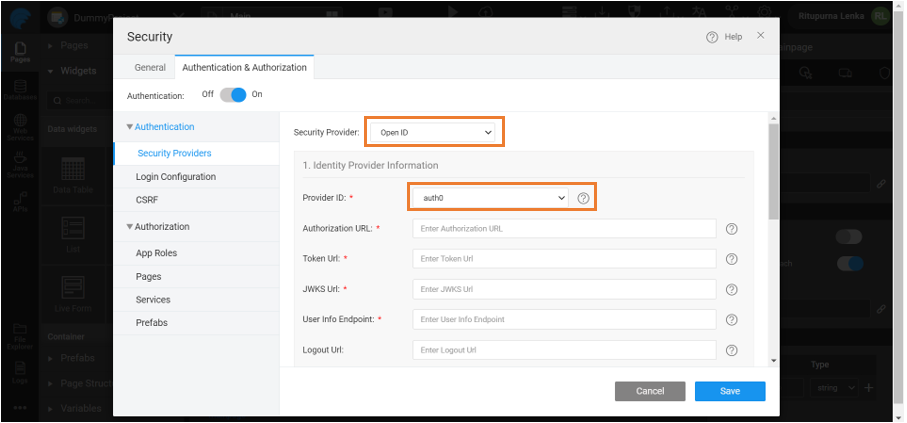
Configuring Open ID using Auth0 Provider
Auth0 is an identity and access management platform used to implement Single Sign On. This helps you authenticate and authorize users who access the application. Below are the steps to configure Open ID using Auth0.
Auth0 as Open ID Provider
Below are steps to choose Auth0 as Open ID provider in WaveMaker.
- Select Custom as Open ID provider from the drop-down menu and enter Auth0 as Provider ID.

Application in Auth0
Below are the steps to create an application in Auth0 Developer.
Creating New Application
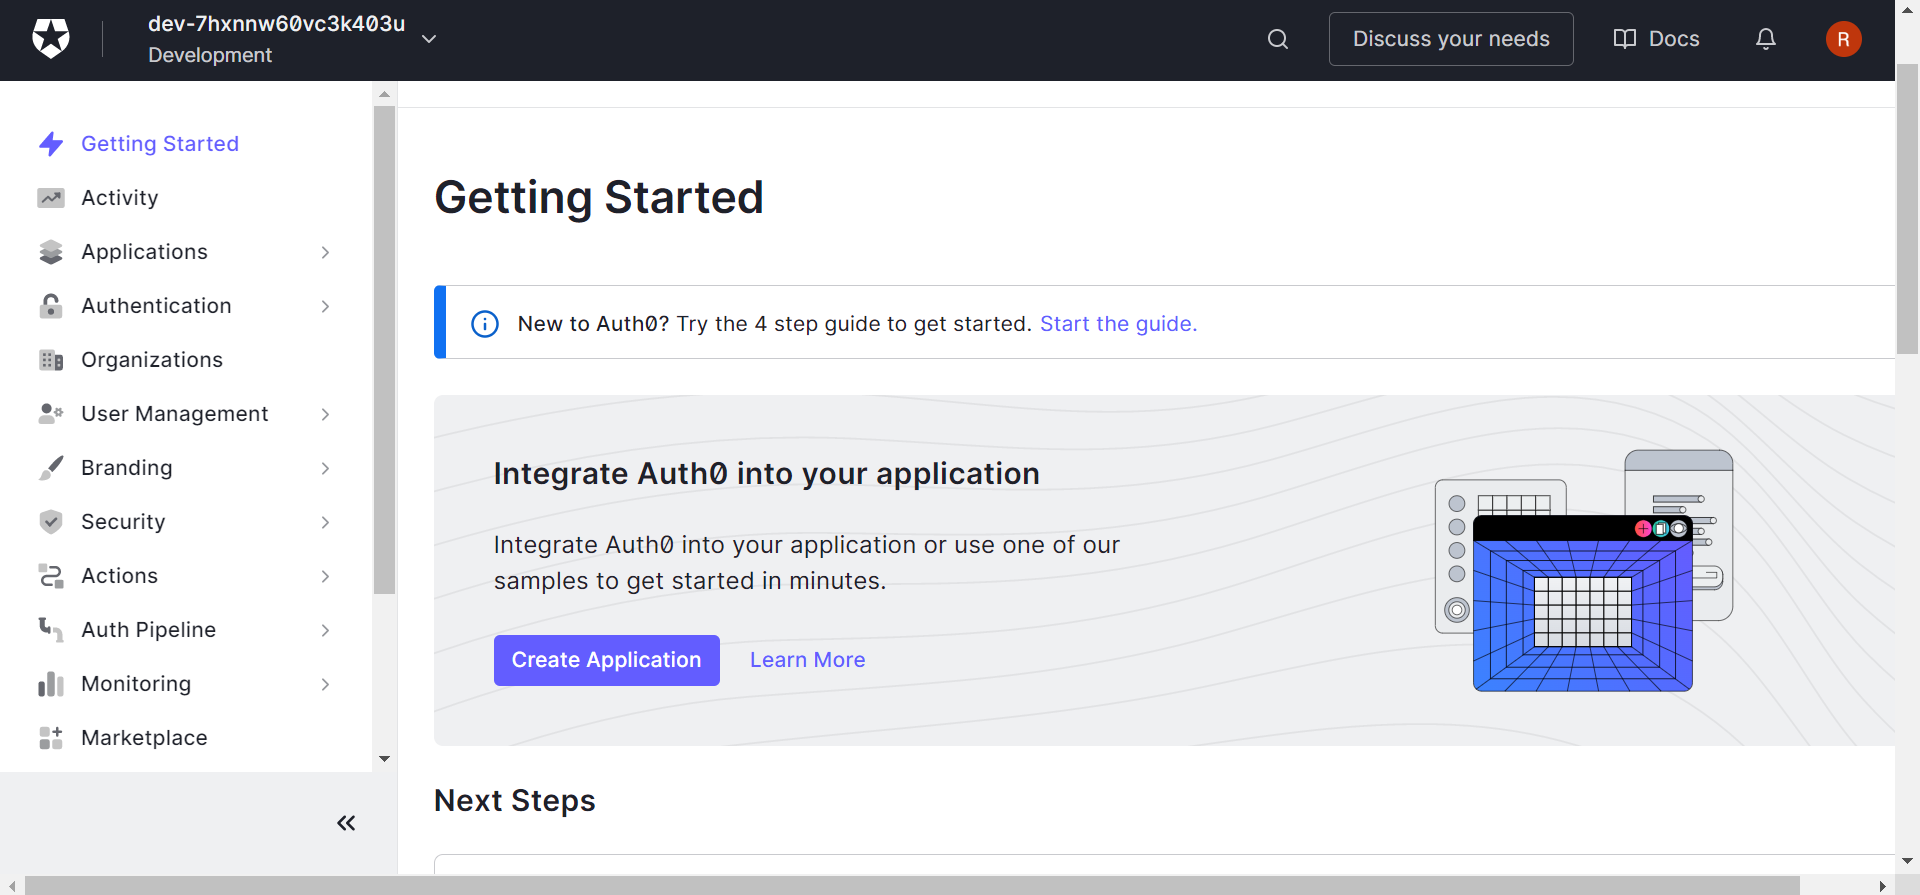
Go to Auth0 and set up user account. This is to create an Auth0 application to fetch the Client ID and Client Secret.
Go to Dashboard.
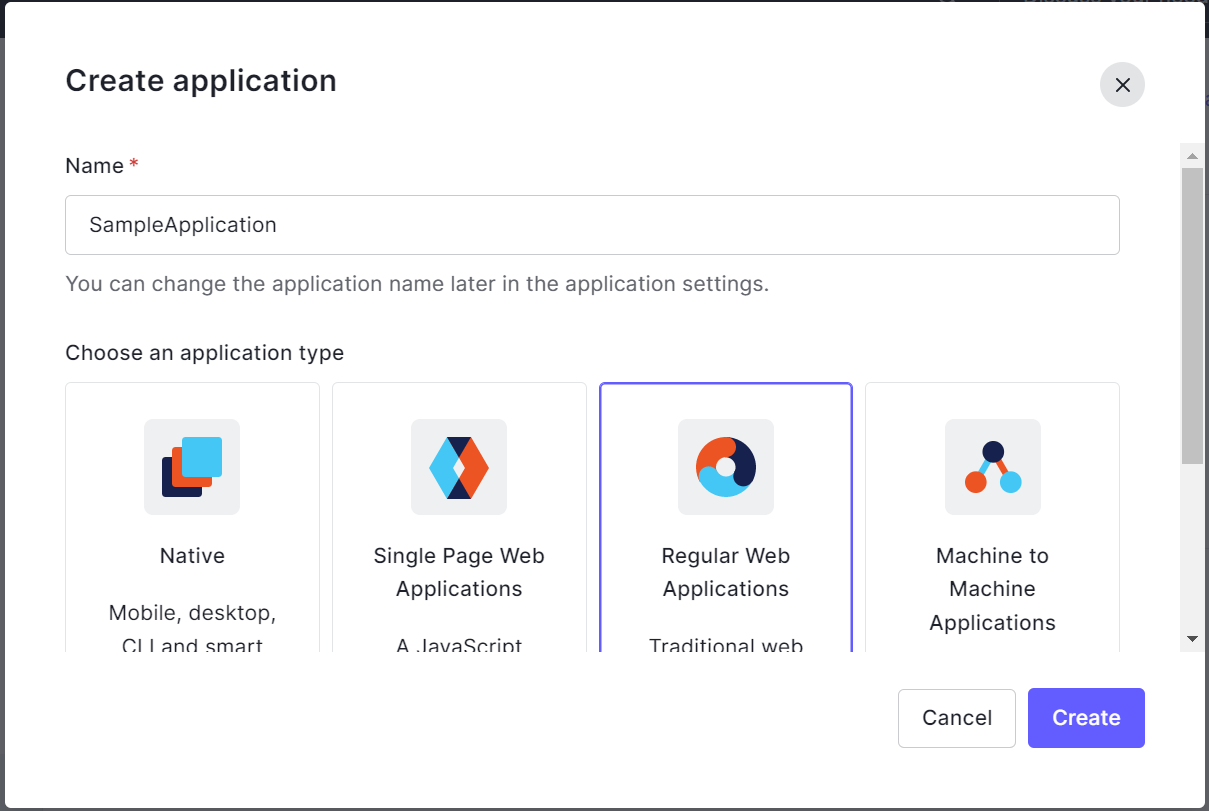
- Go to Applications > Applications.

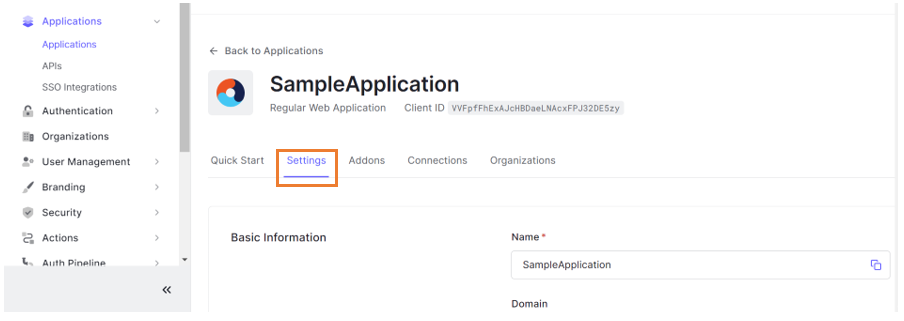
- Click Create Application to start creating an application. Enter the Application name and click Regular Web Application to create a web application.
Configuring Application
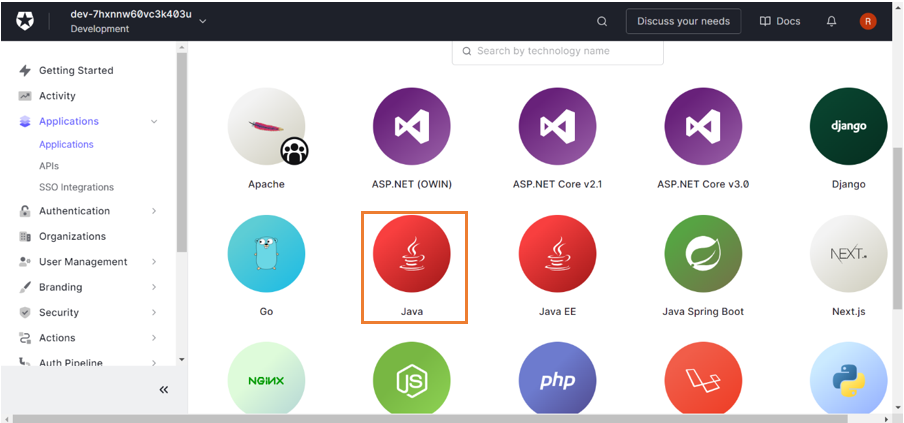
- Once Web Application is created, select Java as technology used in your project.
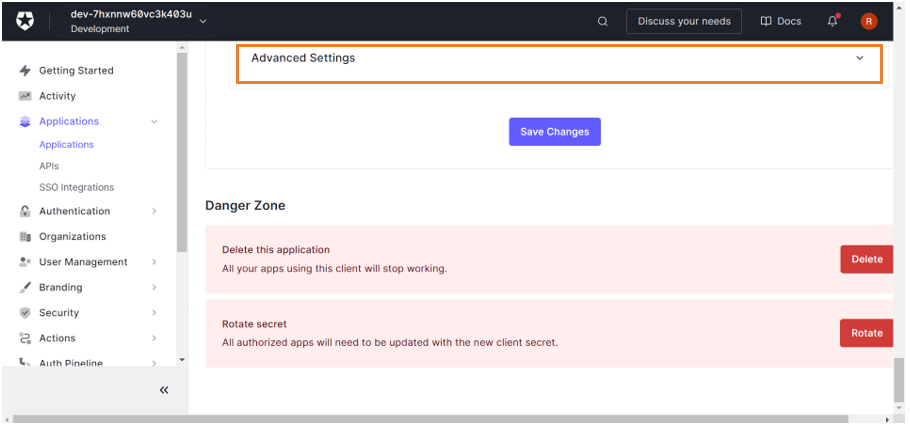
- Go to Settings > Advance Settings.
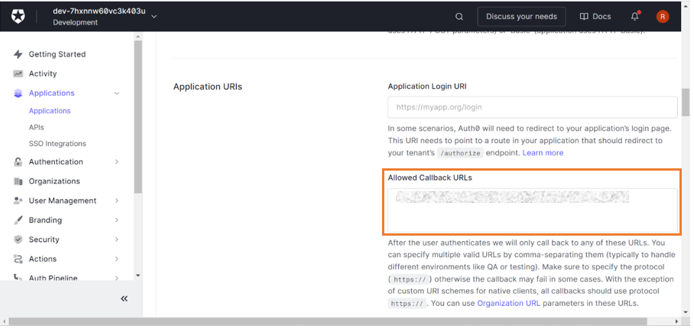
- Enter the Allowed Callback URLs available as Redirect URL in WaveMaker.
- Redirect URL: Redirect endpoint is the URL to which the client receives the response
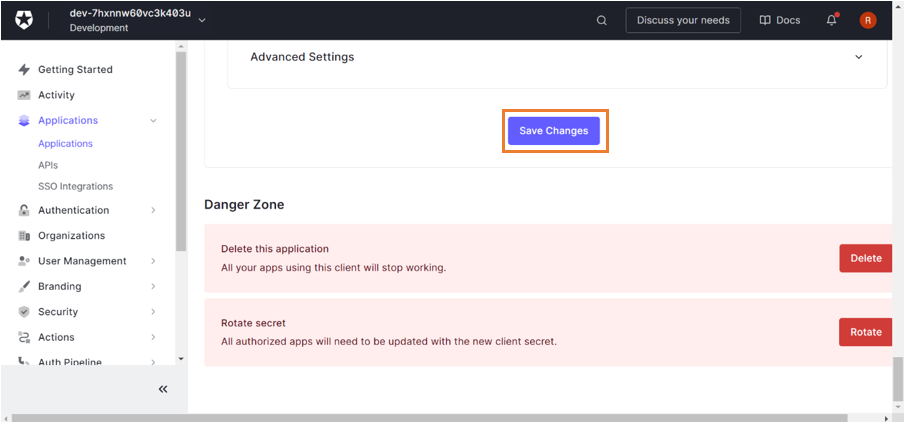
- Click Save Changes to save the given details.
 \
\
With above steps Auth0 application is configured.
Restricting Domain
You can add specific domains that can restrict access to the application. For more information on how to restrict domain in Auth0, see Custom Domain in Auth0.
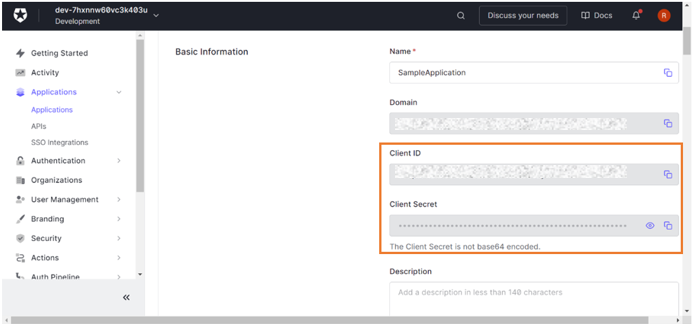
Configuring Client ID and Client Secret
Client ID and Client Secret are provided in the WaveMaker's security configuration page as it is required to confirm the application's identity to provider.
- Go to Applications > Applications.
- Click on the application and go to Settings.
- Fetch the Client Id and Client Secret available in Basic Information section and enter it in WaveMaker's security configuration page.
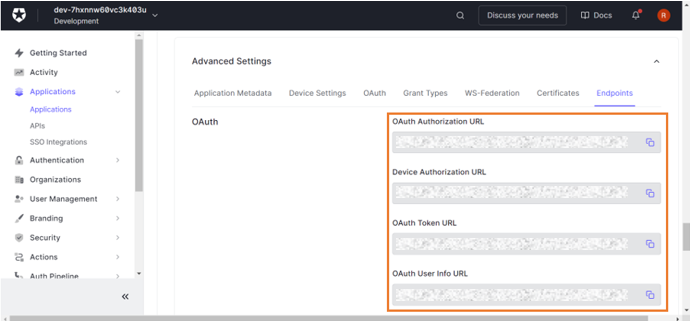
Configuring Identity Provider Endpoints
Identity provider endpoints are provided in WaveMaker's security configuration page to establish communication between provider and application during user authentication.
- Go to Applications > Applications.
- Click on the application and go to Settings.
Go to Advance Settings > Endpoints.
Go to Endpoints to fetch Authorization, Token, JWKS, User Info endpoints. available in Basic Information section and enter it in WaveMaker's security configuration page.
Adding User
- Go to User Management > Users.
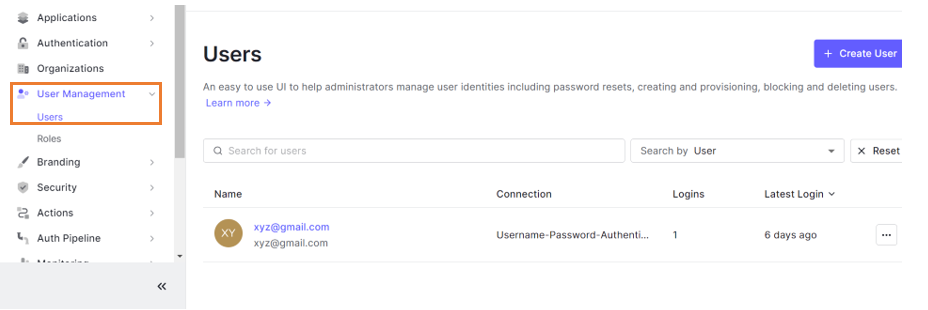
- Click Create User. Enter email address and password and save the details to create a new user.
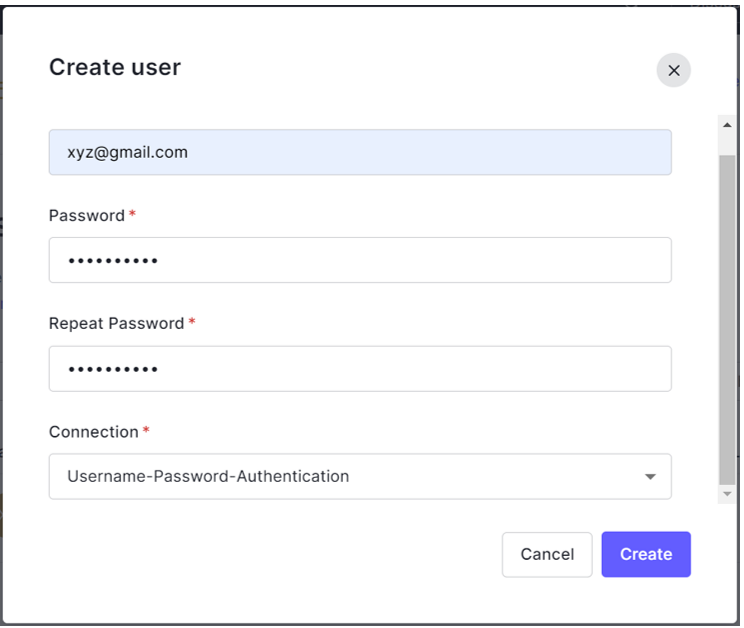
With above steps, new user is created.
Adding Role Attribute as Custom Claim
To configure role mapping in WaveMaker, a custom claim for role is created in Auth0 which can be mapped in WaveMaker's security configuration page under Role Mapping section. For more information on how to create a custom attribute in Auth0, refer Custom Claims in Auth0.