SAML Integration - Okta
Okta is a cloud-based identity and access management (IAM) platform that helps organizations securely manage user authentication and authorization. In this document, we discuss the steps to configure SAML using Okta with WaveMaker Application.
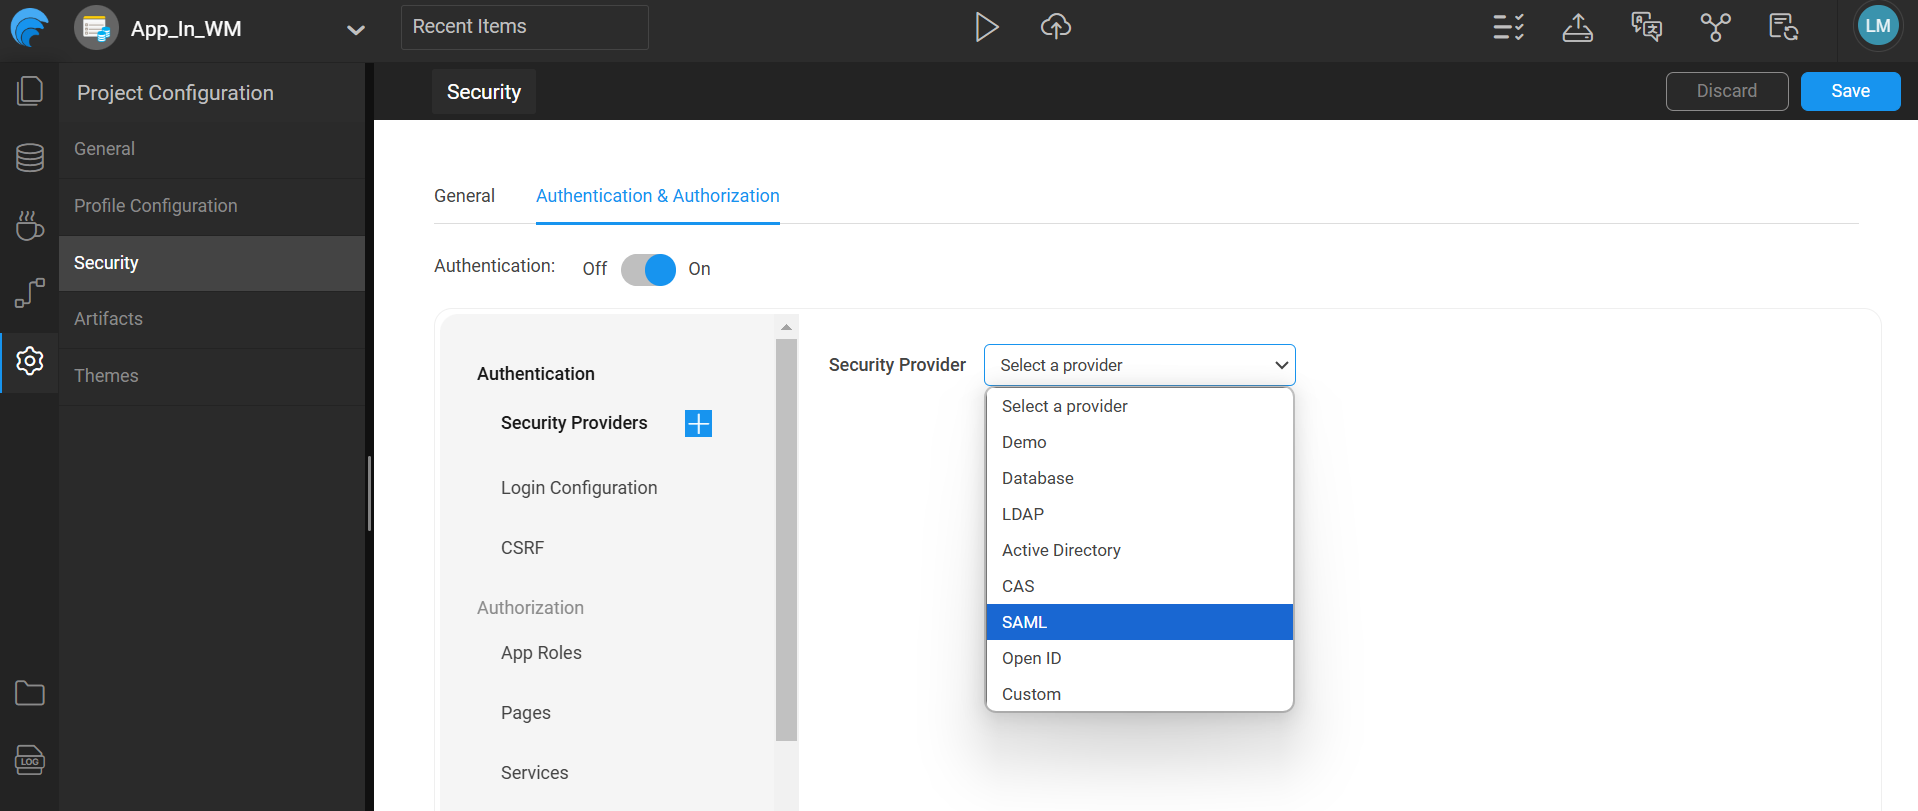
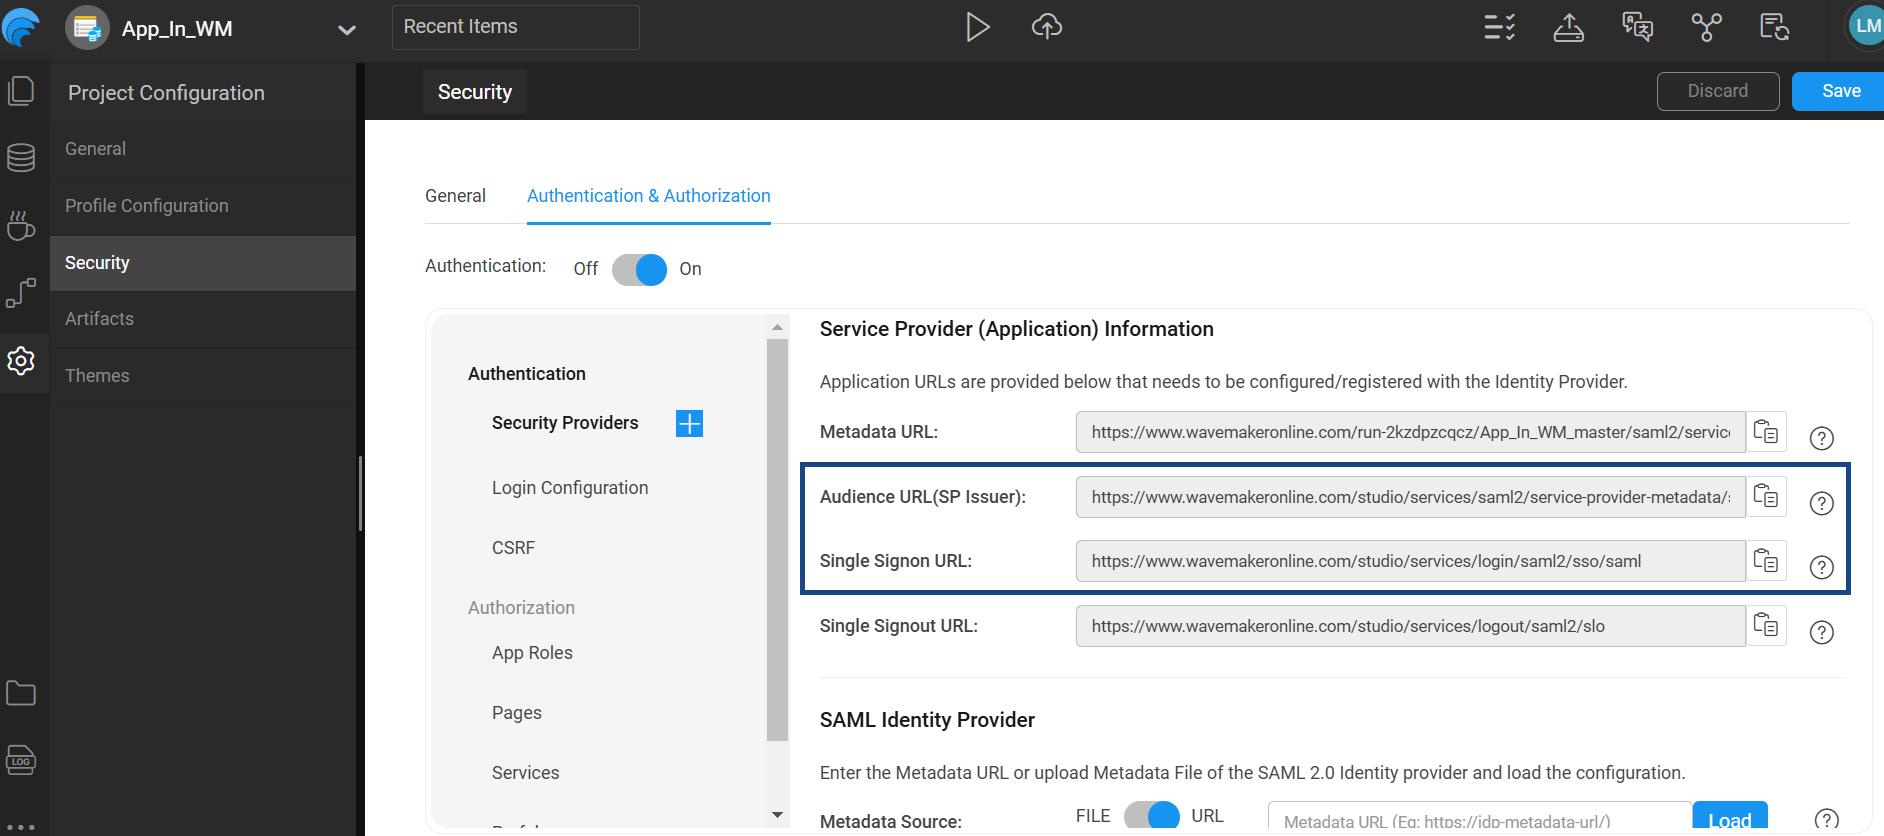
- Choose the Security Provider as SAML in WaveMaker Application.
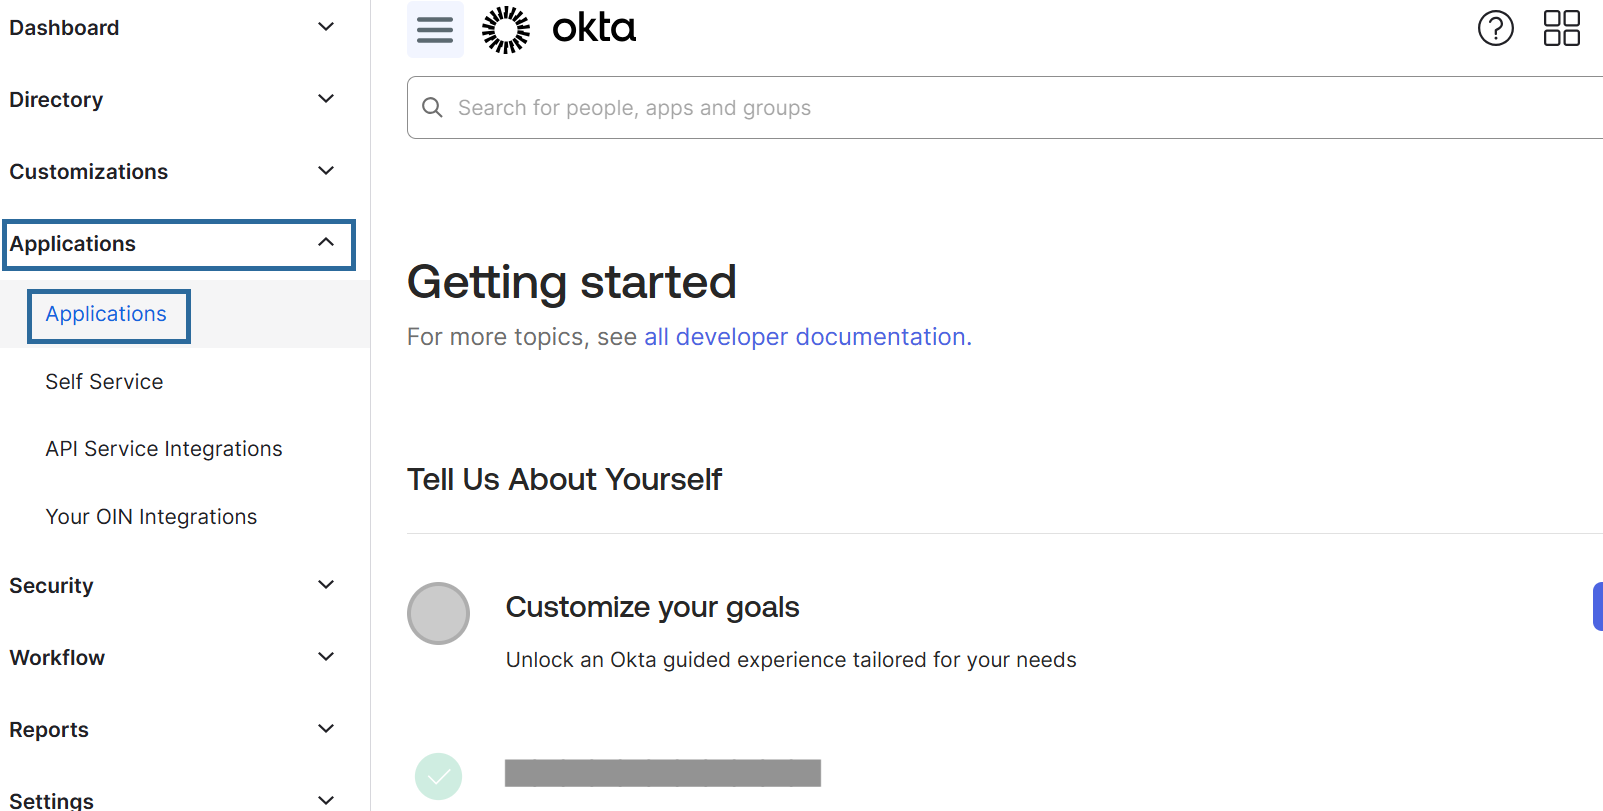
- Login to your Okta Admin Account. Go to applications tab.
- Create an application in Okta to configure with WM App.

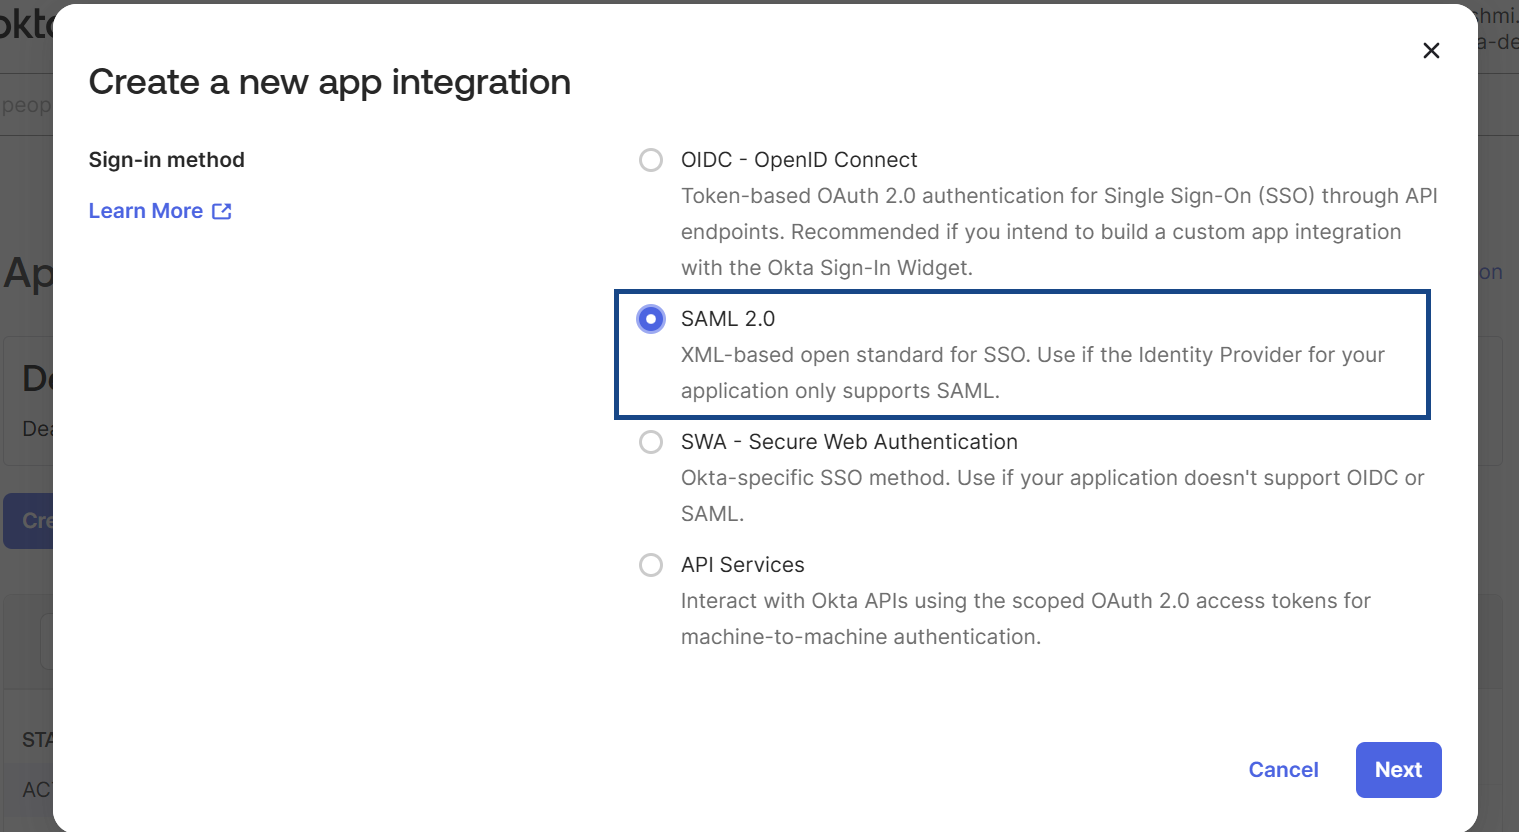
- Select SAML from the options and click on next.
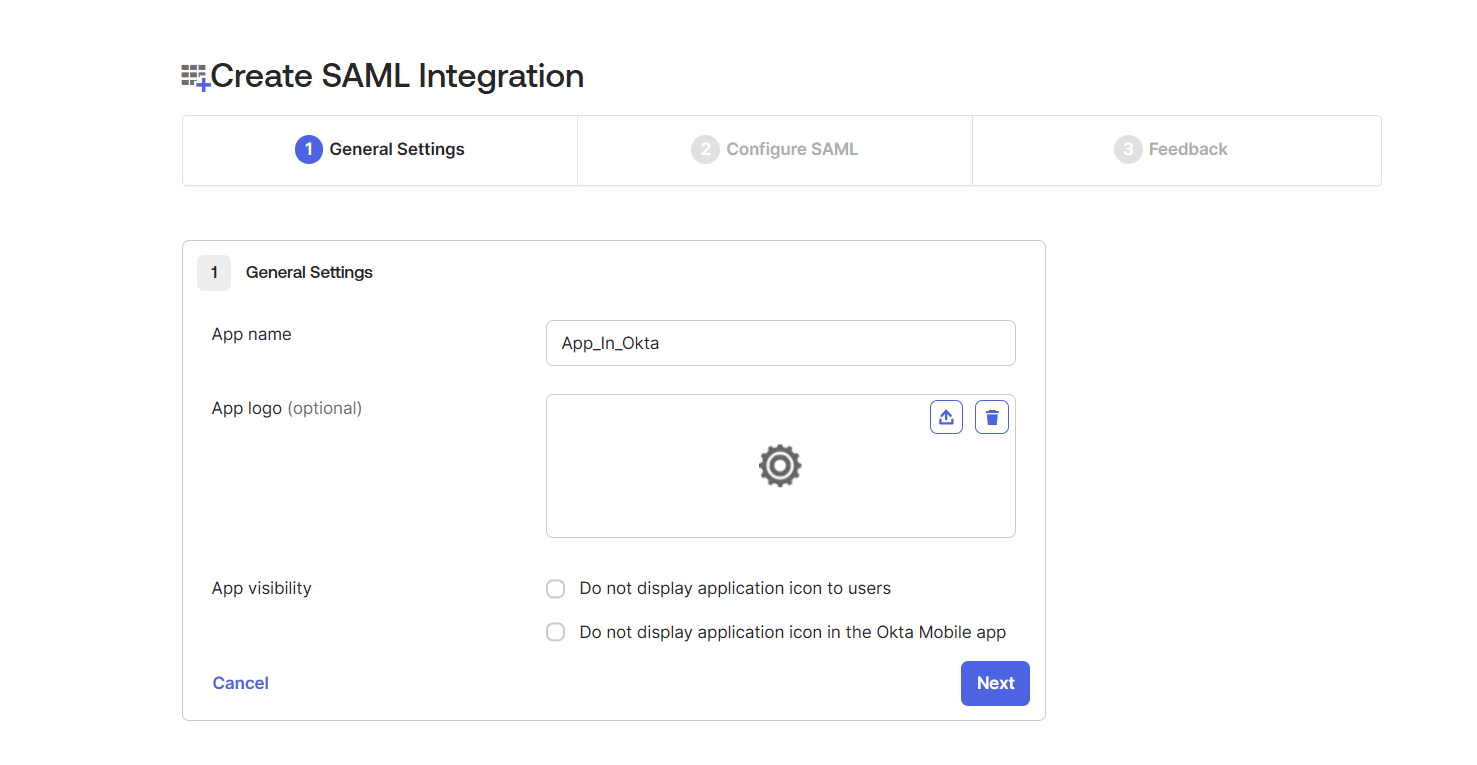
- Provide a name to the application in okta and click on next.
- Now, copy the SSO, Audience urls from the Service Provider in WaveMaker.
- Paste the copied urls in okta accordingly and click on next.

Note: For Additional Security, you can upload signature certificate by clicking on 'Show Advance Settings' if required.
- Choose the app as internal or external as per your requirement.
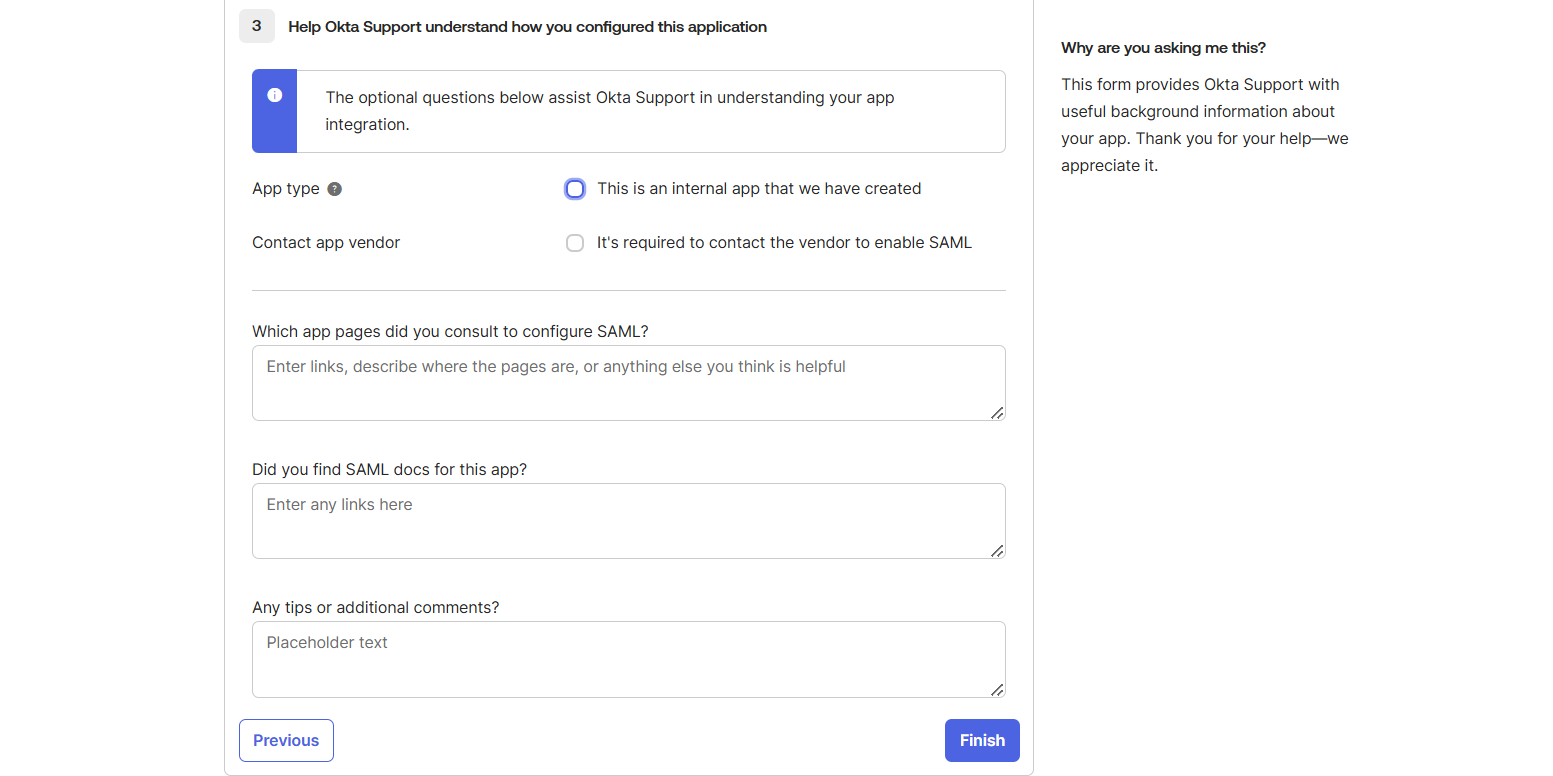
- In this case we are choosing as an internal app and then click on finish.

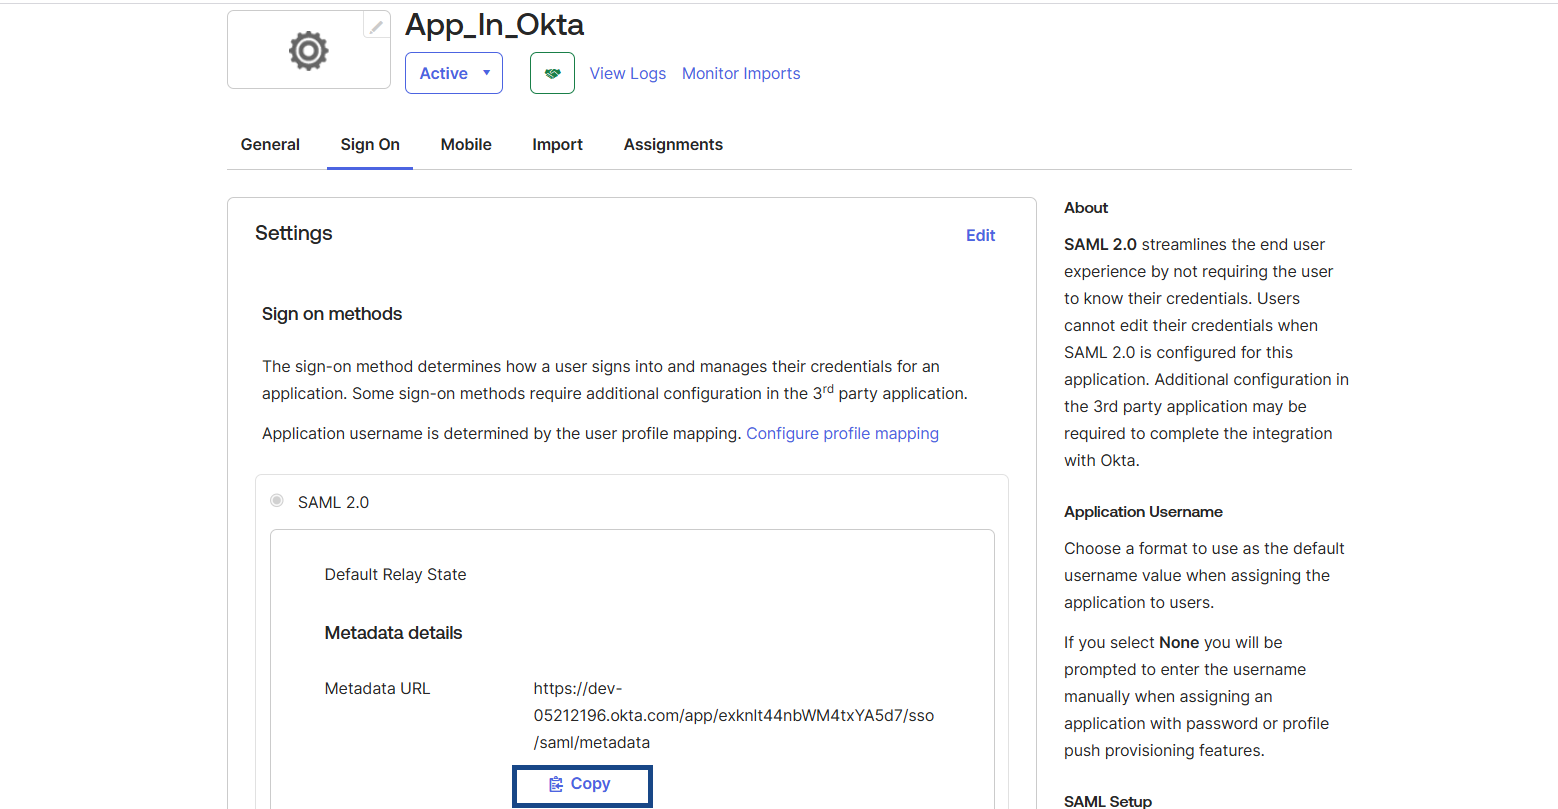
- After finishing, it will provide metadata URL. Copy the metadata url.
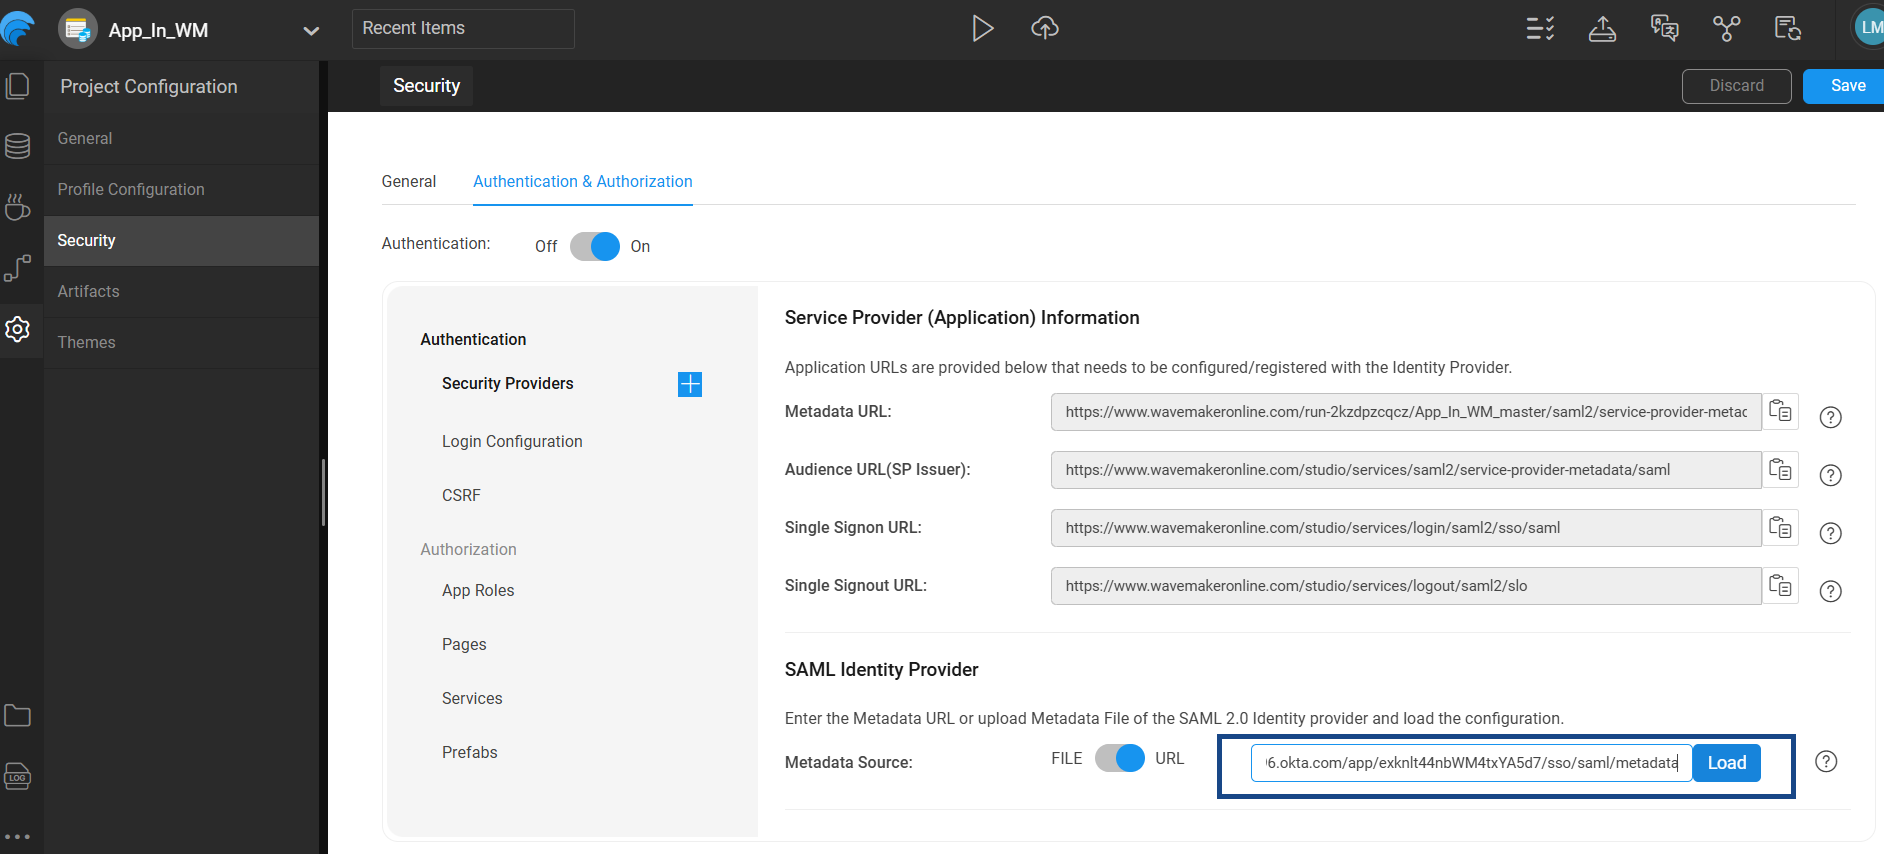
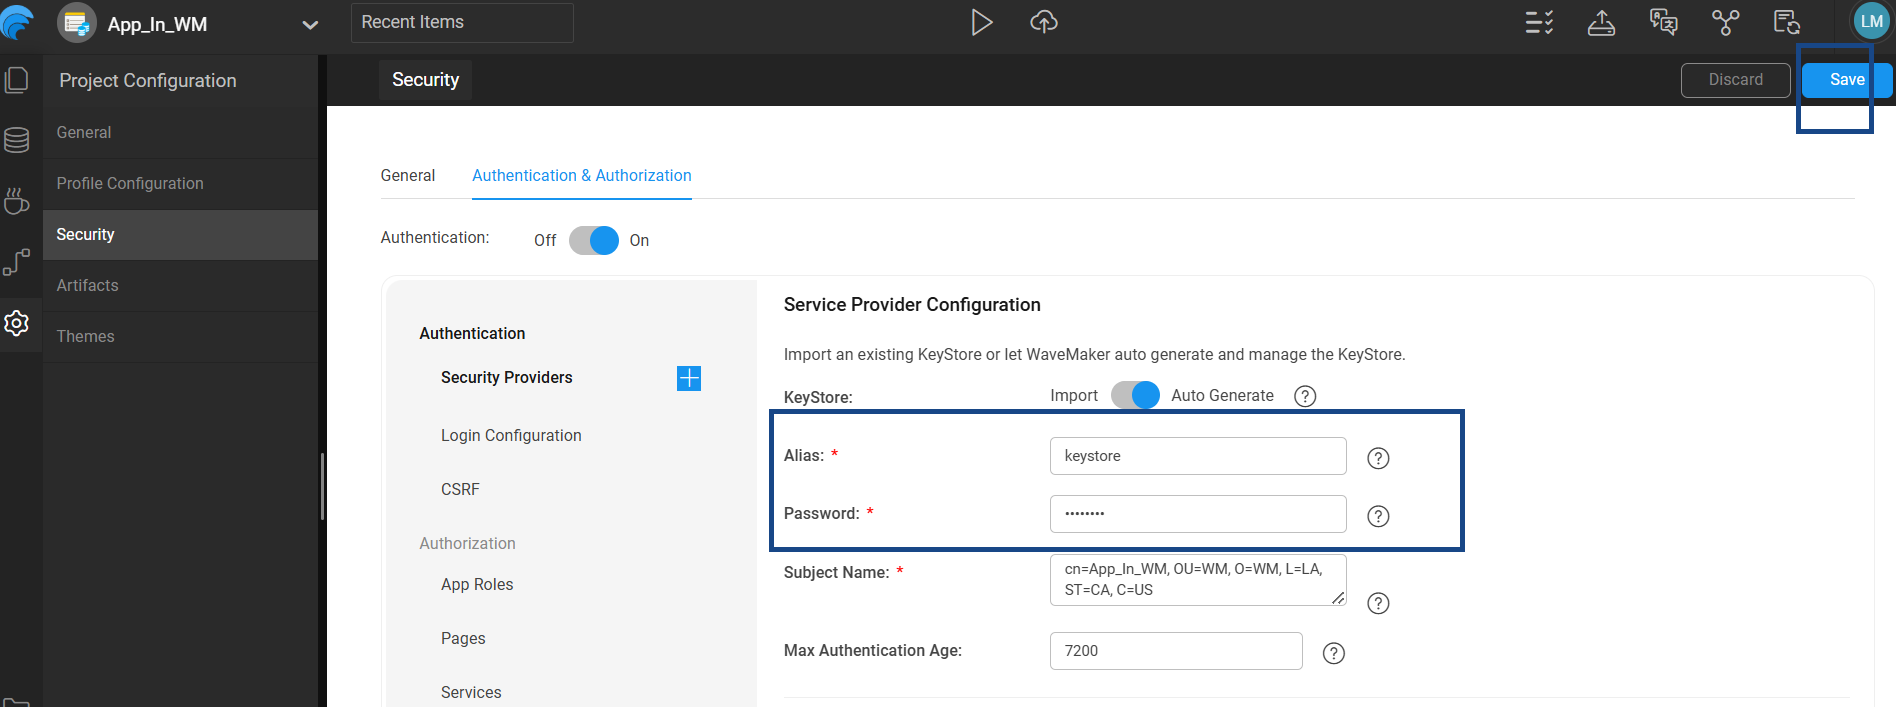
- Now, paste the metadata URL in WaveMaker App and click on Load.
- Now enter keystore as alias and your required password and click on Save.
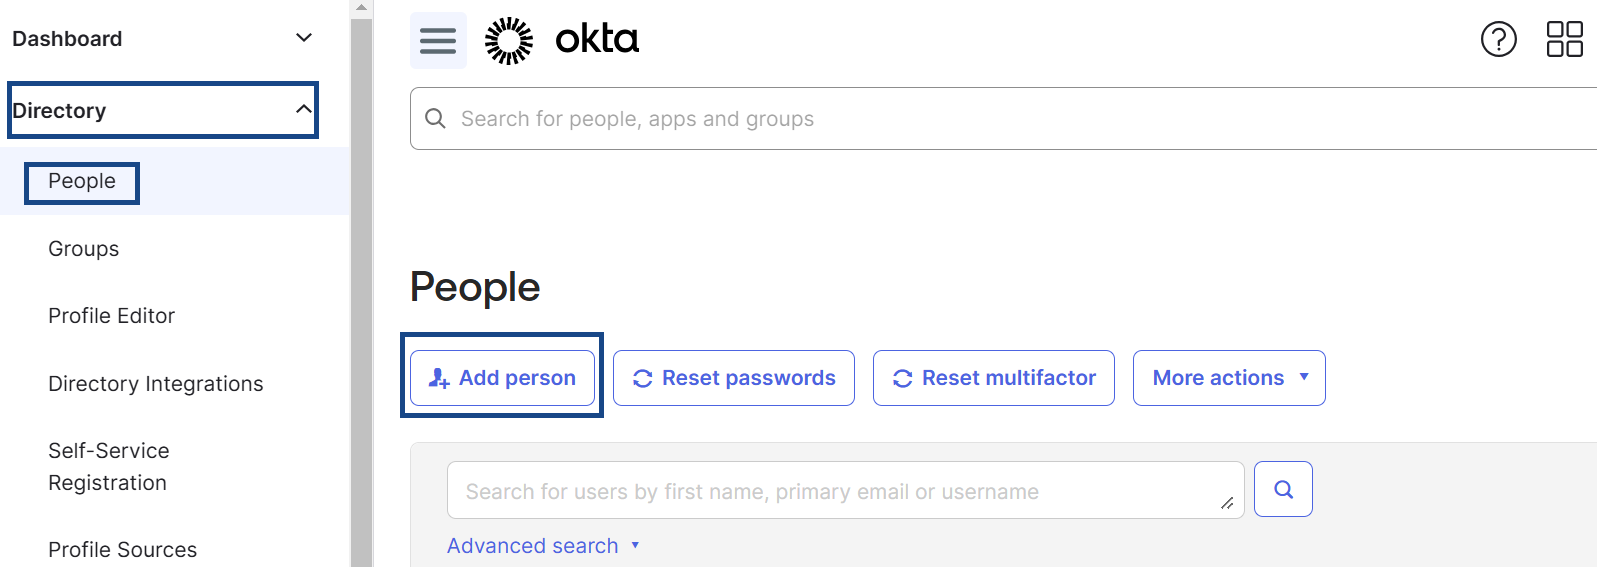
- Now, create users in okta to whom you wants to give access to the application.
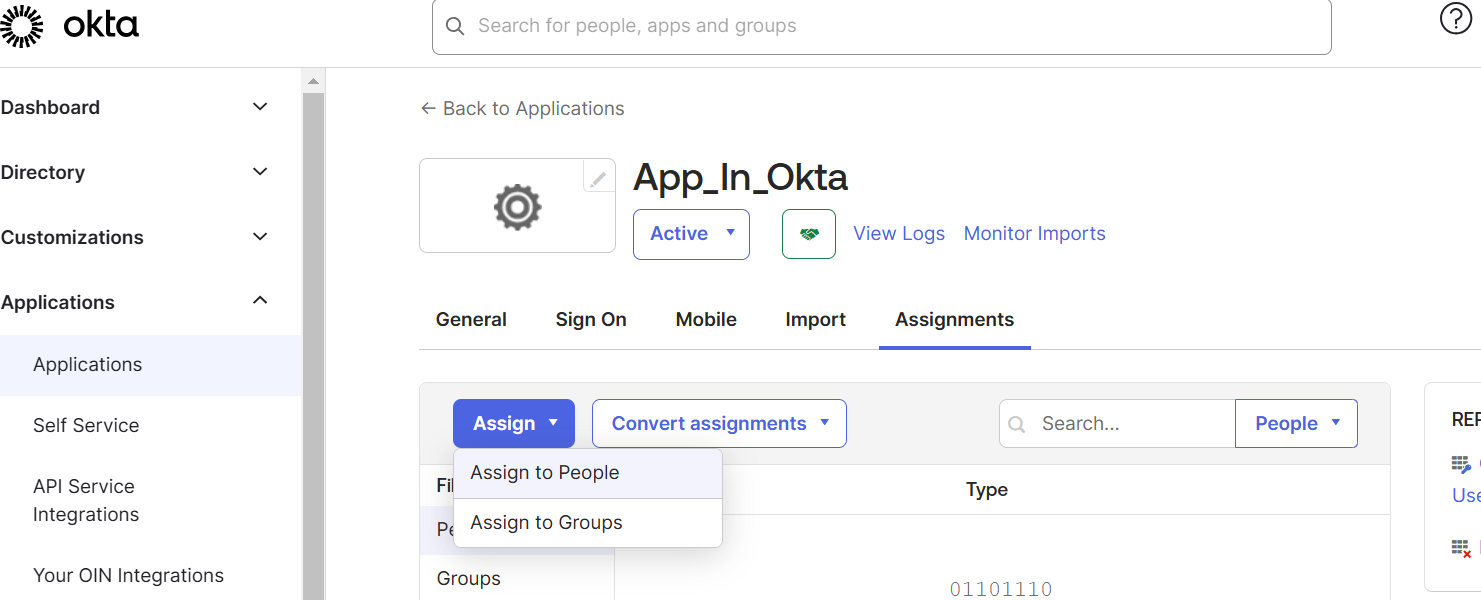
- After creating users, you need to assign the application to the users.
 .
.
Done. Now, preview the application and log in with the assigned user credentials. Upon successful login it will redirects to the authorized page.
The above provided steps is for development level. You can apply the same for deployment/live phases. The only thing you should concern about the SSO, Audience URL's. You need to change the urls according to the domain wherever you are deploying. For more clarity please refer to SAML Integration and for more detailed guidance on SAML integration in Okta, refer to the official Okta documentation: Okta SAML Integration Guide to integrate according to your requirement.