Configuring Open ID using Google Provider
Google Identity Platform allows you to manage application access by providing authentication and authorization services. With this, you can add user identity, restrict application access, and protect user accounts. Below are the steps to configure Open ID using Google.
Google as Open ID Provider
Below are steps to choose Google as Open ID provider in WaveMaker.
Select the Open ID provider as Google from the drop-down menu.
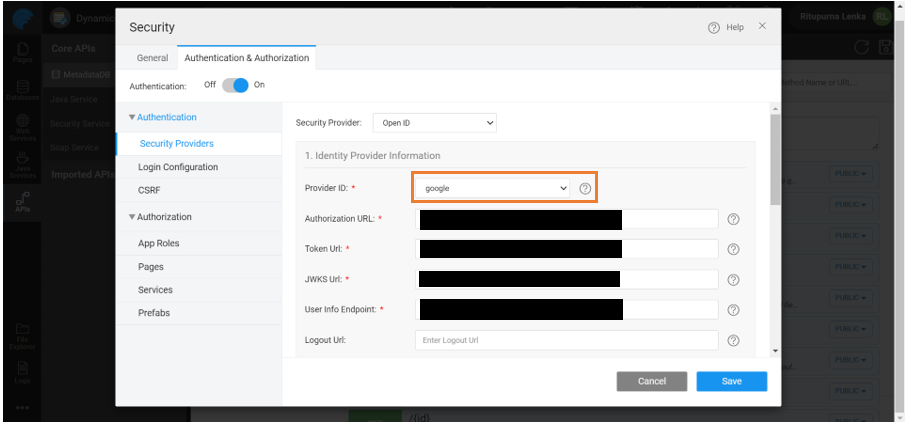
Provide the required details in the Identity Provider Information section.
Fields available in the Identity Provider section gets automatically occupied with the respective URLs.
Application in Google Console
Below are the steps to create an application in Google Console.
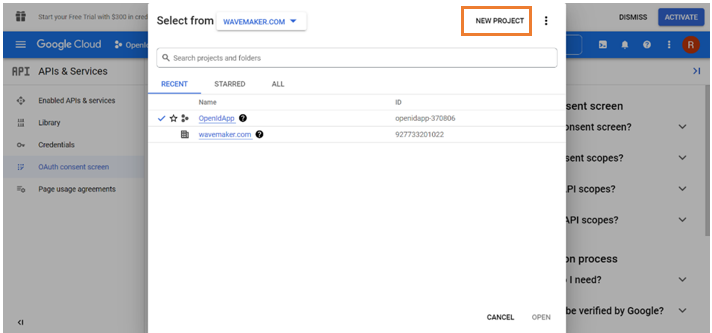
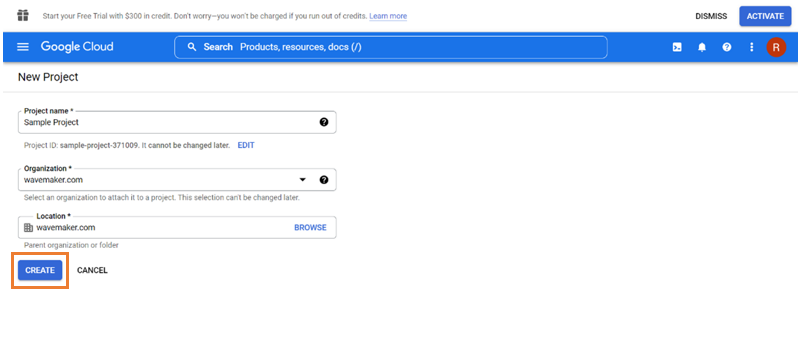
Creating New Project in Google Console
- Set up user account in the Google Console. This is to create an OAuth application to fetch the Client ID and Client Secret.
- Client ID: Unique identity for the registered client
- Client Secret: Client specific information that is only known to application and the authorization server. This is application's password
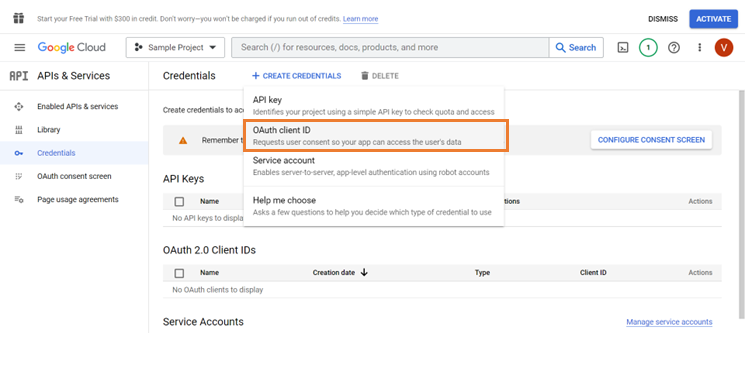
Choosing Credentials
Click Create Credentials to select the type of credentials to access the application.
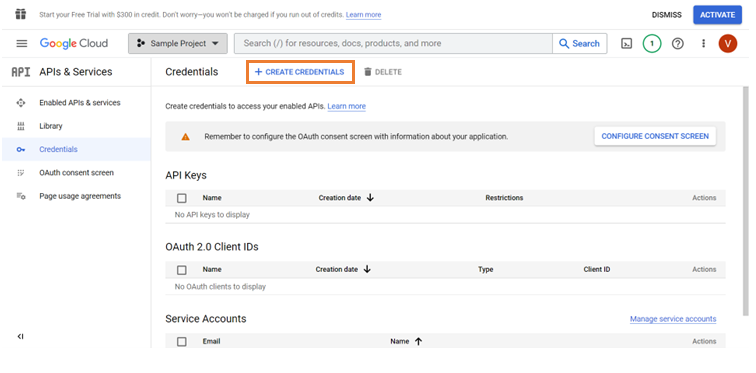
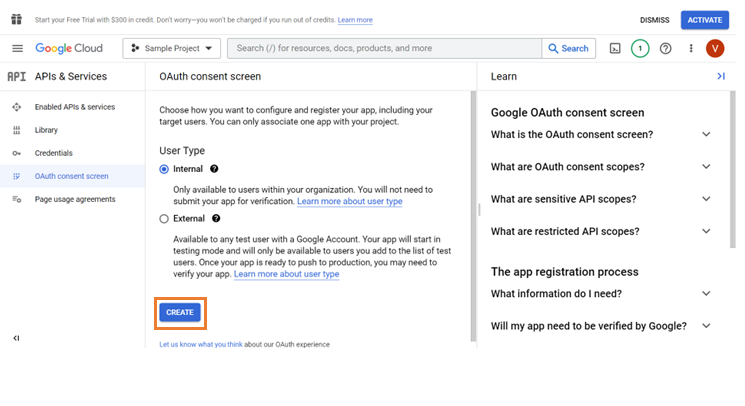
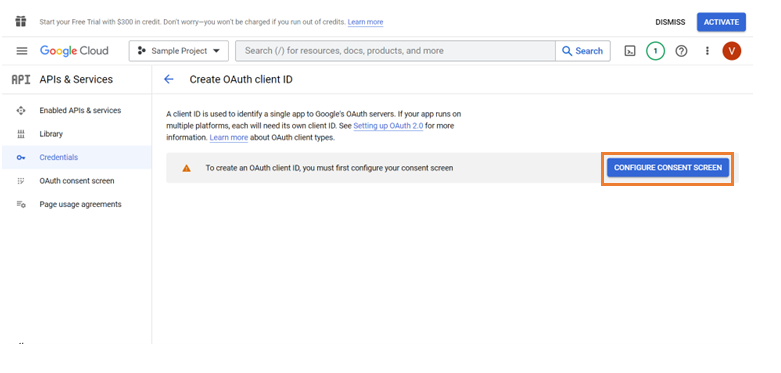
Click Configure Consent screen to get directed to OAuth consent screen where we add user type, scope and developer details.
Configuring Application in Google Console
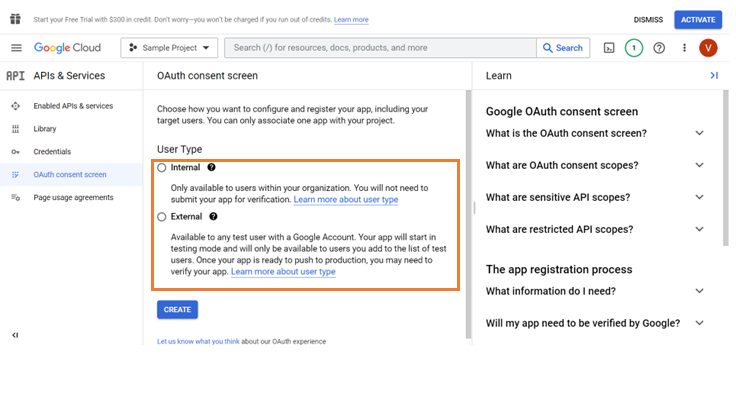
In OAuth consent screen, select the User Type to restrict the user accounts to access the application.
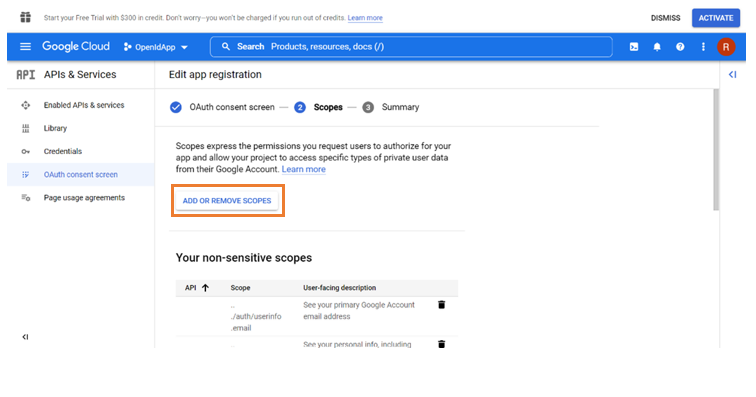
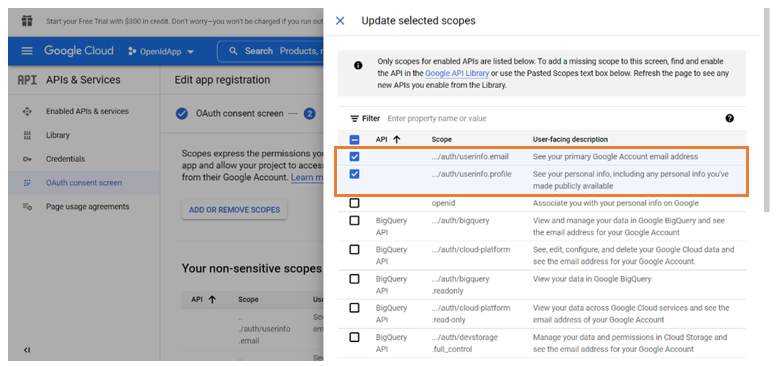
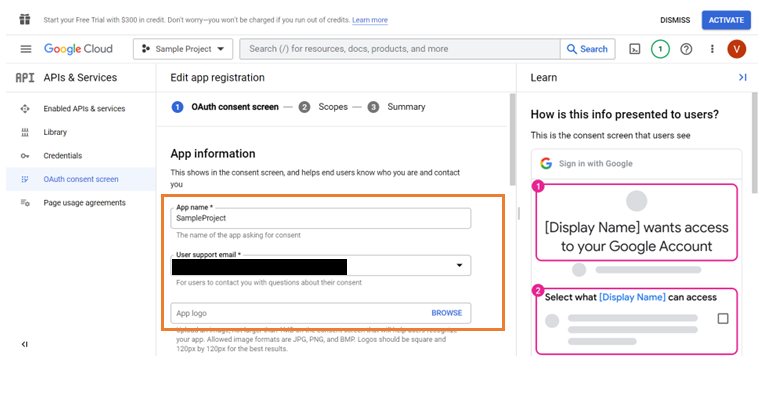
Provide the App name, User support email, Application Logo, Authorized domains, and Email address of the developer. Click Save and Continue.
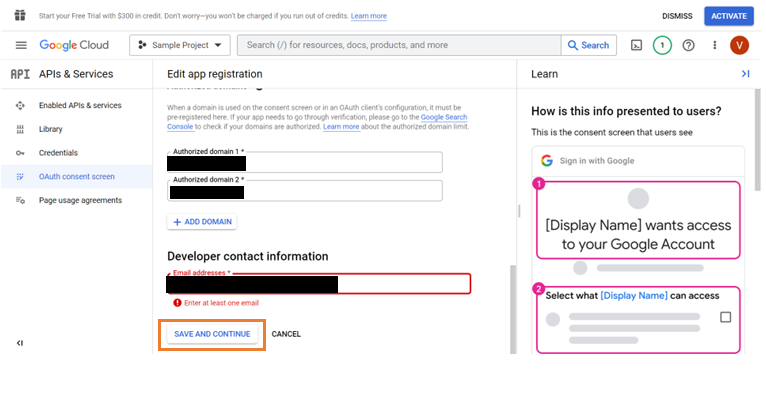
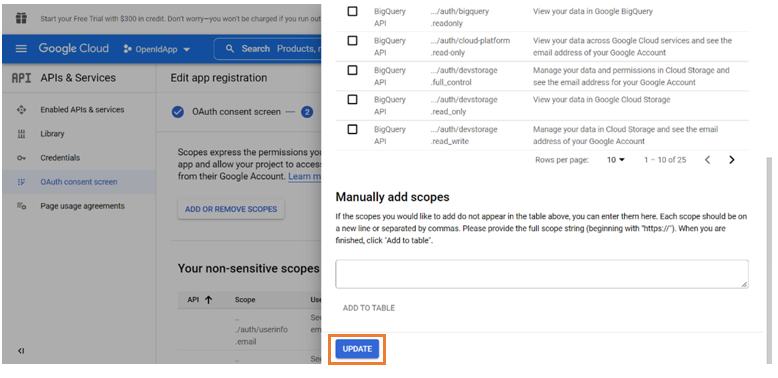
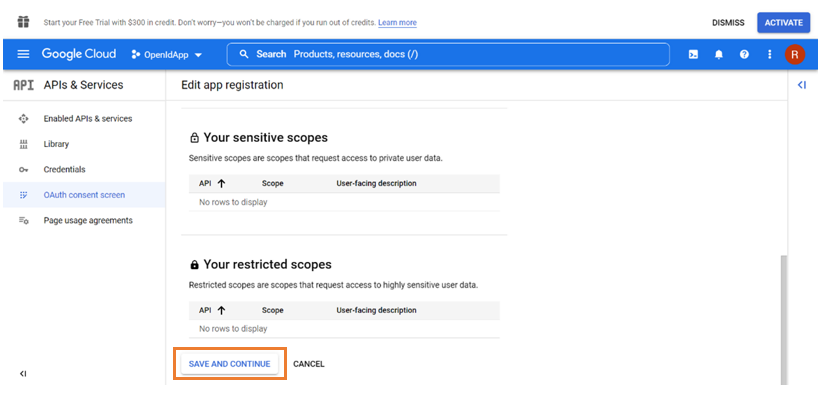
Click Save and Continue to save the provided scope information.
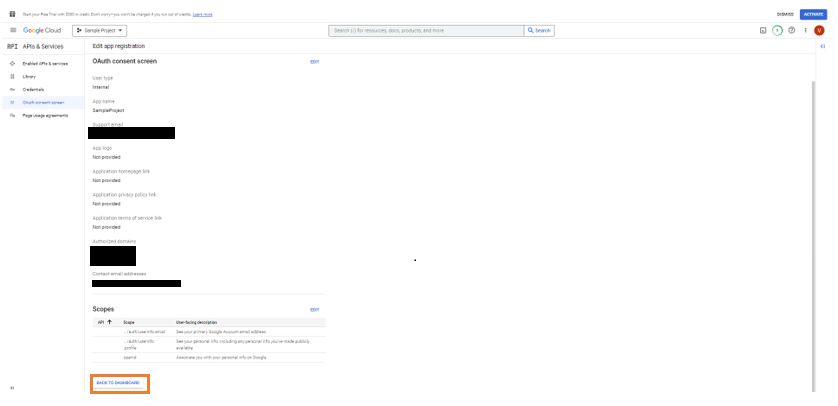
In Summary, review the provided information and click Back to Dashboard. You can review and edit the previously given information and return to the dashboard once reviewed.
Fetching Client Details in Google Console
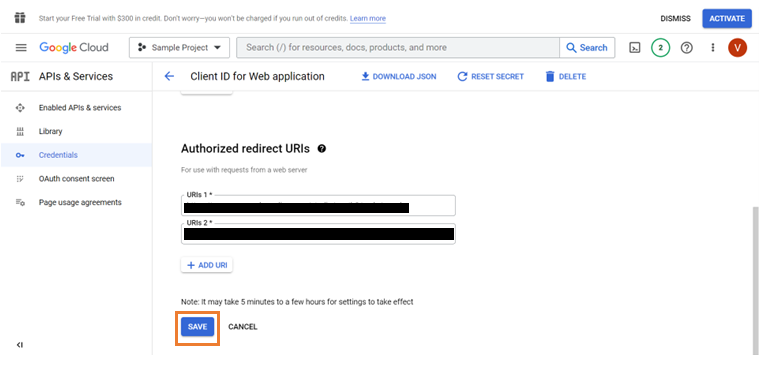
In the Credentials section, enter the Authorized redirect URIs and click Save.
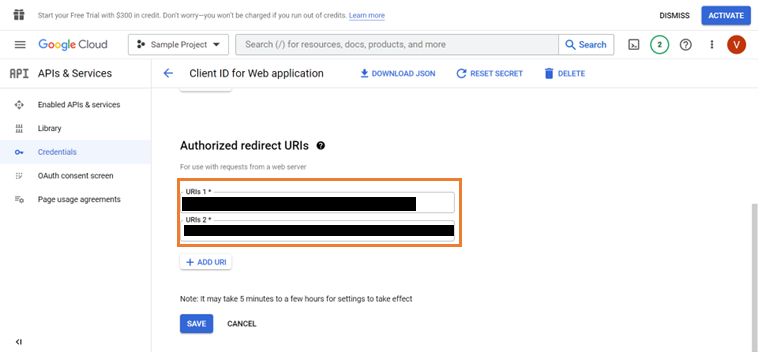
Collect the Client ID and Client Secret by clicking Download Json.
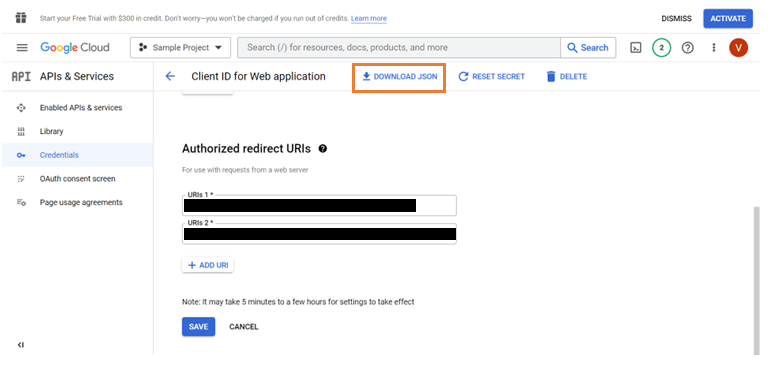
Get the endpoints and client details to provide in the security configuration page in WaveMaker to integrate Service Provider and Identity Provider.
Gsuite Domain Restrictions
Gsuite domain: Gsuite provides enterprise package which gives access to all the tools via respective organization email addresses. With this process, application restricts login using personal Google accounts.
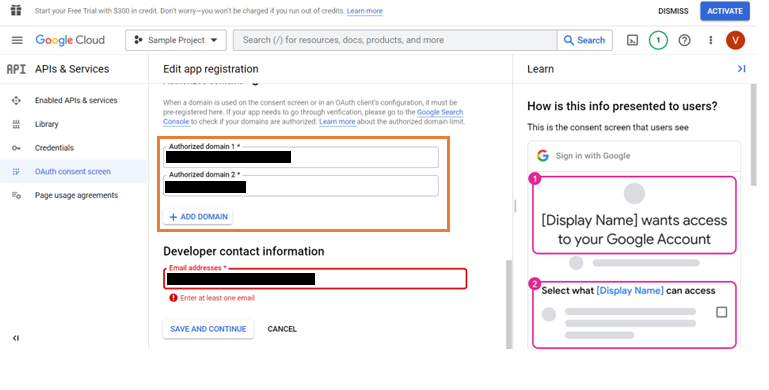
While creating the OAuth application in Google Console, you enter the list of authorized domains that allows only the domain specific mail ids to access the application. You have to then select the domain type as Internal. It allows associated organization accounts for the authorized domains to display at the time of SSO. External type includes all the available Google accounts and is not restricted to any domain.
Restricting Gsuite Domain
- Click Add Domain and enter the authorized domains. This step is to restrict the domains to access the application.
- Select the Internal option to allow the enterprise oriented Google accounts of the authorized domains to be displayed during the time of SSO.
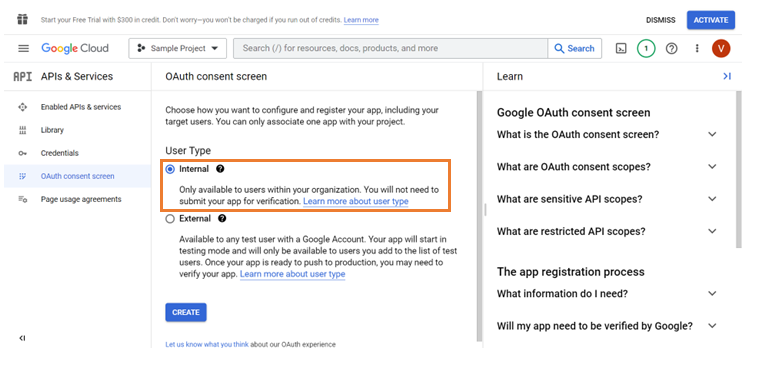
- Click Create. This step successfully sets the end user type who can access the application.
