Configuring Open ID using Okta Provider
Okta's identity and access management system helps manage access control and user identity. Okta provides services to manage what resources each user can access and what functions each user can perform. In this document, we discuss the steps to configure Open ID using Okta.
Okta as Open ID Provider
Below are steps to choose Okta as Open ID provider in WaveMaker.
- Select Custom as Open ID provider from the drop-down menu and enter Okta as Provider ID.


Application in Okta Developer
Below are the steps to create an application in Okta Developer.
Creating New Application
Go to Okta Developer and set up user account. This is to create an OAuth application to fetch the Client ID and Client Secret.
Go to Dashboard.
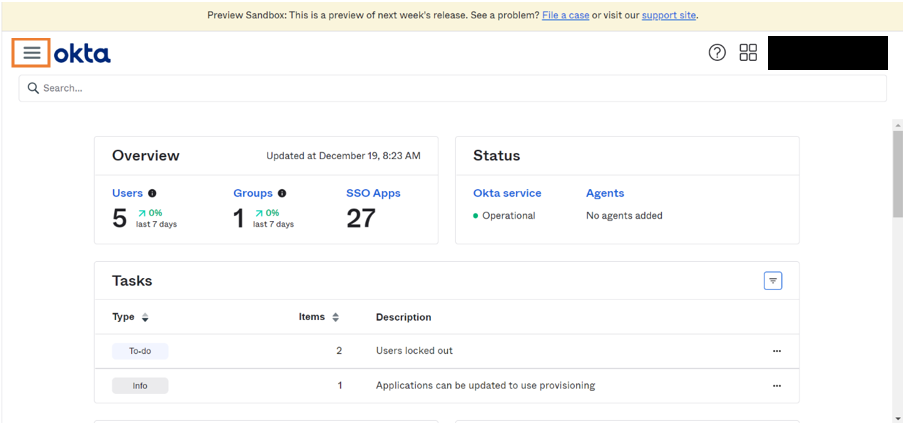
- Go to Applications > Applications.

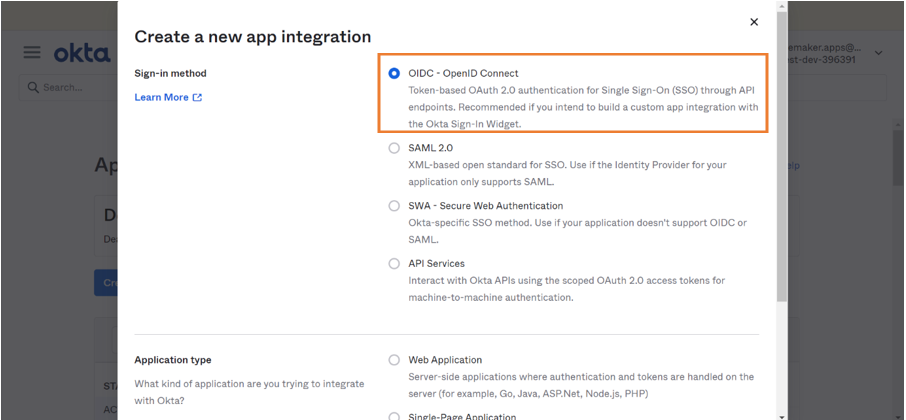
- Click Create App Integration to start creating an application.

Configuring Application
- Select Open ID Connect option as Sign-in method.
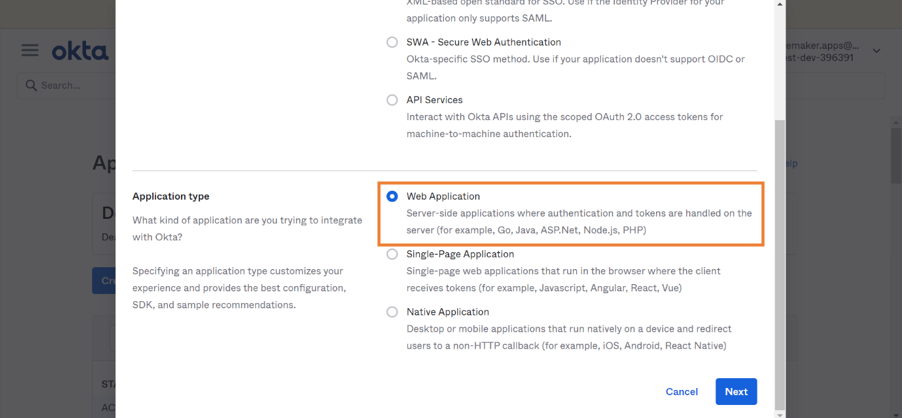
- Select Web Application as Application type and click Next.
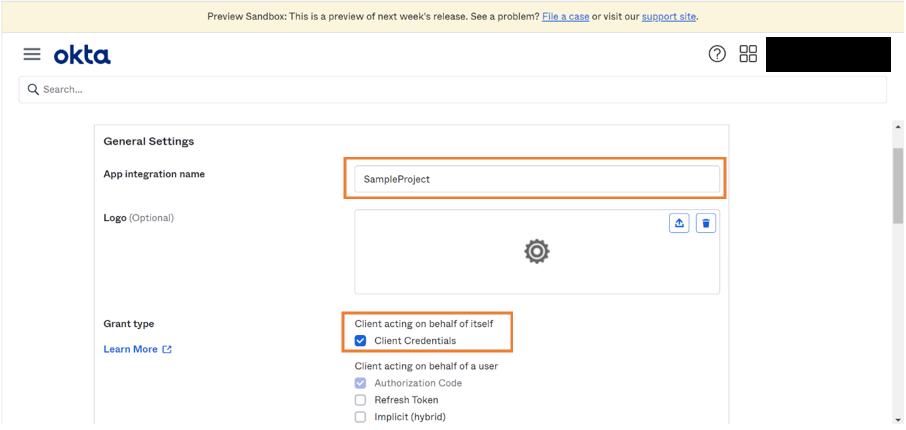
- Enter the App Integration Name and check Client credentials as Grant type.
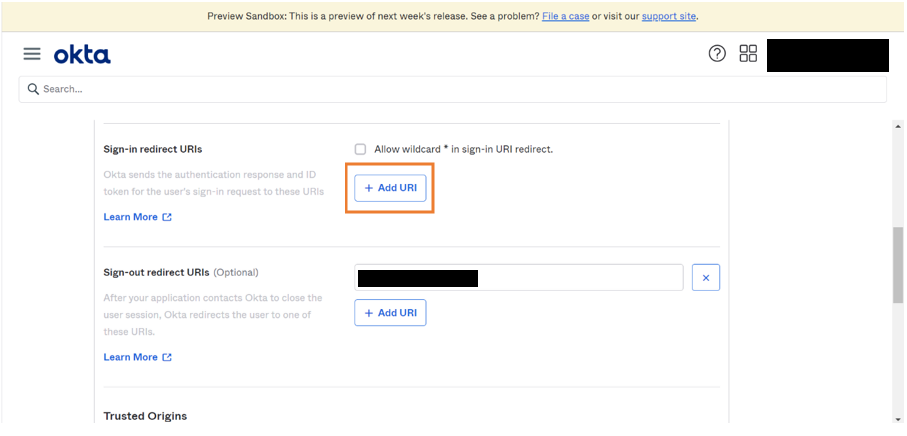
- Click Add URL to add new redirect URLs.
- Redirect URL: Redirect endpoint is the URL to which the client receives the response
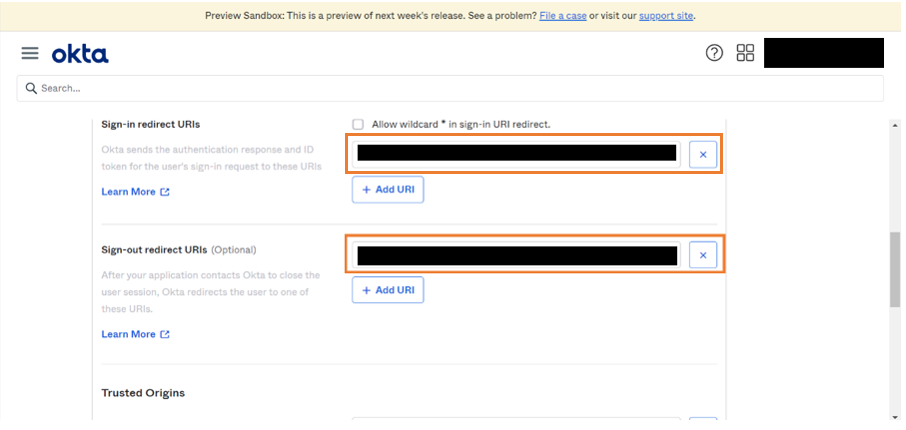
- Enter sign-in redirect URL and sign-out redirect URL.
- Sign-in redirect URL is available in WaveMaker authentication and authorization page.
- Add v1/logout to the end of sign-in redirect URL and enter it as sign-out redirect URL. Example: Sign-in redirect URL: https://example.com/okta Sign-out redirect URL: https://example.com/okta/v1/logout
Restricting Domain
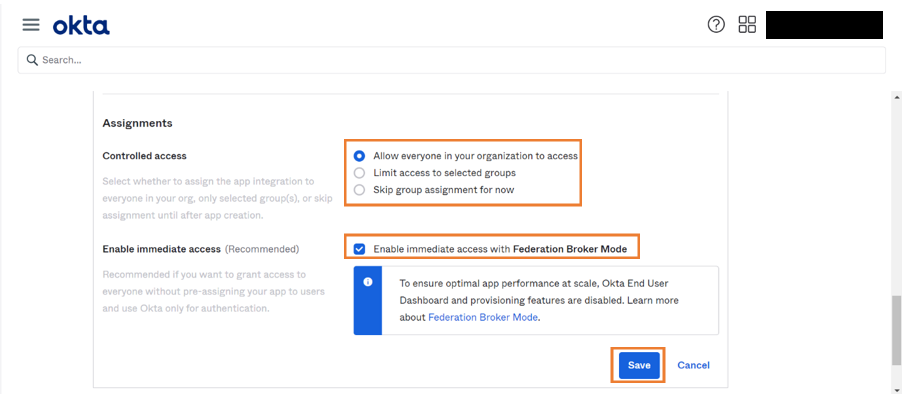
- Select the appropriate access restriction and click Save. This steps ensures domain restrictions to access the application.
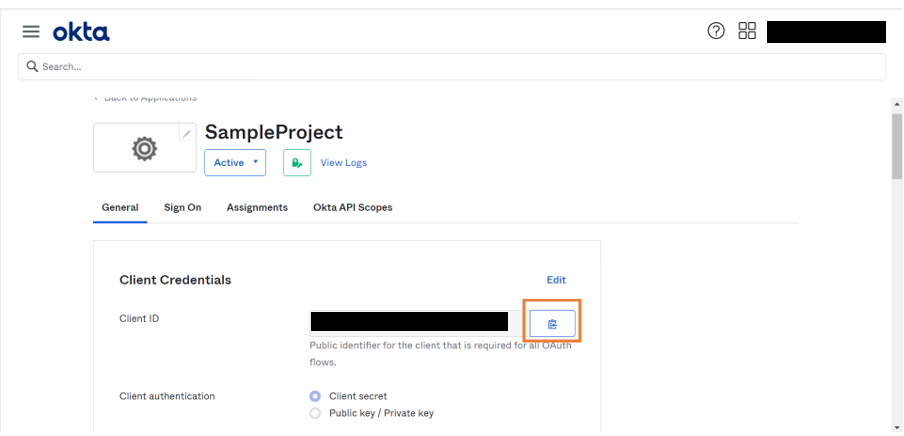
Fetching Client Details
- Click Copy to copy the Client ID to clipboard. Later, provide this information in WaveMaker security configurations.
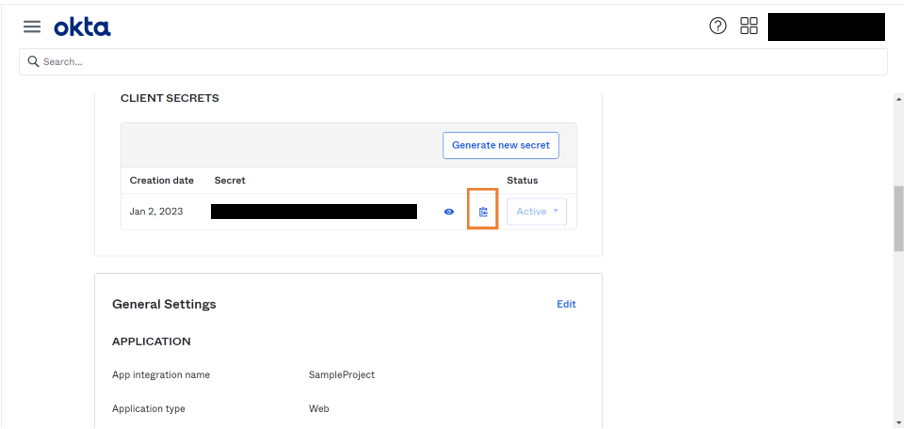
- Click Copy icon to copy the Client Secret to clipboard. Later, provide this information in WaveMaker security configurations.
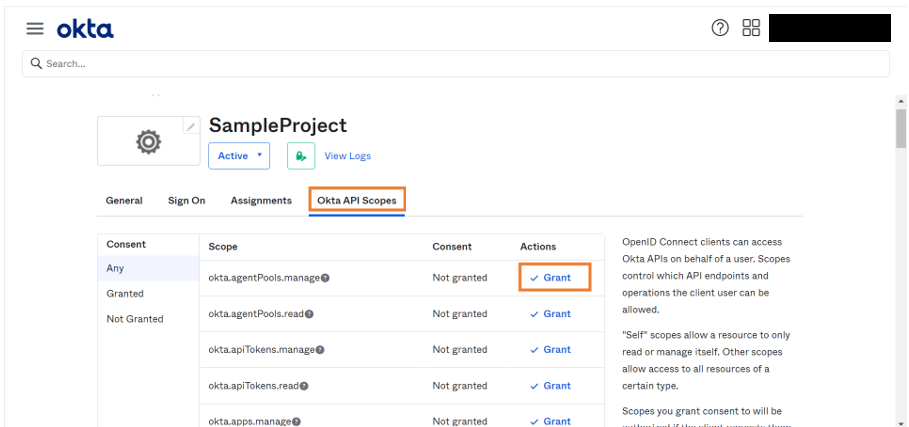
Enabling Scopes
- Go to Okta API Scopes and click Grant to include it as scope.
Fetching Security Endpoints
- Click Security from the menu.
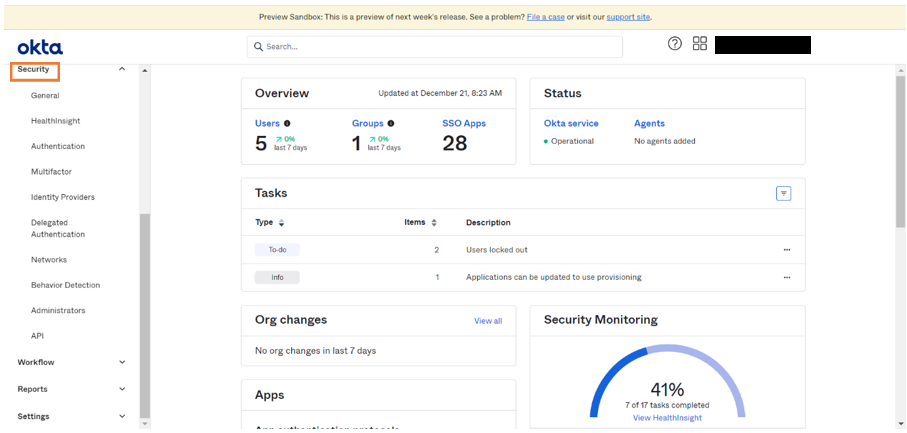
- Go to API in the drop-down menu.
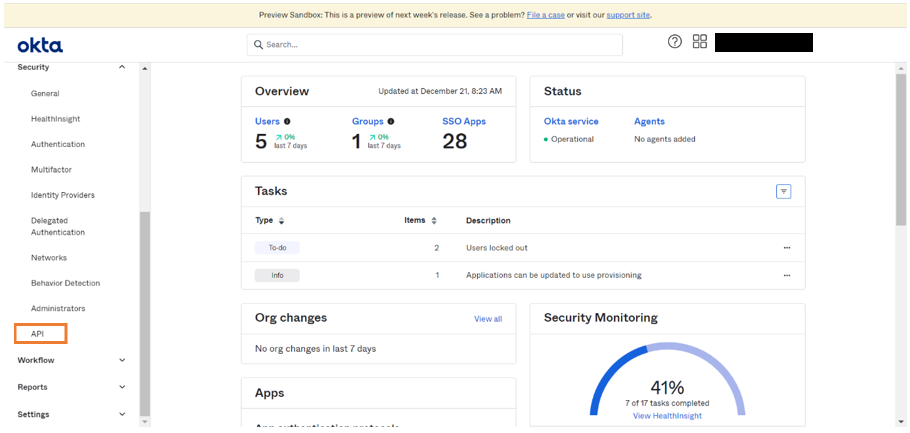
- Click default.

- Click Metadata URL that redirects to the page which contains authorization endpoint, token endpoint, JWKS endpoint and User info endpoint.
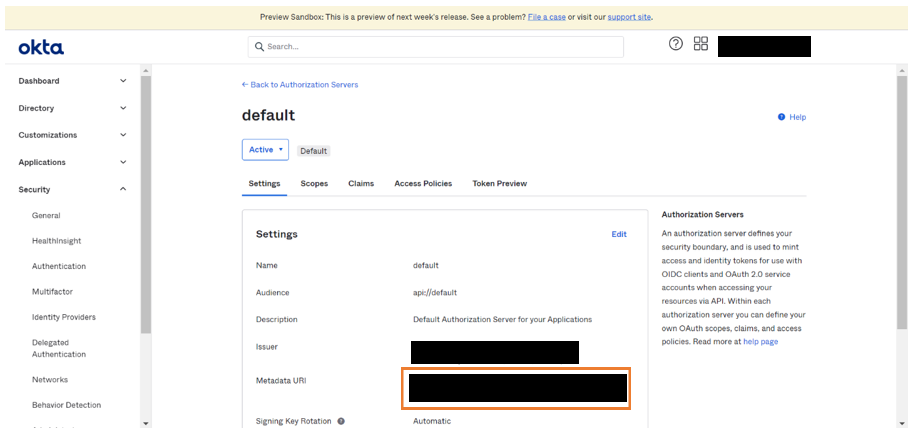
Get the endpoints and client details to provide in the security configuration page in WaveMaker.
Role Mapping using Okta Provider
Below are the steps to assign you the role in Okta Developer.
Adding Role Attribute
Go to Okta Developer and set up user account in the Developer console of Okta.
Go to Applications > Applications.
Check if we have the required web application else we create a new web application.
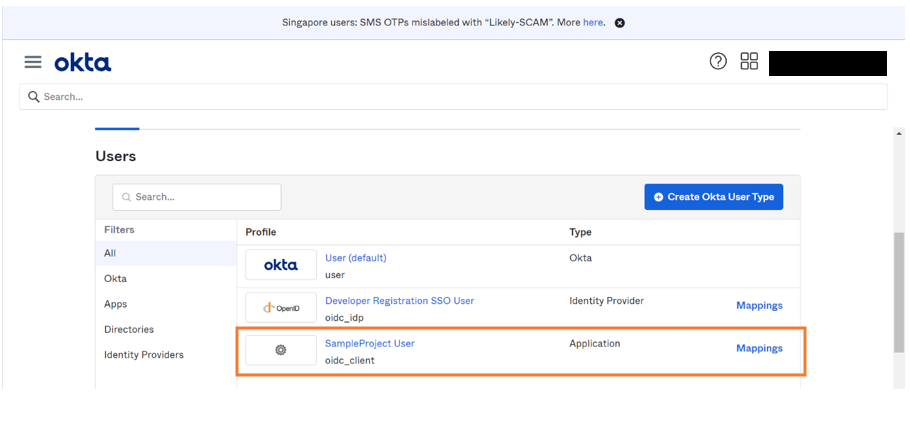
Go to Directory > Profile Editor.
Click on the Profile created by you.
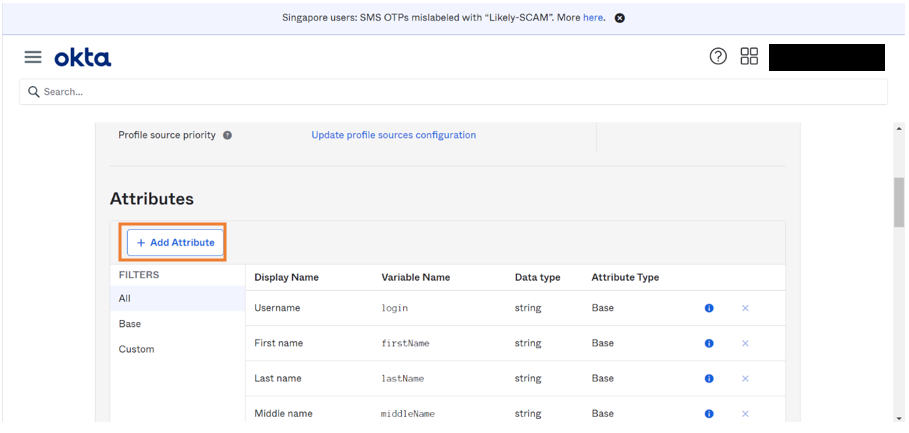
- Click Add Attribute and fill in the required attribute details.
- Go to People > Username.
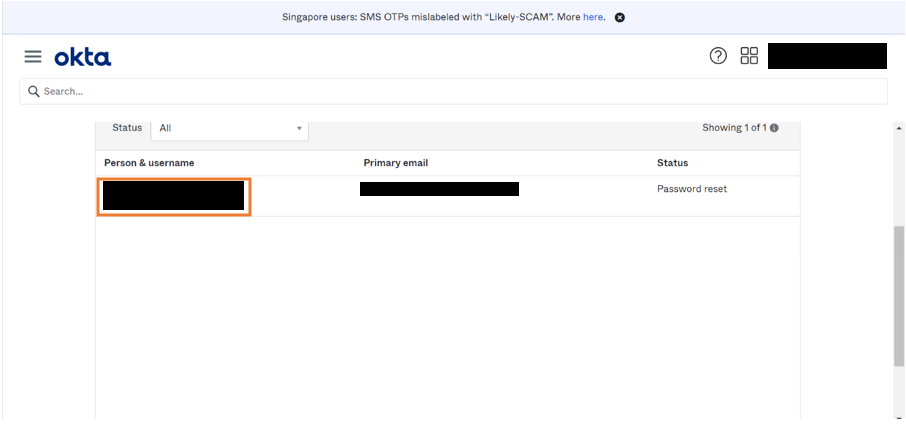
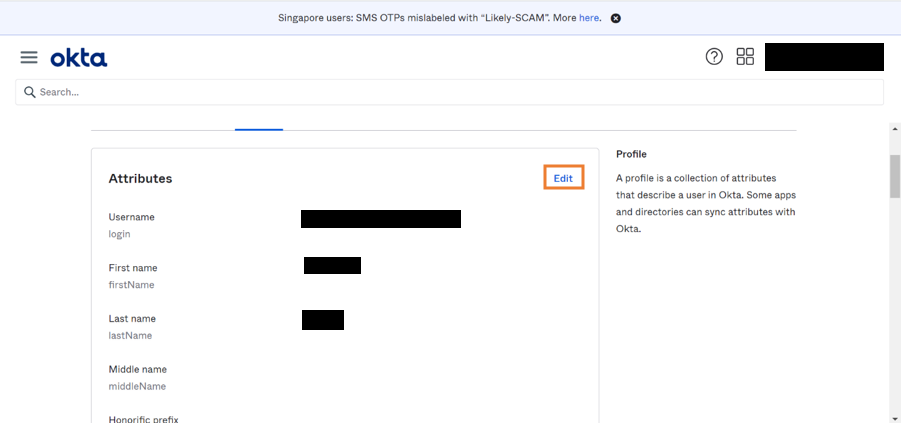
- Go to Profile and click on Edit to provide the value for the role attribute.
Creating Custom Server
Custom server is created as custom claim like role attribute is not allowed in the default server. The below steps are to configure the custom server.
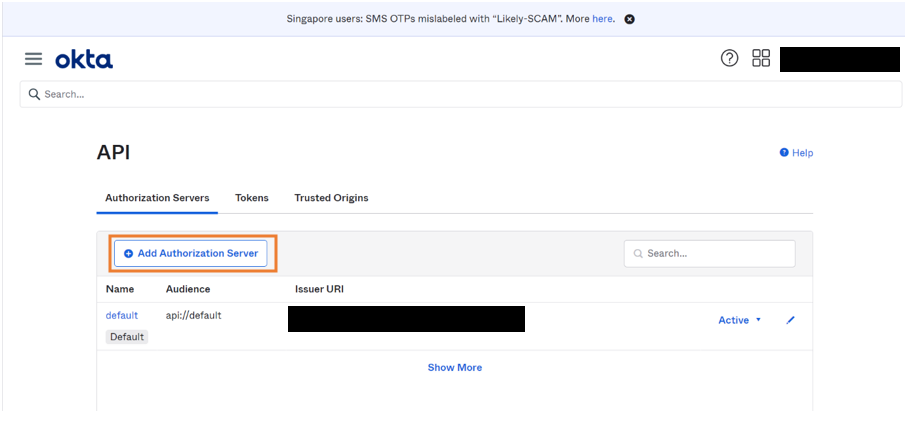
- Go to Security > API > Add Authorization Server.
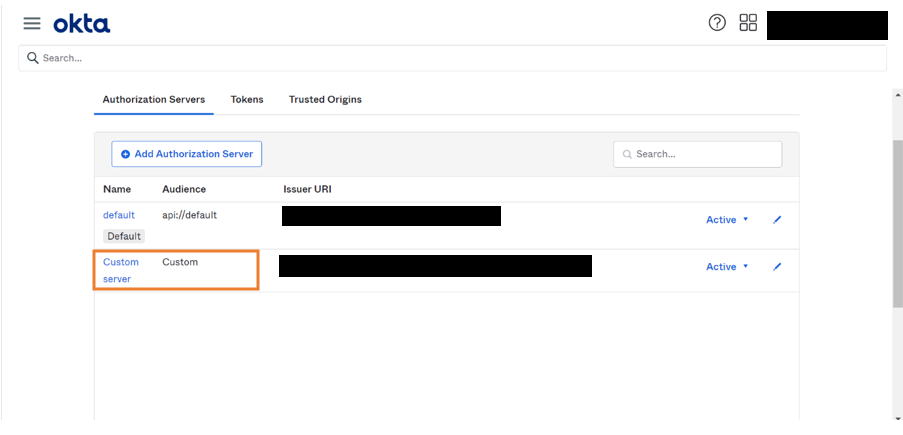
- Provide the required server details and save the details.
- Once the server is created, click on the server.
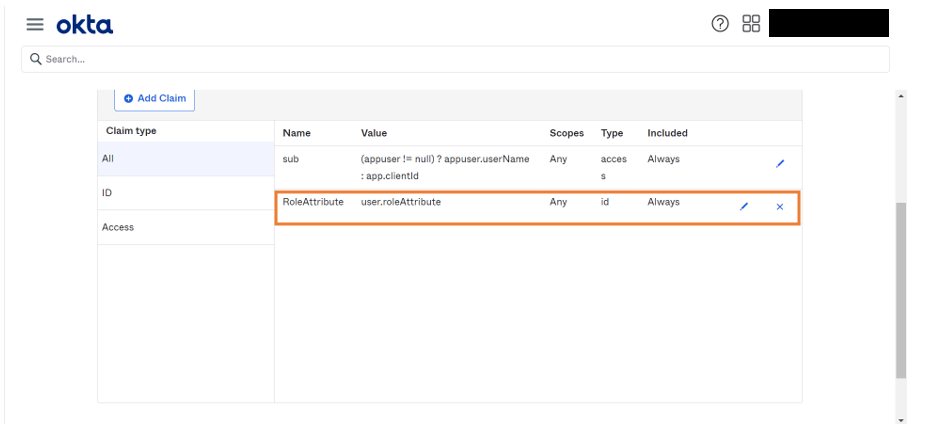
- Go to Claims, add a new claim.
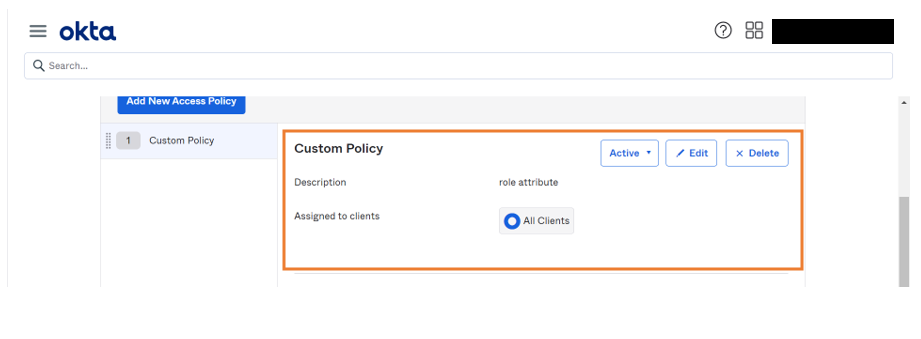
- Go to Access Policies, add a new policy.
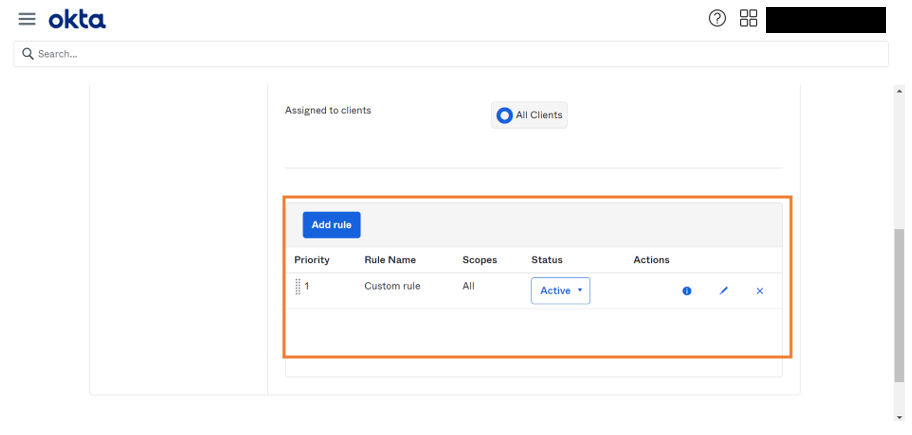
- Once the policy is added, we add a new rule.
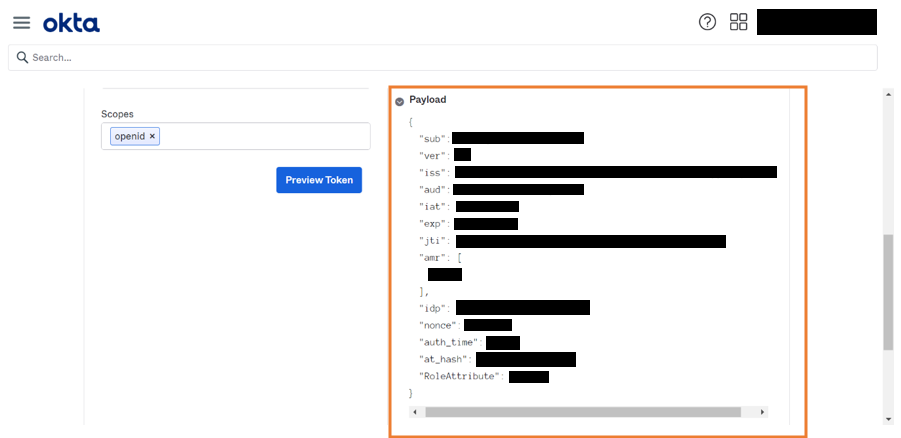
- Lastly, we go to Token Preview and add the required details and. Click on Preview Token to verify whether the created role attribute is working correctly.